While He Was Napping

momma gets stuff done

  • Home
  • About
  • Archive
  • Do It Yourself
    • Crafts
      • No Sew
      • Painting
      • Paper Crafts
      • Repurpose Projects
      • Vinyl
      • Washi Tape
      • Kid’s Crafts
      • Fonts
    • Sewing
    • Decorate
      • Home Decor
      • Holiday Decor
    • Celebrate
      • DIY Gifts
      • DIY Your Party
  • Recipes
    • Beverages
    • Appetizer
      • Bread
      • Other Appetizers
    • Snacks
    • Main Dish
      • Meat
        • Chicken
        • Beef
        • Pork
        • Seafood
      • Vegetarian
      • Slow Cooker
      • 30 Minute Meals
    • Dips & Sauces
    • Salads
    • Pasta
    • Soup
    • Dessert
      • Cookies
      • Brownies
      • Cupcakes and Cake
      • Box Mix Recipes
      • Other Sweet Treats
    • Breakfast Food
      • Pancakes
      • Waffles
      • Muffins
      • Other Breakfast Food
  • Family
    • Babies
      • Pregnancy
      • Newborns
      • The 1st Year
    • Toddlers
    • Preschoolers
    • Kindergartners
    • 6-8 Year Olds
    • The Grown Ups
      • Date Night
      • Romantic Gifts
    • Self Care
  • For the Home
    • Cleaning
    • Organizing
    • Emergency Preparedness
  • Travel
    • Travel Tricks & Tips
    • Traveling with Kids
  • Tech & Gadgets
    • Must-Have Apps
    • Techy Home Appliances
    • Gadgets & Electronics
    • Blogging Tips
  • Printables
    • Posters
      • Quote Printables
      • Subway Art Printables
    • Printable Organizers
    • Printable Journals
    • Learning Printables & Worksheets
    • LDS Printables
  • Holidays
    • New Year’s
    • Valentine’s Day
    • St. Patrick’s Day
    • Easter
    • Cinco de Mayo
    • Mother’s Day
    • Father’s Day
    • 4th of July
    • Back to School
    • Halloween
    • Thanksgiving
    • Christmas
    • Holiday & Seasonal Printables

Search Results for: label/kids

August 8, 2013 by Krista

Sparkle Bottles

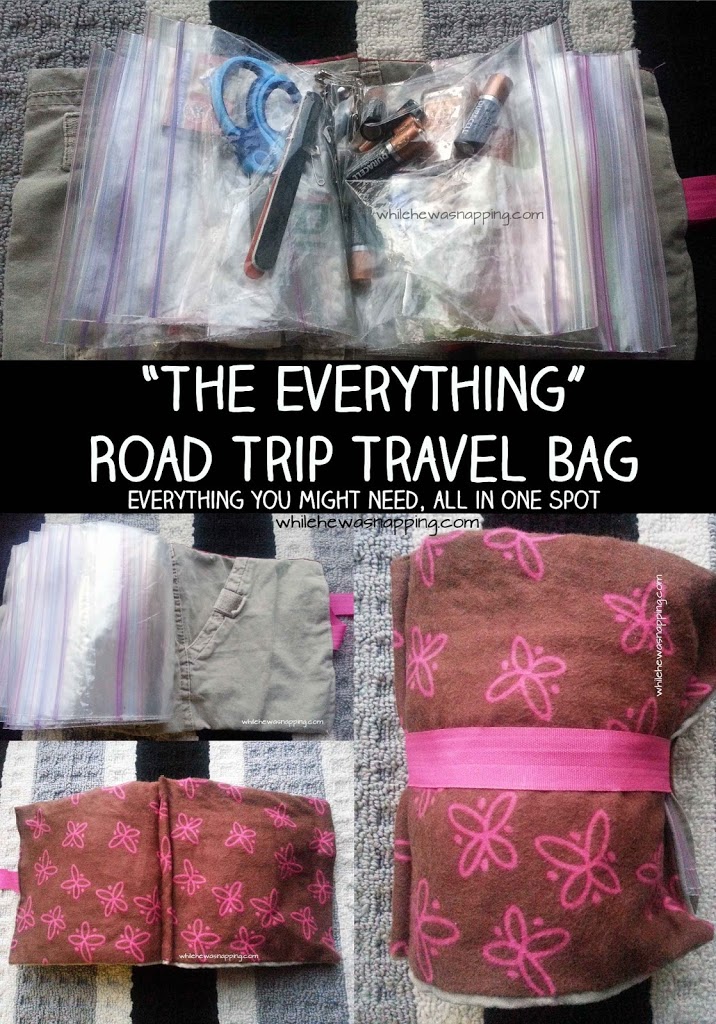
These Sparkle Bottles were actually part of our Travel Kits, which you can find in the {Kids on the Road} Series, we took on our insanely long (and waaay too close together) road trips we took in 2013. But, they are still awesome and we still have one of them nearly a decade later.

WHY SPARKLE BOTTLES?

I found the original idea at My Crazy Blessed Life, and Johanna called them “calm down bottles” and used them with the idea of helping her little girls calm down after a tantrum.  There was the added bonus of a built-in time out timer.

That wasn’t my goal with them originally, though they have been used as such since I first made these.  In the beginning, I just wanted a distraction for my poor children who were strapped down in car seats for hours and hours on end.  Since then, I’ve found they work well as timers or calm down distractions for my kids. Sometimes. Sometimes not. But, they aren’t consistent depending on the temperature; so, while they are pretty, they aren’t functional as precision timing devices.

HOW TO MAKE A SPARKLE BOTTLE

I wasn’t able to find the exact ingredients Johanna used so I had to improvise.  I actually found some other materials that I opted to use instead of what Johanna did.  And it still turned out great – and was even a little cheaper.  So, here’s how I made my Sparkle Bottles.

SPARKLE BOTTLES
Sparkle-Bottles1
 Materials
 

Materials:

– Elmer’s Glitter Glue
– Elmer’s Clear School Glue
– Fine flake glitter
– Hot water
– Clear plastic bottles
– Super Glue
 

Directions:

1. Clean any labels or sticky glue off your bottles.
2. Heat the water.  It doesn’t have to boil, but it should be steaming.  You want it to be hot enough to melt the glue, but not hot enough to melt your container.
3. Pour approximately a 1/4 cup of glitter glue into the bottom of the bottle.
4. Add approximately 2 Tbsp of Clear School Glue to the bottle.
5. Fill the bottle about 2/3 to 3/4 of the way full with the hot water.
6. Tighten the caps back onto the bottles and shake until the glues and water are thoroughly mixed.
7. Remove the cap and pour in as much glitter as desired.
8. Fill the remainder of the bottle with either glue or water.  If you want the glitter to fall faster, put in more water.  For slower falling glitter, put in more glue. The clear glue is thinner than the glitter glue. Glitter glue will make your glitter fall more slowly than the clear glue. If you’re trying to make a timer, I suggest the clear glue. It doesn’t change the
9. Make sure the glue and water is well mixed.
10. Put super glue in the threads of the cap and tighten it down.
11. Shake and enjoy!

HELPFUL HINTS AND TIPS FOR MAKING YOUR SPARKLE BOTTLES

  • Where did you get your supplies?
    I bought all the materials at Walmart and Target.  Target had a couple different glitter glue colors than Walmart. But you can find them in the craft/office supplies department of just about any general retail store, as well as on amazon.
    Glitter-Glue
 
  • The clear glue was at Wal-Mart in the art supply section with the crayons and markers.  You might find it in the back to school section this time of year too.  I used nearly a full bottle of it in my four Sparkle Bottles.
Sparkle Bottles Clear School Glue
  • How did you keep the cost lower?
    The Elmer’s Clear School Glue was about half the price as the Aleene’s Clear Tacky Glue and I didn’t have any problems with it.  I would do that again if I make more of these.
  • How much of each glue did you put in each bottle?
    I tried the quantities in Johanna’s tutorial with my first bottle and that was WAAAY too much glue for the Elmer’s brands.  Our green bottle takes about 30 minutes to settle.  Yeah, thirty.  We use that as the quiet time timer for Big J when I’m trying to trick him into taking a nap…  If you use the quantities listed above you’ll get about a 5 minute timer, if you’re using the bottles to keep time.  Of course, the exact time will depend on whether you fill the last 1/4 of the bottle with glue or water.  Play with it.
  • What kind of glitter is best?
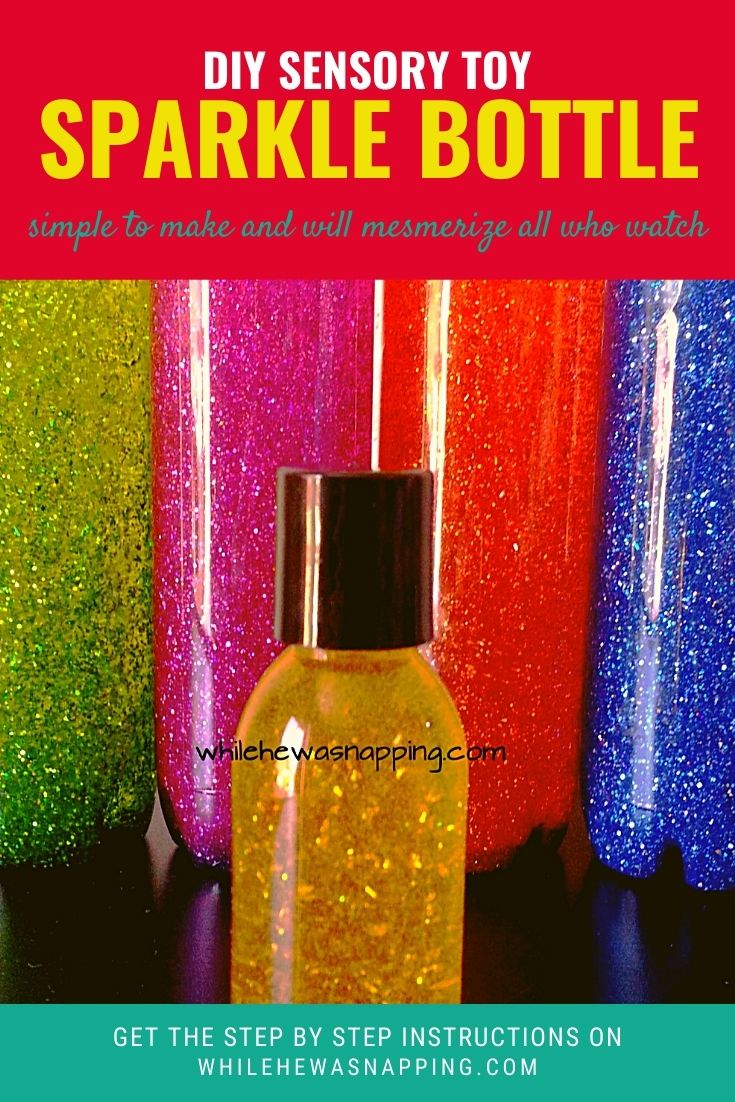
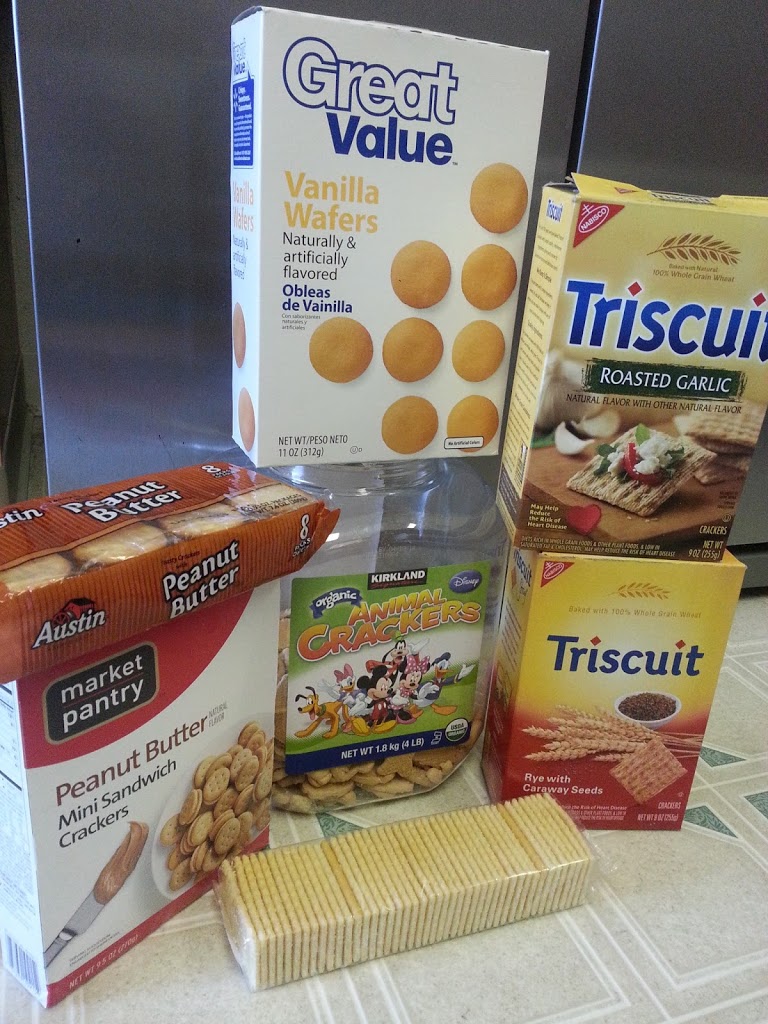
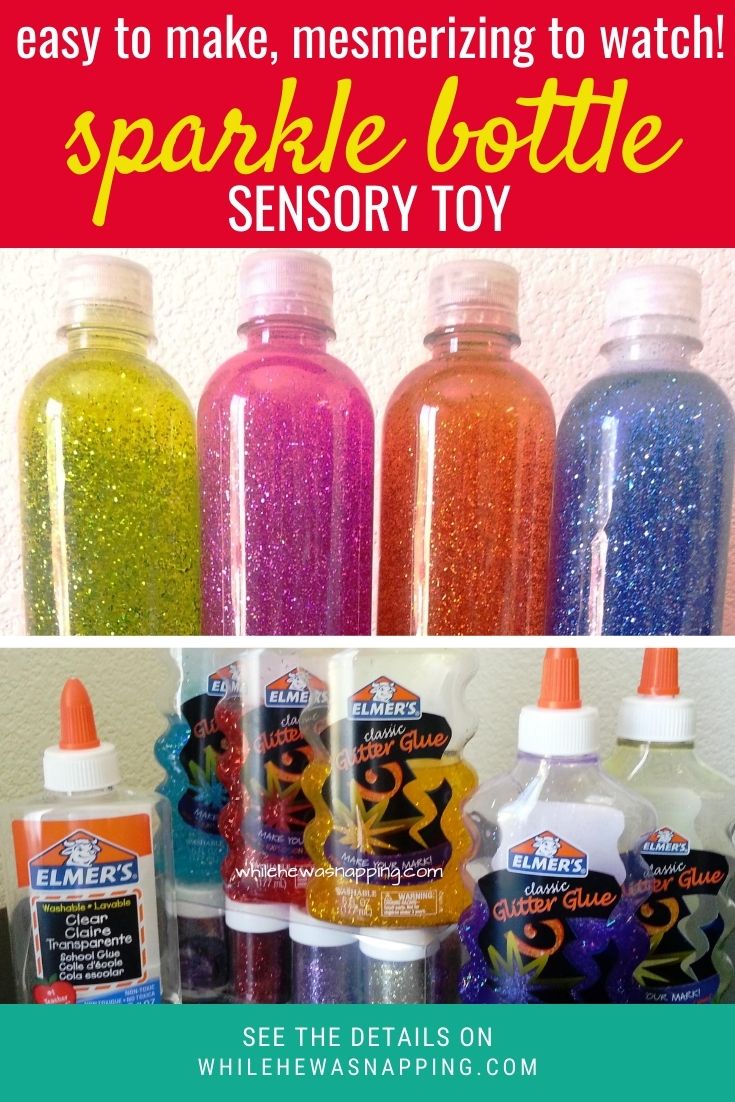
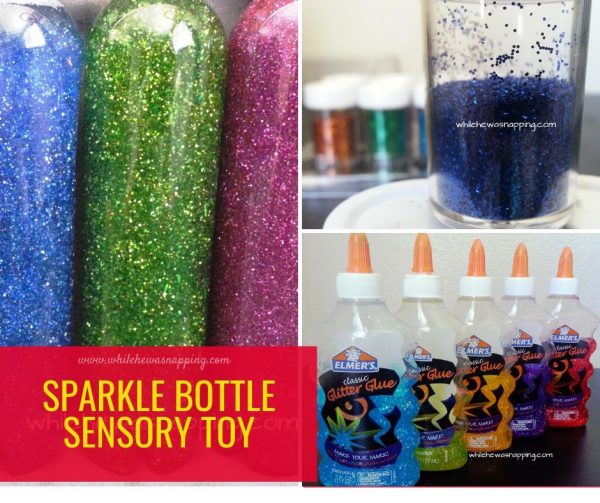
    DON’T use super fine glitter.  I tried this.  All that created was a major goopy clump.  It was not pretty.  I poured it out and started over.  It was that bad.  You want chunky glitters.  Check out the photo for an idea of what size glitter I preferred.  Slightly larger worked out too, like from the dollar store.  I got my favorite set of 12 bottles of glitter at Wal-Mart for about $7.
 
  • How do you get the colors?
    It mostly comes from the colored glitter glue. I DID NOT add any kind of separate coloring agent. The glitter will also lend to the color if you stick to color families.
  • Can I mix and match colors?
    Of course. You can do whatever you want, it’s your project. I do recommend sticking to complementary colors to find the best mixes. This takes a little trial and error to figure out quantities, but it’s not rocket science so don’t stress over it.  Mixing and matching allows you to make some cool colors.  Our orange bottle is actually red and yellow glitter glue with a bit of orange glitter.  Don’t be afraid to play with the colors!
  • These are HUGE! Can you make them smaller?
    YES! One of my best ideas from this project came in the form of a mini Sparkle Bottle.  The big bottles were a little too heavy for my small kids to really hang on to well.  So, I made mini ones with travel sized cosmetics bottles – the kind you can get pass TSA.  He loves it and I love that it can go in the diaper bag without taking up a ton of space – or weighing 400 pounds!

This post was written by Krista and originally appeared on While He Was Napping.

July 23, 2013 by Krista

{Kids on the Road} The Everything Pouch Road Trip Bag

Find more {Kids on the Road} posts HERE.
Today’s {Kids on the Road} is an easy little project.  That was a total lifesaver.  I found the idea on DIY Home Sweet Home (along with a ton of other great ideas, you should definitely check it out!).  Jamie called it the “essentials holder.”  I called it the “Everything Bag” or the “road trip bag”.  I took the idea and modified it a bit.  Some scrap fabric, a bit of ribbon, some zippy bags and about 30 mins was all it took.  You ready for this?!
THE EVERYTHING POUCH
ROAD TRIP BAG
The-Everything-Road-Trip-Travel-Bag-Pouch1

Materials:
– Old shorts/pants
– Scrap fabric ( approximately 6″ tall and 14″ wide.  Measure your zip bags to be sure they will fit.)
– Ribbon
– Zip top bags
– Thread and Sewing Machine
– Scissors/Rotary Cutter

Directions:
– Cut the scrap fabric to fit around your zip top bags (approximately 6″x14″).  Be sure to allow for seam allowance and approximately 3/4″ of an inch to sew the baggies in place.  Just a basic rectangle.

– Cut the shorts/pants to the same size as the scrap fabric.  You can use another piece of scrap fabric instead of the shorts, but I liked the idea of having the pockets on the inside.

The Everything Bag

– Place the right sides of the fabrics together and straight-stitch three of the sides together.  Press the seams and flip the fabric right side out. (Sorry for the lack of photos… apparently I was in “project mode” and forgot to get pictures of this part).

– Cut a length of ribbon approximately 18-24″ and place it inside the open seam.  Fold the seam and straight stitch it shut, sealing the ribbon inside.  For a road trip bag that will stay together a little better, make two ties by cutting two lengths of ribbon and placing each approximately an inch and a half from the ends of the pouch.

The Everything Bag


–  Decide how many baggies you want to include in your road trip bag and count them out.  Lay them out with all the zippy sides together.  I ended up having to pin the bags to the pouch to keep them from sliding so badly while I stitched them to the road trip bag.  I used sandwich -sized bags.

Ziploc-Bag-Holder

– Fold the pouch over on the bags, closing them inside and sew a straight seam up the outside of the pouch.  It will make a little tab on the outside of the bag.

Road-Trip-Bag

– Sew a long (I did about 6″) strip of Velcro on one side of the ribbon.  My ribbon was long enough that it wrapped back on  itself, even when the road trip bag is full, so both of my Velcro pieces are on the ribbon.  I would suggest filling your bag before you attach your other piece of Velcro so you know just how much space inside the pouch you’ll need.  This placement will make it easier to replace the Velcro/ribbon if the time ever comes.  I’ll just have to un-stitch a small portion of the side seam, replace and stitch it back up – rather than worrying about any picking of my actual fabric.

I would also suggest putting the “hook” side facing toward the road trip bag (but actually located on the ribbon) and the “loop” side facing out from the road trip bag.  This way, you won’t get scratched by any exposed Velcro, because it will be the softer loop side and not the scratchy hook side.

Everything Bag

That’s it.  You’re finished!  Now just fill up those baggies and stash the good stuff away for when you need it.  It is such a convenience to have all those little “needs” all in one place, easy to get to and even easier to find.  And pick up is a cinch.

DIY-Road-Trip-Pouch

Need some ideas of what to fill those baggies with?  Here’s the goodies I stashed in mine:
– bandaids, first aid ointment and alcohol wipes
– toothpicks and flossers (stray popcorn kernels are one of my biggest pet peeves!)
– tylenol, ibuprofen, and excedrin – make sure you have dosing directions and amounts on all medications in case you need the information later.
– antacids
– chapstick, Tic Tacs, rubber band and a few bobby pins
– nail file, nail clippers, safety pins and safety scissors
– small box of matches and a butane lighter
– extra batteries for devices commonly used
– super glue
– small bottle of lotion, hand sanitizer, and anti-itch cream
– feminine hygiene needs
– Q-tips and a small pair of surgical scissors
– extra empty zip bags
– a cold compress and small fabric bandage (Ace bandage – I unrolled it and folded it so it would fit better)
– a small screwdriver and bit set
– an eyeglass repair kit
– pen, pencil and paper

Hopefully, you wouldn’t need to use all of these items on a single vacation, but it is extremely nice knowing: one, you have them if you need them.  Two, you know where they are.  Three, it’s compact enough to be packable, but not so small it gets lost.  If we got lost somewhere and needed to abandon our vehicle, this is one thing I would take with me and I wouldn’t even complain about having to carry it.


Thanks again, Jamie, for the inspiration!  Check out Jamie’s original project at DIY Home Sweet Home.

This post was written by Krista and originally appeared on While He Was Napping.

July 22, 2013 by Krista

{Kids on the Road} Snack Ideas

Have you checked out the previous {Kids on the Road} posts?  You can find info on Planning Your Trip, What to Pack, and How to Pack it in the previous posts.


Welcome to another installment of {Kids on the Road}.  Today is snack day.  One of the most important things for us to have in the car is food!  And not just junk food.  If you saw the What to Pack post, you know I mentioned our family’s “hanger” – hungry anger (not that thing people hang clothes on) – problems.  Junk food just gives everyone headaches and that brief sugar rush.  I’m not sure which is worse: my kids bouncing off the walls while strapped in their car seats or the sugar crash and whiny tantrums that follow.  So, we tend to steer clear of candy and the like, especially in the car.  So, here is what goes in our typical Food Box:

1.  Crackers.  Many, many kinds of crackers.  Peanut butter, cheese, goldfish, Triscuit, Wheat Thins, Club and Ritz are a few of our faves.   Bite-size pieces are the best, as it minimizes crumbs and mess, but they can be a little more spendy.  For some reason, it seems to be harder to get the same thing in your mouth multiple times, but a one-time straight shot is usually more successful.  Sometimes a little convenience is worth the money.

2.  Veggie Slices/Dices.  Carrots, fresh green beans, sliced bell peppers, broccoli pieces, cucumber sticks, grape/cherry tomatoes. avocado slices (stored in a small snapware container with a pickle fork), celery sicks with peanut butter and pickles are big hits at our house.  I would much rather my kids eat this stuff.  They are happier and fuller for longer.

Source

3.  Fruit slices.  Apples, grapes, bananas, peaches, mangoes, apricots, oranges, and just about any kind of berry make our family’s top faves list.  Firmer fruit, like apples and oranges, can be stored in zip top baggies.  I usually store our softer fruits in small snapware containers.  If you want to avoid the hassle of keeping track of your plastic storage, you can find cheap containers at the Dollar Tree.  If they come home, great.  If not, no big deal.  Or you find that empty, sealed, super moldy container that was lost on your trip… just pitch it.  No sweat.

Source

4.  Cheese slices and string cheese.  We LOVE cheese.  LOVE.  So, we will buy 2-3 bricks of different kinds of cheese and slice it up before our trip.  (Brie is my favorite!)  We can then snack on it with the crackers or alone.  Of course, my kids love string cheese and we usually take some of that too.  There are also individually wrapped cheese slices available for purchase in lots of stores.  Not the fake cheese, the real stuff.  That’s an option as well (and there’s less prep time involved).

Source

5.  Water.  We take a case a water on just about every trip we go on.  Warm water is better than thirsting to death… or that’s what I tell myself.  Ick.  It’s incredibly convenient to not have to remember to grab water every time we go and do something though… beach, park, swimming, or anywhere else.

Source via Amazon

6.  Beef  Jerky.  Both my kids and Mr Napping love beef jerky.  We ration it out a little at a time to the boys.  I will often take the jerky beforehand and cut it into small pieces that my boys can handle without it being a choking hazard.  Be sure to store it in an air-tight container.

7.  Dry Cereal.  My kids, specifically Monkey, will eat dry cereal all day.  In fact, that’s usually how he eats cereal, even at home.  We choose varieties low in sugar and somewhat healthy like Cheerios, Chex, Kix, Life, and Frosted Mini Wheats.  Occasionally, something like Fruit Loops or Corn Pops shows up in our box… but I have no idea how that happens.

Source

8.  Granola bars.  I like to have snacks that are a little more substantial when we are traveling and miss a meal or what something besides fast food.  Granola bars work well and my boys can feed themselves.  You can find low-calorie varieties if you prefer.

9.  Fruit Cups and Applesauce Cups/Pouches.  We love applesauce.  Monkey can eat a whole bottle by himself in less than a week.  Applesauce pouches are incredibly easy and convenient and even Gator can (sorta) feed himself.  He’s still mastering the whole “don’t squeeze it” concept, but he usually does pretty well.  My boys also love fruit cups, but this requires a little more help.  These are good for quick pit stops.

Source via Amazon

Target has a system where you can fill your own pouches.  I really like these; however, the whole system is kinda spendy.  Mr Napping rigged up a little contraption for us using one of the pouch lids and a pastry bag.  The pouches screw onto the pastry bag and make it easier to squeeze the pureed fruit and veggies into the pouch.

Source via Target.com

10.  Treats.  Sitting in the car, strapped in a car seat for hours on end is incredibly monotonous.  Offer a little reward or incentive for good behavior.  Some of our favorites include: Pringles, Cheetos, Pirate Booty, fruit snacks, fruit leather, and the occasional fun size candy bar.

I use a large-ish cardboard box (usually a diaper or wipe box, we tend to have those around pretty much all the time) to store everything in. It sits on the floor within reach, is easily contained and it’s easy to take inside when we stop.  Cold items are stored in a (or some) small, soft-sided coolers on top of the box.  This works for us… for now.  Someday the boys will be in charge of their own snacks; I can’t wait to stop being the food police on road trips.

More of the {Kids on the Road} Series:
 Planning Your Trip
What to Pack
How to Pack

This post was written by Krista and originally appeared on While He Was Napping.
Never miss a thing:
http://www.facebookloginhut.com/facebook-login/ Photobucket http://www.facebookloginhut.com/facebook-login/ Photobucket http://www.facebookloginhut.com/facebook-login/

Join the newsletter for exclusive content and giveaways!  Next edition goes out Friday

I'm Krista. Ringleader here on While He Was Napping, wife to my handsome Mr. Right & momma to my THREE energetic boys, Big J (9), Little J (6) & Little N (4). We FINALLY added a beautiful little girl to our family last December.

I’m knee-deep in Tonka trucks & Thomas trains. I survive our crazy days with Vanilla Coke, Sonic slushies, sweet snuggles and little giggles. When I tuck them in tight & kiss them good night, I get a little time to create & just be me.


It all happened
while (s)he was napping
Want More of My Story?

Privacy Policy

While He Was Napping respects your privacy and is committed to keeping any personal information collected on this website confidential. To find out what information we collect and how it is used or what options you have regarding your information, see our full privacy policy here. Creative Commons License The website found at whilehewasnapping.com and all subdomainsauthored and published by Krista is licensed under a Creative Commons Attribution-NonCommercial-NoDerivs 3.0 Unported License.

Pretty Chic Theme By: Pretty Darn Cute Design