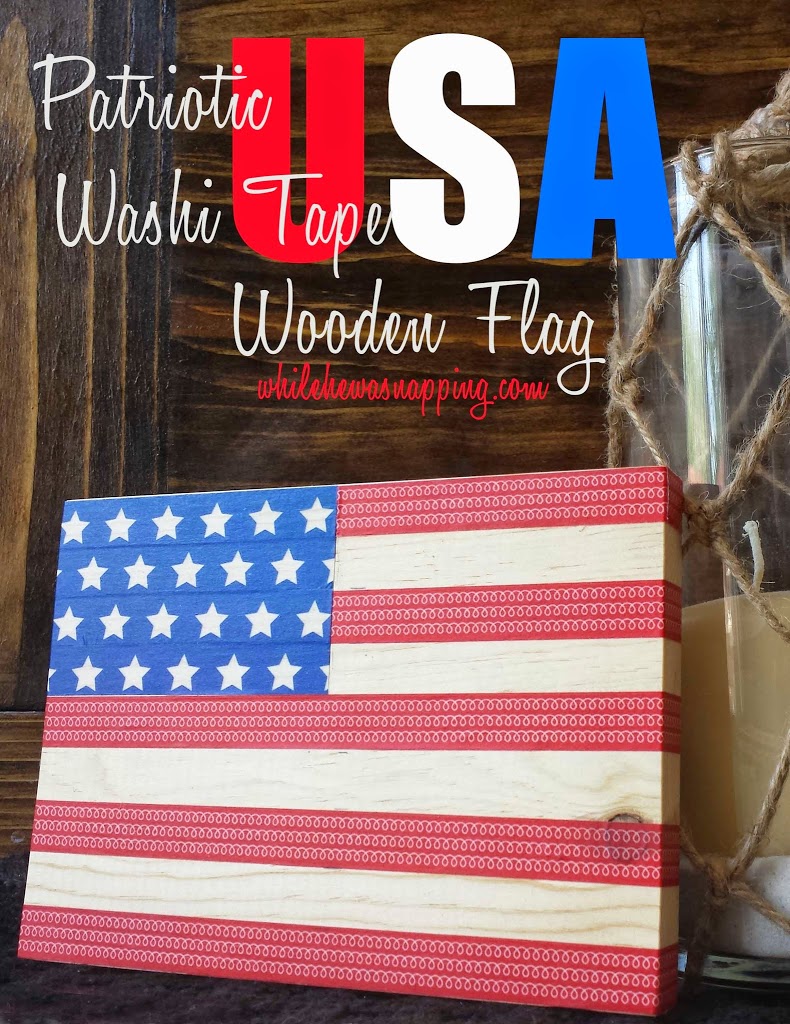
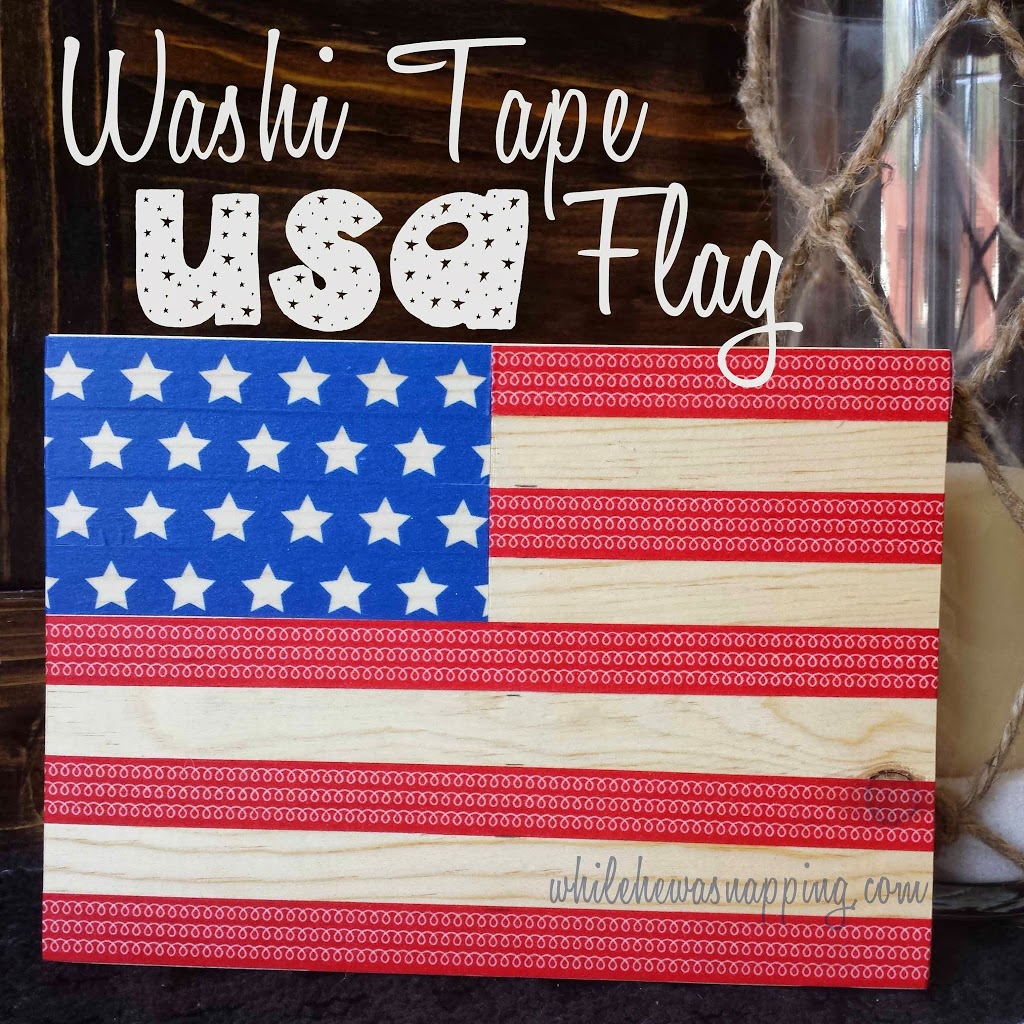
I’m super excited to be part of Jen’s {from Girl in the Garage} Red, White and Blue Inspiration Series. There have been some fun projects so far, which I’ll show off a little more in a minute or two. You’re gonna want to check them out. But first… I’m going to share a fun and super easy USA flag craft for your patriotic enjoyment!
This project is incredibly simple and took me about 20 minutes to do. The supplies are simple and you can easily take this idea and run with it… how cute would these be as smaller, drink coasters?!
SUPPLIES NEEDED TO CREATE ONE USA FLAG CRAFT

– One 1″x6″ board cut at 7.5″ long. You can get it at Lowe’s or Home Depot and if you ask nice, they’ll even cut it for you.
– Red Washi Tape – I like to buy washi tape on Etsy (SOLID RED | RED POLKA DOTS | RED CHEVRON | RED STRIPES)
– Blue Washi Tape – The blue star tape I used can be found on ETSY or AMAZON
– Craft Knife (I have THIS ONE in both the knife and swivel knife and really like them)
– Ruler
– Pencil
– Sandpaper (optional, but recommended)
– Polyurethane (optional, but also recommended)
DIRECTIONS TO CREATE YOUR USA FLAG CRAFT
MEASURE FIRST!
– If you want to shape your board and clean up any rough edges or imperfections, do so now. I just took a quick swipe along the edges with sandpaper to get any splintery slivers and take a little of the edge off.
– Lay your board down horizontally. Measure out 3.75″ from the top, left side of your board. Mark it with your pencil. This space will be for the blue stars.
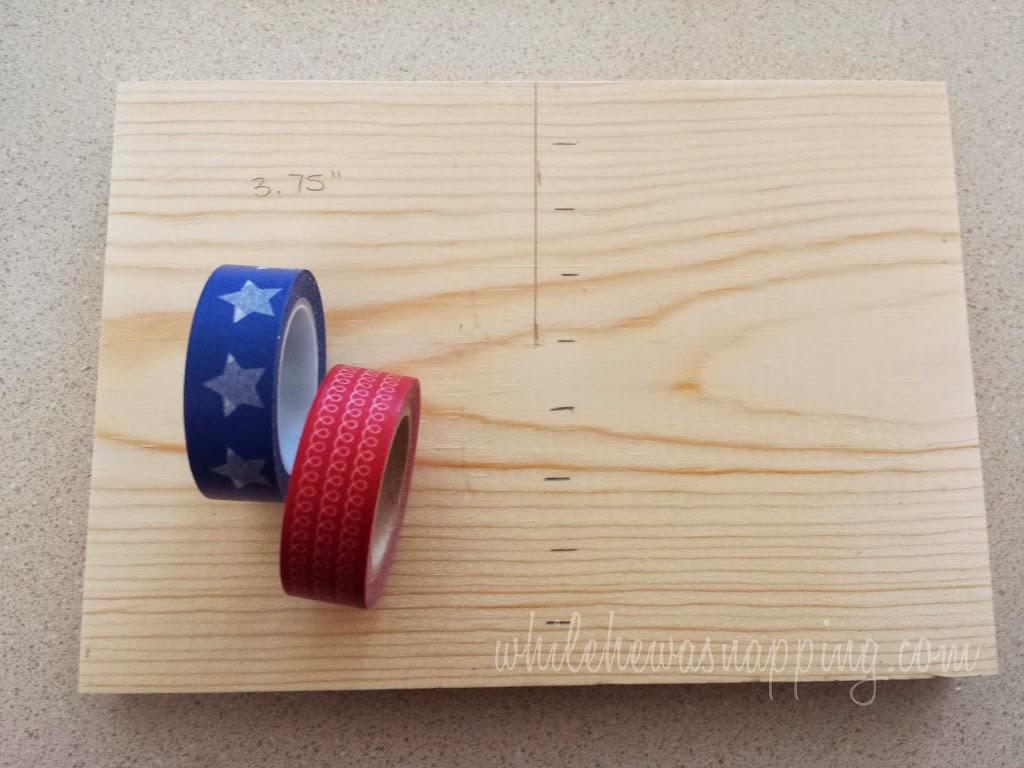
– Measure the stripes on your flag. I did it the super technical way and just used a roll of washi tape to measure the width of each stripe. Fancy, huh?
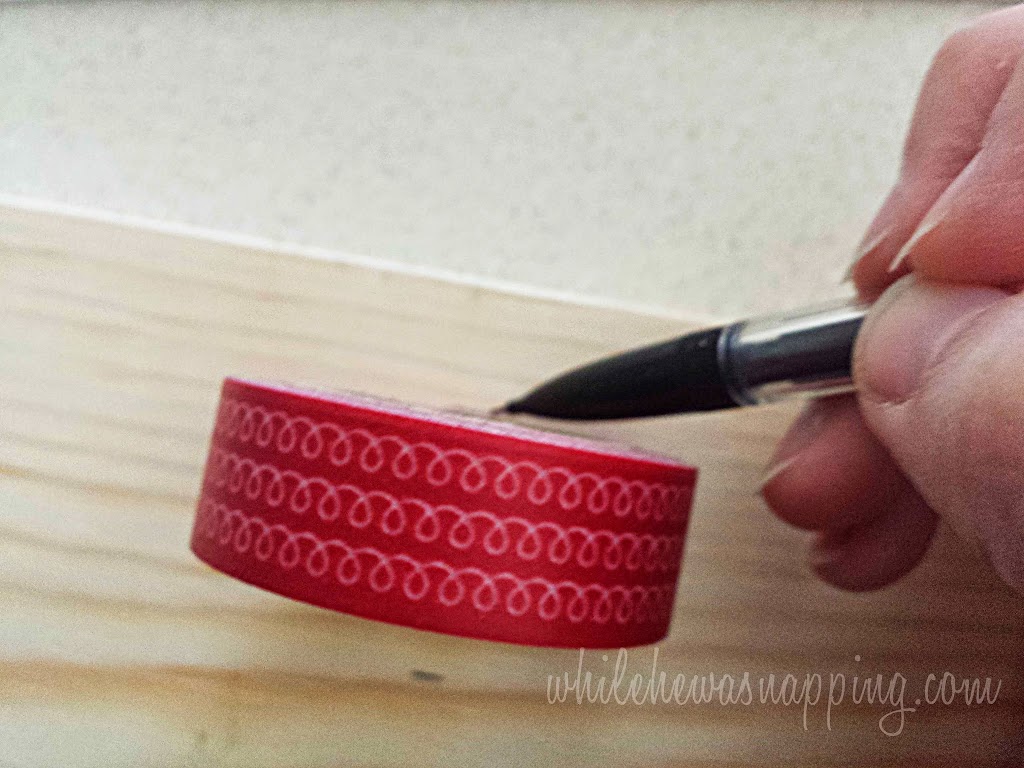
APPLY THE RED STRIPES
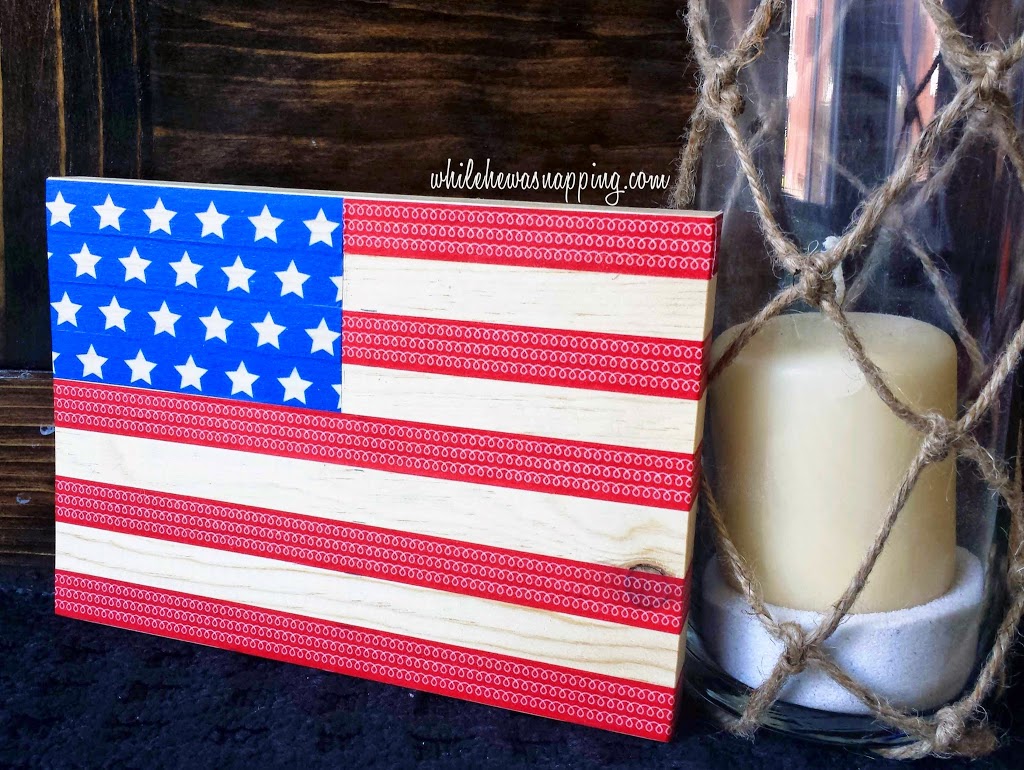
– Start with whichever tape you want, I did the red. Following the measurements your marked on your board, lay down strips of tape. I wrapped the edges of the board as well as the face.
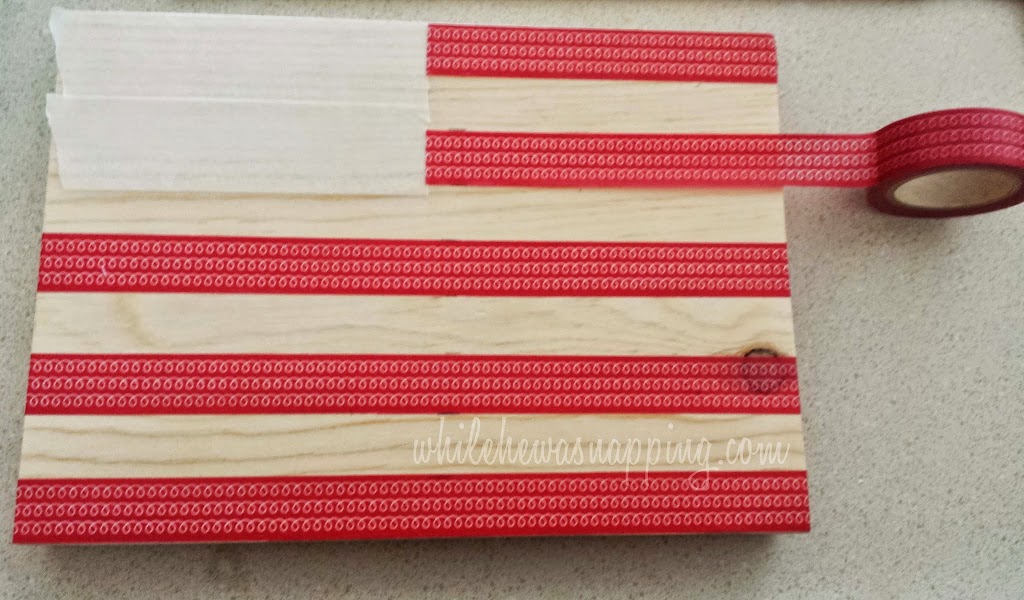
– Skip every other line to create the white stripes in between the red ones. If you want a truer white than the board you’re using, you could paint the board before you begin. Because I am using pine, it’s a pretty light color already and I really like the wood grain in it.
NOW FOR THE BLUE
– When you finish with the red, switch to the blue tape and start in the top left corner, carefully laying down strips of that tape.
– Make sure your stars face the way you want them to and remember to stagger each row if you want them offset, like they are on a real flag.

– Use your craft knife to get precise straight(ish) lines where the blue square stops. I wasn’t too particular, but use your ruler if you want it to be straight and even.
HELPFUL TIPS AND TRICKS
I did end up going over the board with a layer of polyurethane to help hold the tape in place. (A glue stick will also help if your tape keeps coming up.) It actually added an antique look to the flag, which was kind of neat.
I think these USA Flag Crafts would make super cute coasters if you scaled the proportions down a bit.
There are some great options to display your USA flag craft. Sawtooth hangers are inexpensive and easy to install. The real no muss, no fuss solution.
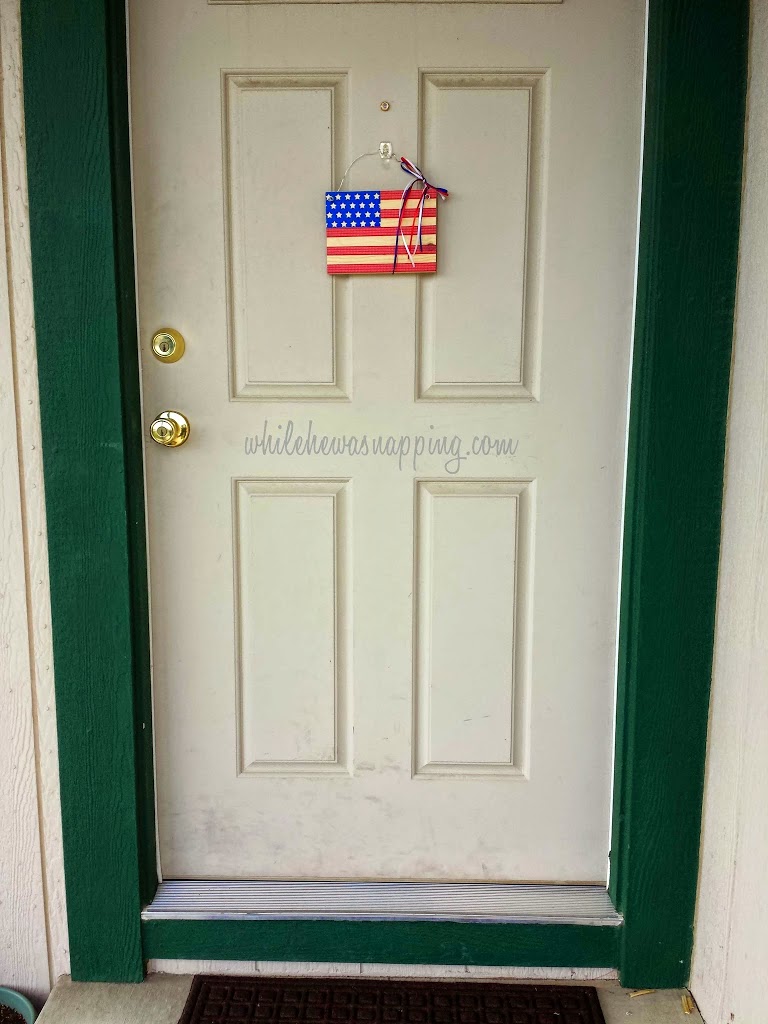
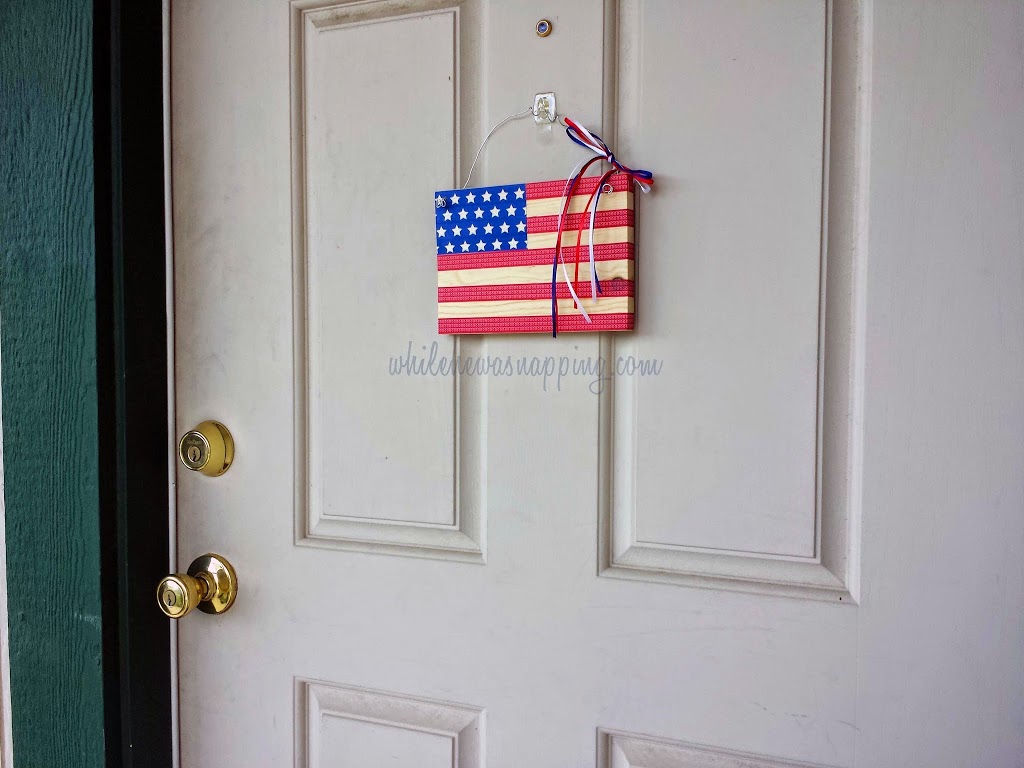
I ended up drilling a couple holes and then looped some picture hanging wire through them and tied some ribbon on it for a little more cutesy finish and hung it on our door.
THE BEST PART?
I like that it’s not huge, but the bright colors will still draw the eye. It’s a nice wreath alternative. Because, seriously, who has the room to store a wreath for every holiday? Uh, not me. A 5×7″ wooden board, I can probably handle though.
As I mentioned, there are some other really great projects from some super talented bloggers. Don’t miss the other great features in this series! Check them all out!
*After some looking around… I found the red swirly washi tape HERE and the blue star tape HERE. These are not affiliate links, just what I found with my own Google searches. Hopefully, they will help you complete your own washi tape USA flag craft.
