While He Was Napping

momma gets stuff done

  • Home
  • About
  • Archive
  • Do It Yourself
    • Crafts
      • No Sew
      • Painting
      • Paper Crafts
      • Repurpose Projects
      • Vinyl
      • Washi Tape
      • Kid’s Crafts
      • Fonts
    • Sewing
    • Decorate
      • Home Decor
      • Holiday Decor
    • Celebrate
      • DIY Gifts
      • DIY Your Party
  • Recipes
    • Beverages
    • Appetizer
      • Bread
      • Other Appetizers
    • Snacks
    • Main Dish
      • Meat
        • Chicken
        • Beef
        • Pork
        • Seafood
      • Vegetarian
      • Slow Cooker
      • 30 Minute Meals
    • Dips & Sauces
    • Salads
    • Pasta
    • Soup
    • Dessert
      • Cookies
      • Brownies
      • Cupcakes and Cake
      • Box Mix Recipes
      • Other Sweet Treats
    • Breakfast Food
      • Pancakes
      • Waffles
      • Muffins
      • Other Breakfast Food
  • Family
    • Babies
      • Pregnancy
      • Newborns
      • The 1st Year
    • Toddlers
    • Preschoolers
    • Kindergartners
    • 6-8 Year Olds
    • The Grown Ups
      • Date Night
      • Romantic Gifts
    • Self Care
  • For the Home
    • Cleaning
    • Organizing
    • Emergency Preparedness
  • Travel
    • Travel Tricks & Tips
    • Traveling with Kids
  • Tech & Gadgets
    • Must-Have Apps
    • Techy Home Appliances
    • Gadgets & Electronics
    • Blogging Tips
  • Printables
    • Posters
      • Quote Printables
      • Subway Art Printables
    • Printable Organizers
    • Printable Journals
    • Learning Printables & Worksheets
    • LDS Printables
  • Holidays
    • New Year’s
    • Valentine’s Day
    • St. Patrick’s Day
    • Easter
    • Cinco de Mayo
    • Mother’s Day
    • Father’s Day
    • 4th of July
    • Back to School
    • Halloween
    • Thanksgiving
    • Christmas
    • Holiday & Seasonal Printables

May 31, 2016 by Krista

Chocolate Caramel Poke Cake

This shop has been compensated by Collective Bias, Inc. and its advertiser. All opinions are mine alone. #CelebrateWithM #CollectiveBias

While He Was Napping Welcome Banner

Hey, I’m thrilled you’ve stopped by today! So… I have a question for you… Do you have a sweet tooth?

Did you say yes? If so, you’ve come to the right place. Especially if you have a thing for chocolate and caramel. Or sweet and salty. This will tickle your taste buds into ecstasy.

Chocolate Caramel Poke Cake M&M's and Skittles RWB

Here’s one more question… Have you ever made your own caramel? I used to help my grandma when I was little and what I remember most are the arm cramps I got from stirring the pot. I really had no desire to make caramel without my grandma…

… Until this barely-stir recipe entered my life. It’s absolutely amazing and super simple. It takes a little bit of time, but you can totally just set it and check on it every so often. There’s no heavy arm work!

If you’re in a rush and don’t have time for homemade from scratch, that’s ok! I’ve got a quick and easy version for you too. Check that recipe out down below.

HOMEMADE FROM SCRATCH CHOCOLATE CARAMEL POKE CAKE

CHOCOLATE CAKE RECIPE

Print This Recipe
Chocolate Cake

Prep time:  20 mins

Cook time:  30 mins

Total time:  50 mins

Serves: Approx 20 servings

A not-too-sweet chocolate cake that is moist, light and fluffy and perfect for poke cakes.
Ingredients
  • 1 c. white sugar
  • 3 eggs
  • 2 c white flour
  • 1 c milk
  • ¼ c butter
  • 2 tsp vanilla extract
  • 2 tsp baking soda
  • 6 tbs cocoa
Instructions
  1. Preheat oven to 350°F. Lightly grease a 9x13" glass pan.
  2. In a large mixing bowl cream together sugar and butter.
  3. Beat in eggs.
  4. Add vanilla.
  5. Chocolate Caramel Poke Cake Mixing Cake
  6. Combine flour and baking powder. Mix well.
  7. Stir in milk until batter is smooth.
  8. Pour into pan. Lower oven temperature to 325°F and bake for 28-32 mins.
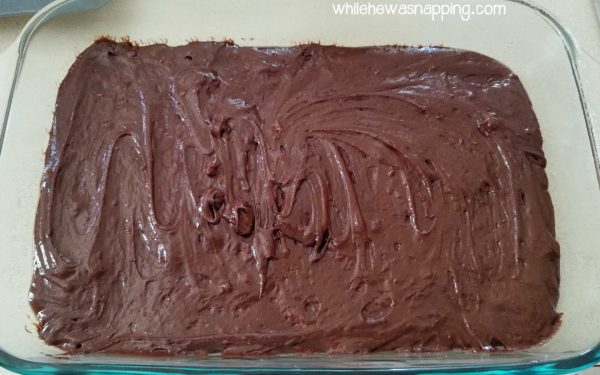
  9. Chocolate Caramel Poke Cake Cake in Pan
  10. (This is the perfect time to get your caramel started. See recipe below.)
  11. Remove from oven and allow to cool for about 5 mins.
  12. Use a butter knife to poke holes in the cake. The more holes you make, the more caramel will soak down inside. Poke your knife into the cake and give it a little twist to make the holes bigger. The caramel will soak in better.
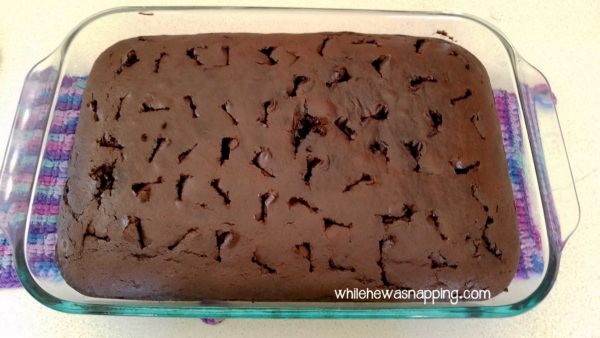
  13. Chocolate Caramel Poke Cake Poke Cake
3.5.3208


CARAMEL SAUCE RECIPE
(I originally found this recipe on leafytreetopspot.blogspot.com a few years ago and I LOVE it. I tweaked it slightly to fit my needs for this recipe. You can see the original recipe at the link above.)

Print This Recipe
Caramel Chocolate Poke Cake

Prep time:  20 mins

Cook time:  35 mins

Total time:  55 mins

Serves: Approx 20 servings

The perfect sweet and salty dessert that will leave your taste buds wanting more!
Ingredients
  • - ¼ Cup butter
  • - 2 cups sugar
  • - 1 Cup light corn syrup
  • - ½ tsp salt
  • - 1 Cup whipping or heavy cream
  • - 2½ tsp vanilla extract
Instructions
  1. ** If you're in a hurry or don't want to mess with making your own caramel sauce, just use a jar of your favorite caramel sauce from the store and skip to step 11.
  2. In a large pot, melt the butter over medium heat on the stove.
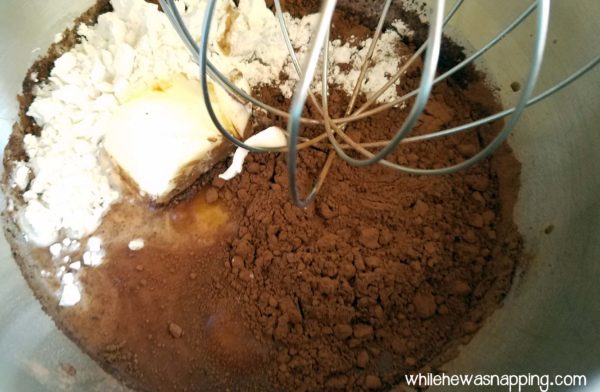
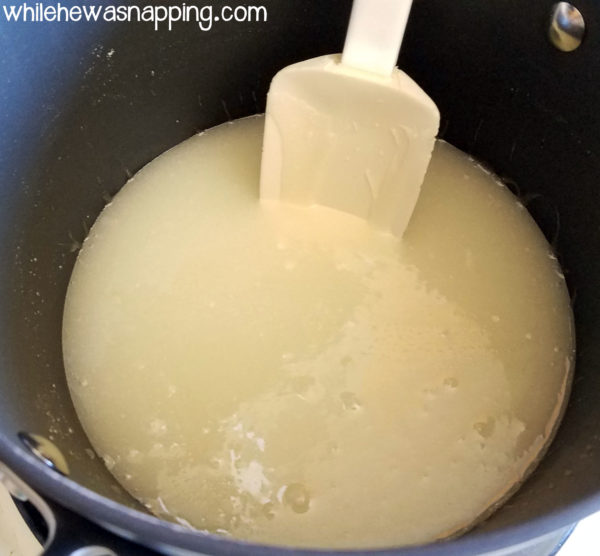
  3. Increase heat to medium-high. Add sugar and corn syrup and mix until well blended.Chocolate Caramel Poke Cake Sugar Mix
  4. Add the salt and combine with a spatula.
  5. Slowly stir the mixture until it comes to a boil.
  6. Reduce heat to medium low and let boil 4 minutes without stirring.
  7. Remove from heat and slowly stir in the whipping cream. Be careful and don't pour too much in too quickly. It might spatter and could burn. Stirring nice and slow will help get the cream mixed in smoothly as well.
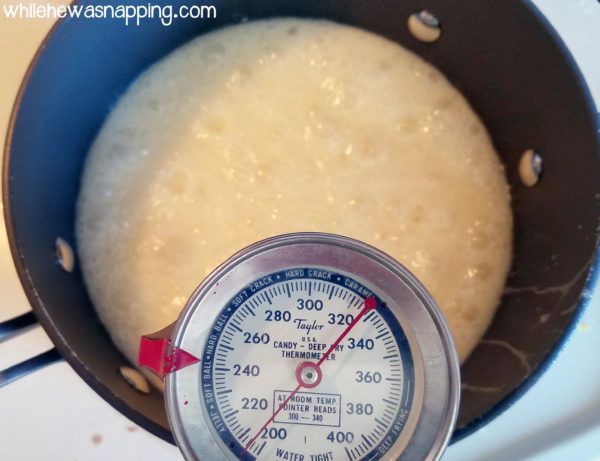
  8. Return to medium low heat and continue cooking without stirring until mixture is 245°F on a candy thermometer.Chocolate Caramel Poke Cake Boiling Caramel Sugar Mix
  9. *Note: This makes the caramel a firm chewy candy. You'll probably have to cut the caramel on the cake with kitchen shears, but I love the chewy texture. For most people, a caramel sauce will be more to your liking. There's lots of recipes, but I've never tried any and don't have a favorite to point you to. You can even add sea salt to the sauce and make it salted caramel sauce if you'd like.
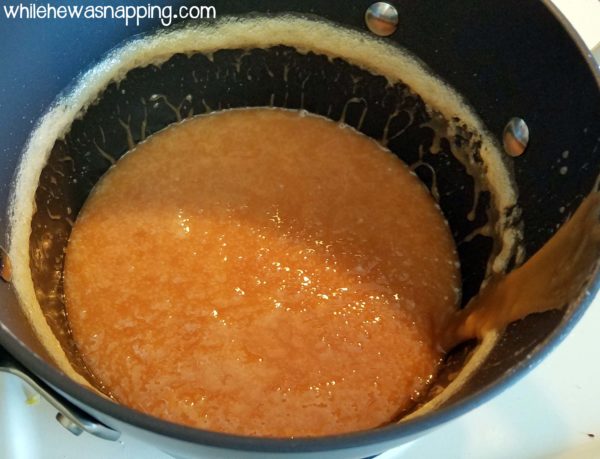
  10. Remove from heat and stir in vanilla. Chocolate Caramel Poke Cake Caramel
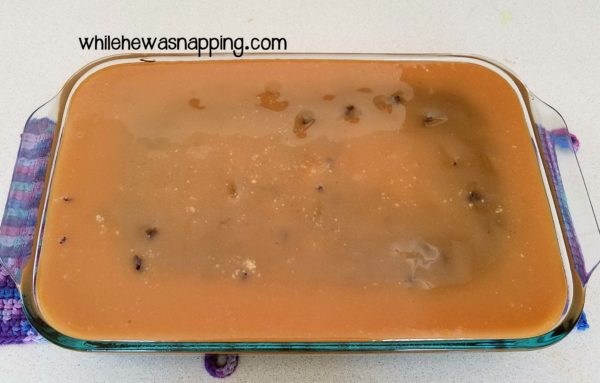
  11. Pour caramel over the cake (recipe above). If your cake is domed after you bake it, you can use a spatula to pull the caramel back to the middle as it soaks in and cools down.Chocolate Caramel Poke Cake Caramel Cake Topping
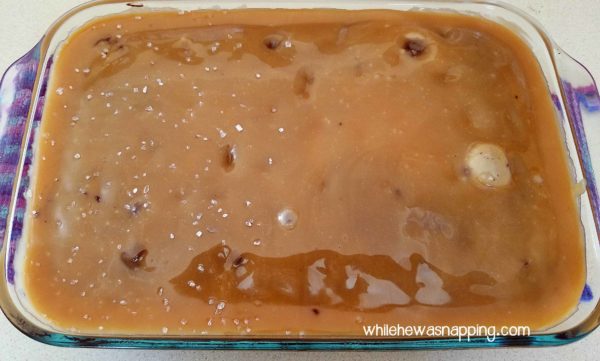
  12. If desired, sprinkle caramel with sea salt before it cools too much. If the top has already started to firm up, you can gently press the salt into the caramel with the palm of your hand. Be careful, the caramel will still be hot!Chocolate Caramel Poke Cake Caramel Cake Salted
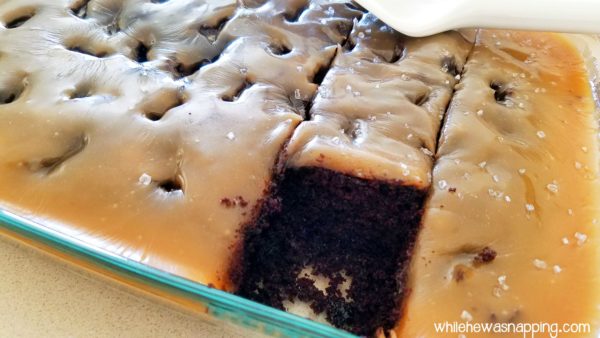
  13. Allow to cool completely (2-3 hours). Slice and serve topped with whipped cream, pretzel sticks and M&M's® Red, White & Blue Milk Chocolate for the perfect sweet and salty ode to America.Chocolate Caramel Poke Cake Piece Missing
3.5.3208

This cake is super moist, not too sweet and the perfect blend of sweet and salty. I  wanted to add some patriotic love to this cake and the M&M’s® Red, White, & Blue Milk Chocolate were perfect. They also have M&M’s® Red, White, & Blue Peanut that compliment the sweet and salty of the cake just right.

Maybe you’re more a Skittles® fan? Well, there’s Skittles® Red, White, & Blue too! I’m not sure I’d eat them with the chocolate caramel cake, but they are pretty tasty little treats.

Chocolate Caramel Poke Cake Just M&M's and Skittles

Right now MARS/Wrigley is showing appreciation of our troops by donating M&M’s® to the troops for every bag purchased at Walmart. Select stores will have representatives sharing more information about the “1 For You, 1 For the Troops” campaign exclusively at Walmart.

Chocolate Caramel Poke Cake M&M's and Skittles InStore

Did you know that M&M’s® were originally created for the troops?  Keep the tradition going and buy M&M’s® at Walmart or Walmart.com.

Supporting the troops is definitely something I can get behind. America has always held a special place in my heart. I truly love this country, despite any flaws she may have.

When I met my husband, he was a soldier. We have lived the life of a military family and I had a love-hate relationship with the military, for many reasons. But, I will be forever grateful for and to the courageous and selfless men and women who defend our freedom. The brave people who leave their families to stand against and protect our rights and privileges. I admire and respect the families that are left behind, the single parents who hold their homes and families together while the one they love most is thousands of miles away, often in mortal danger.

MyHandsomeHusband

The men, women and families who make up our armed forces are some of the strongest, bravest, courageous and selfless people I have ever had the privilege to know. I am so grateful for the time we had among those heroes. I will always respect, admire, and love those who have, who do and those who willingly sacrifice holidays, birthdays, anniversaries, time with their families, their health and even their lives to protect this country and all those within her borders.

If purchasing a bag of M&M’s® or Skittles® can help lift a service member’s day with a small treat, it’s the least I can do. Help support our troops and grab a bag (or two!) at Walmart today. And check out more fun patriotic recipes for your celebrations this summer!


I hinted at the quick and easy version earlier; but, as promised, here’s the recipe. This is a little different consistency and flavor, but still really yummy.

QUICK AND EASY
CHOCOLATE CARAMEL POKE CAKE

Print This Recipe
Chocolate Caramel Poke Cake

Prep time:  10 mins

Cook time:  30 mins

Total time:  40 mins

Serves: One 9x13" pan

Quick & easy chocolate caramel poke cake ready to serve in 45 minutes!
Ingredients
  • 1 Family-sized Chocolate cake mix box (should bake in a 9x13" pan)
  • 12 oz bottle Caramel ice cream topping
  • Sea salt to garnish (optional)
  • Whipped cream
  • Pretzel sticks
  • M&M's® Red, White, & Blue Peanut
Instructions
  1. Mix and bake the cake according to the directions on the back of the box.
  2. Remove the cake from the oven and allow to cool for 5-10 mins.
  3. Use a butter knife to poke holes in the cake. The more holes there are, the more caramel will soak in. You can give the knife a twist after you poke it in the cake to make the holes a bit bigger.
  4. Pour half the caramel over the cake and let it sit and soak in for 10 minutes.
  5. Pour the other half of the caramel on top and let it soak in.
  6. Slice and served topped with whipped cream, pretzel pieces and M&M's® candies.
3.5.3208

June 11, 2014 by Krista

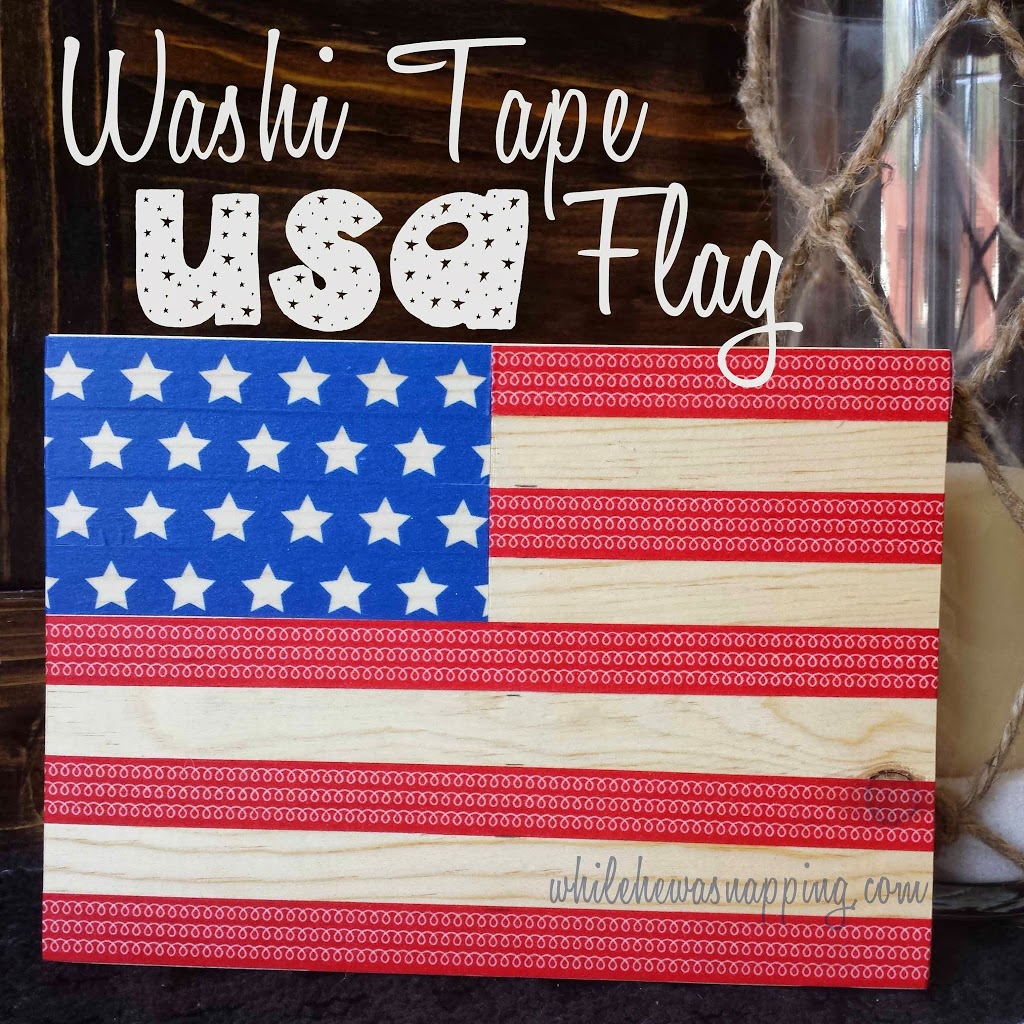
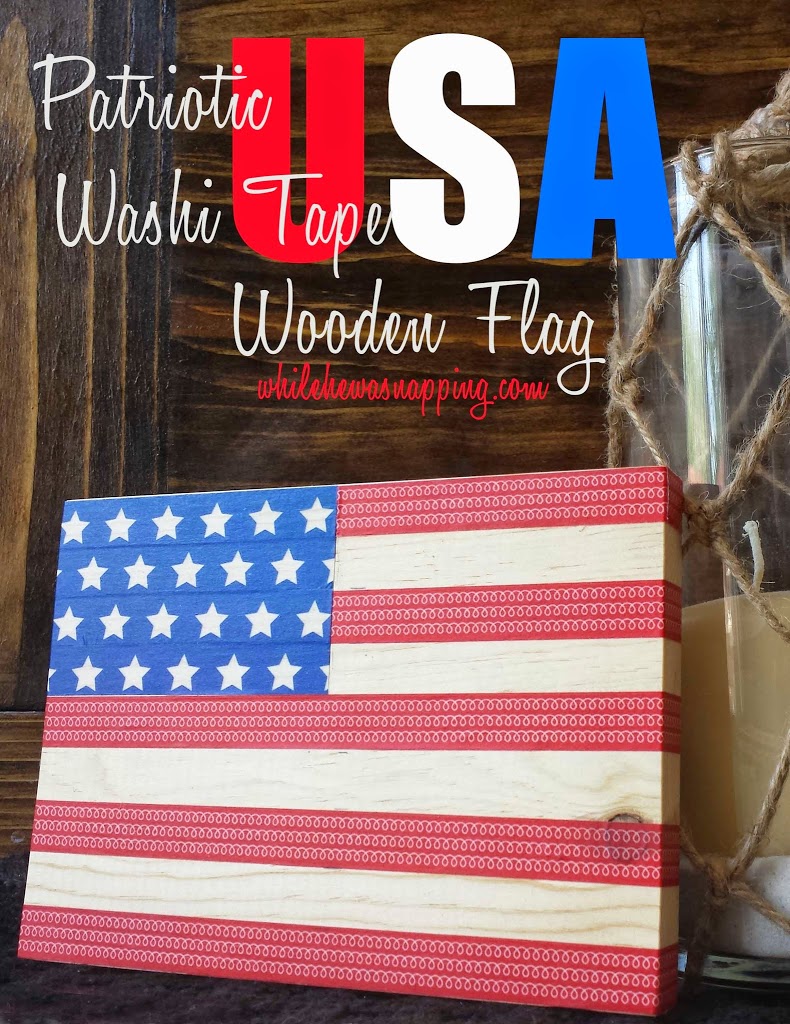
Washi Tape USA Flag Craft

I’m super excited to be part of Jen’s {from Girl in the Garage} Red, White and Blue Inspiration Series.  There have been some fun projects so far, which I’ll show off a little more in a minute or two.  You’re gonna want to check them out.  But first… I’m going to share a fun and super easy USA flag craft for your patriotic enjoyment!

This project is incredibly simple and took me about 20 minutes to do.  The supplies are simple and you can easily take this idea and run with it… how cute would these be as smaller, drink coasters?!

WASHI TAPE USA FLAG CRAFT

SUPPLIES NEEDED TO CREATE ONE USA FLAG CRAFT

Affiliate Link Disclaimer

– One 1″x6″ board cut at 7.5″ long.  You can get it at Lowe’s or Home Depot and if you ask nice, they’ll even cut it for you.
– Red Washi Tape – I like to buy washi tape on Etsy (SOLID RED | RED POLKA DOTS | RED CHEVRON | RED STRIPES)
– Blue Washi Tape – The blue star tape I used can be found on ETSY or AMAZON
– Craft Knife (I have THIS ONE in both the knife and swivel knife and really like them)
– Ruler
– Pencil
– Sandpaper (optional, but recommended)
– Polyurethane (optional, but also recommended)


DIRECTIONS TO CREATE YOUR USA FLAG CRAFT

MEASURE FIRST!

– If you want to shape your board and clean up any rough edges or imperfections, do so now.  I just took a quick swipe along the edges with sandpaper to get any splintery slivers and take a little of the edge off.
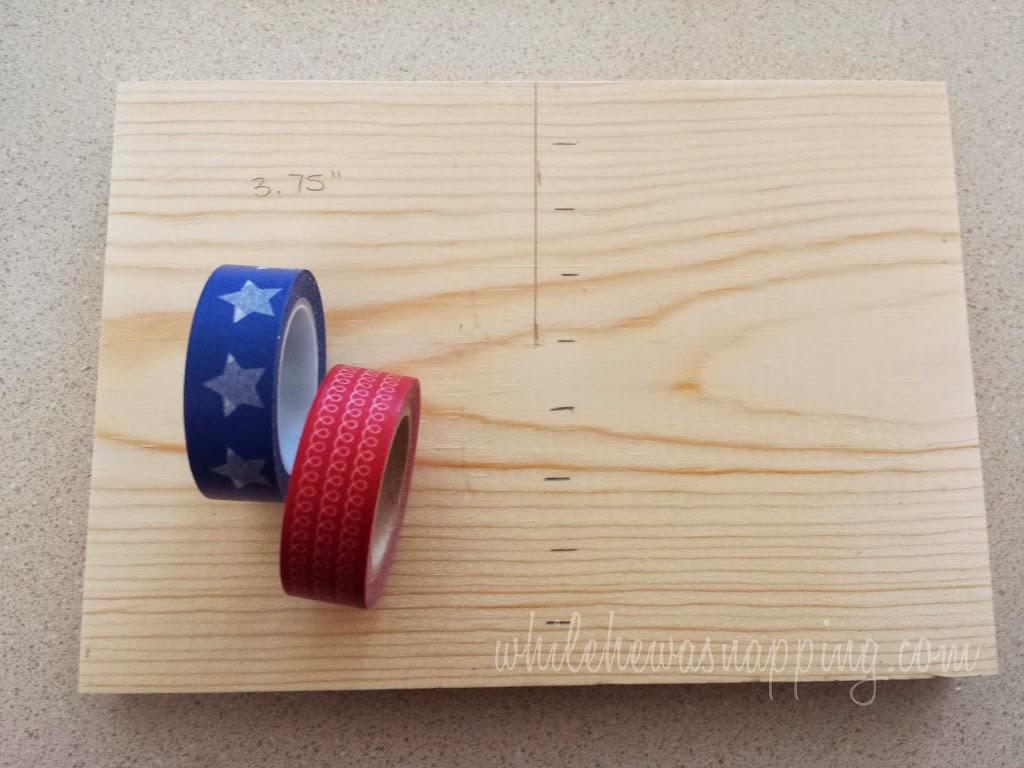
– Lay your board down horizontally.  Measure out 3.75″ from the top, left side of your board.  Mark it with your pencil. This space will be for the blue stars.

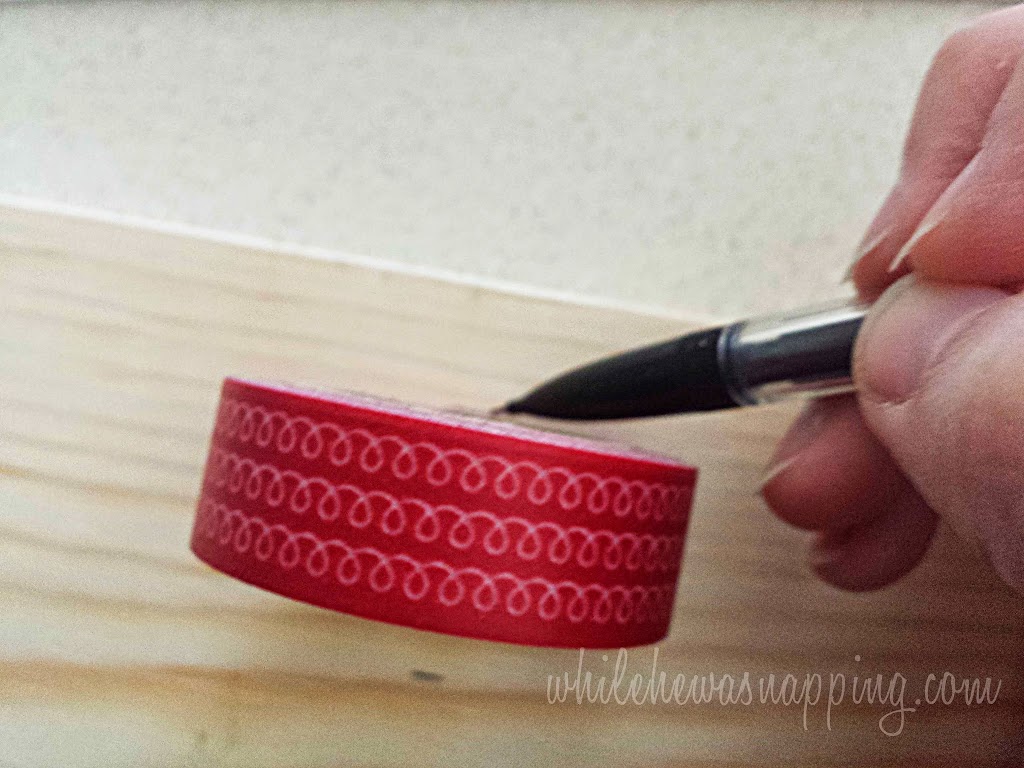
– Measure the stripes on your flag.  I did it the super technical way and just used a roll of washi tape to measure the width of each stripe.  Fancy, huh?

APPLY THE RED STRIPES

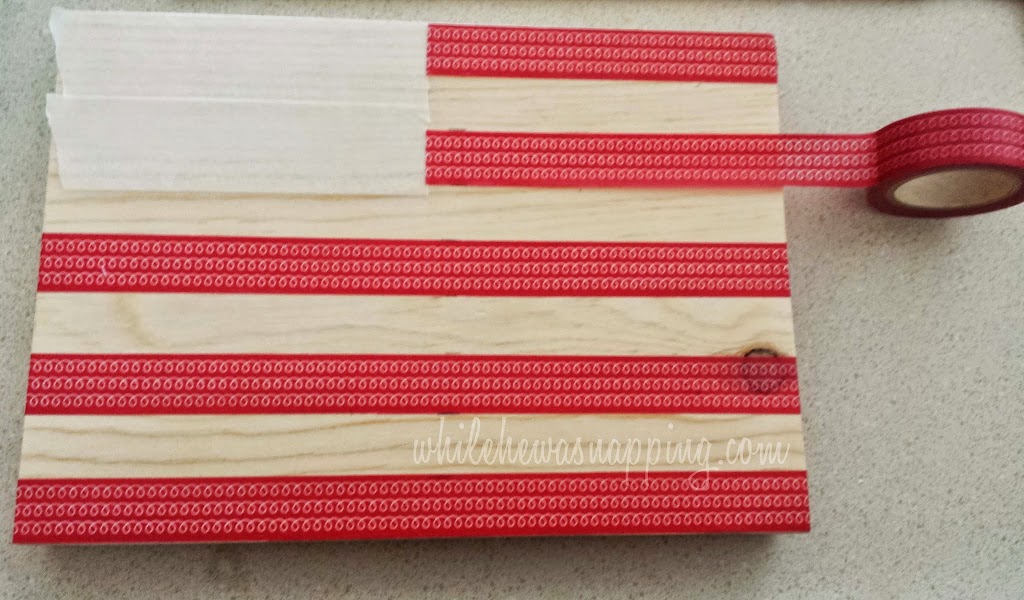
– Start with whichever tape you want, I did the red.  Following the measurements your marked on your board, lay down strips of tape.  I wrapped the edges of the board as well as the face.
– Skip every other line to create the white stripes in between the red ones.  If you want a truer white than the board you’re using, you could paint the board before you begin.  Because I am using pine, it’s a pretty light color already and I really like the wood grain in it.

NOW FOR THE BLUE

– When you finish with the red, switch to the blue tape and start in the top left corner, carefully laying down strips of that tape.
– Make sure your stars face the way you want them to and remember to stagger each row if you want them offset, like they are on a real flag.

– Use your craft knife to get precise straight(ish) lines where the blue square stops.  I wasn’t too particular, but use your ruler if you want it to be straight and even.

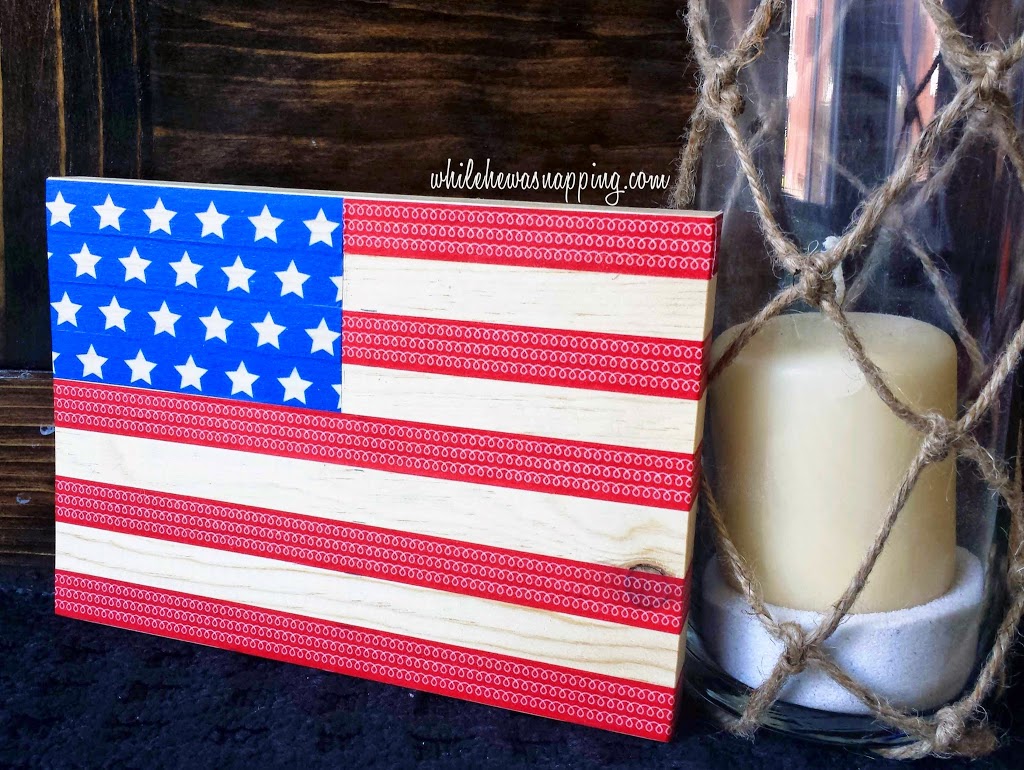
That’s it.  You’re done!


HELPFUL TIPS AND TRICKS

I did end up going over the board with a layer of polyurethane to help hold the tape in place.  (A glue stick will also help if your tape keeps coming up.)  It actually added an antique look to the flag, which was kind of neat.

I think these USA Flag Crafts would make super cute coasters if you scaled the proportions down a bit.

There are some great options to display your USA flag craft. Sawtooth hangers are inexpensive and easy to install. The real no muss, no fuss solution.

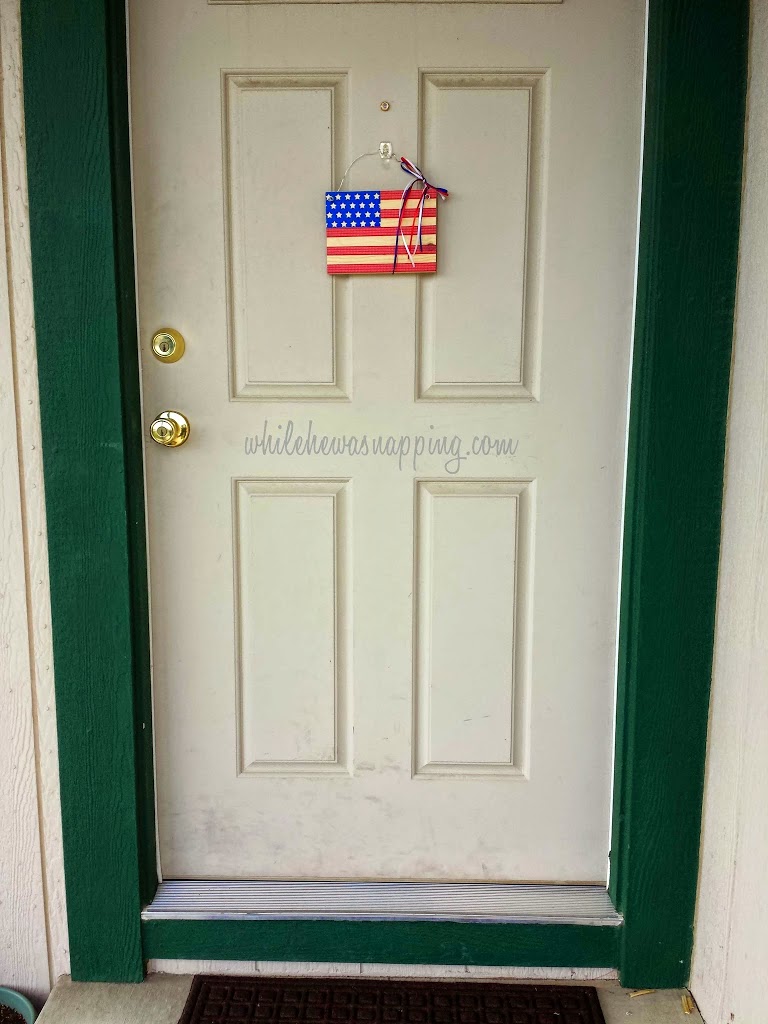
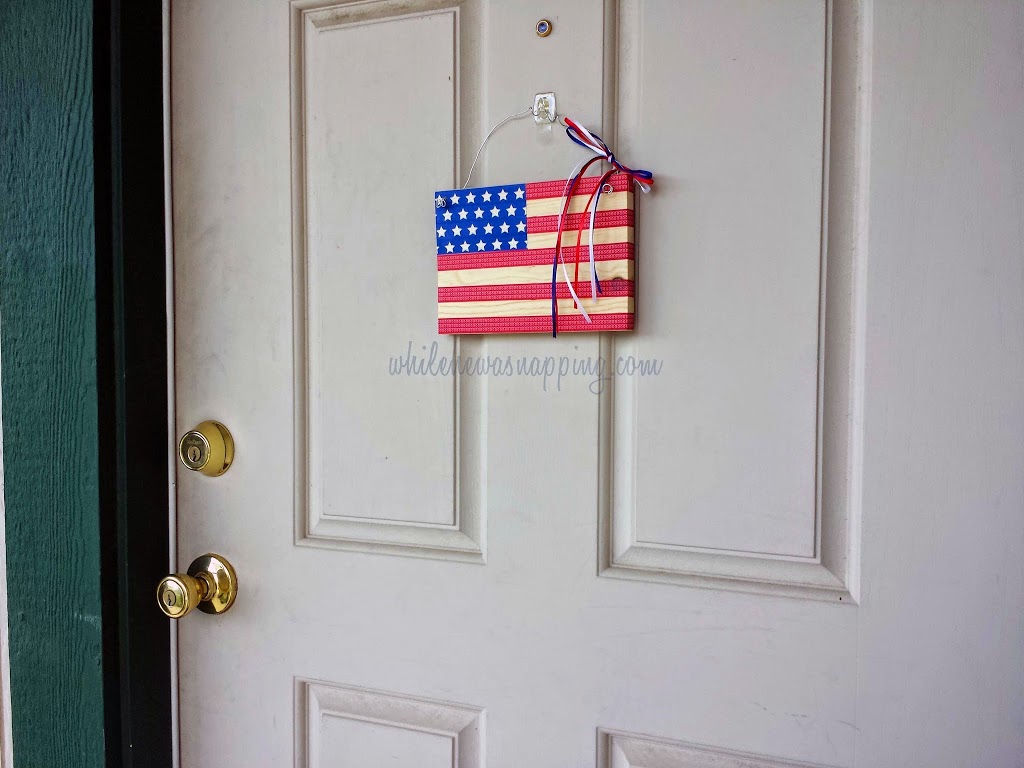
I ended up drilling a couple holes and then looped some picture hanging wire through them and tied some ribbon on it for a little more cutesy finish and hung it on our door.


THE BEST PART?

I like that it’s not huge, but the bright colors will still draw the eye.  It’s a nice wreath alternative.  Because, seriously, who has the room to store a wreath for every holiday?  Uh, not me.  A 5×7″ wooden board, I can probably handle though.


As I mentioned, there are some other really great projects from some super talented bloggers.  Don’t miss the other great features in this series!  Check them all out!


*After some looking around… I found the red swirly washi tape HERE and the blue star tape HERE.  These are not affiliate links, just what I found with my own Google searches. Hopefully, they will help you complete your own washi tape USA flag craft.


This post was written by Krista and originally appeared on While He Was Napping.


I'm Krista. Ringleader here on While He Was Napping, wife to my handsome Mr. Right & momma to my THREE energetic boys, Big J (9), Little J (6) & Little N (4). We FINALLY added a beautiful little girl to our family last December.

I’m knee-deep in Tonka trucks & Thomas trains. I survive our crazy days with Vanilla Coke, Sonic slushies, sweet snuggles and little giggles. When I tuck them in tight & kiss them good night, I get a little time to create & just be me.


It all happened
while (s)he was napping
Want More of My Story?

Privacy Policy

While He Was Napping respects your privacy and is committed to keeping any personal information collected on this website confidential. To find out what information we collect and how it is used or what options you have regarding your information, see our full privacy policy here. Creative Commons License The website found at whilehewasnapping.com and all subdomainsauthored and published by Krista is licensed under a Creative Commons Attribution-NonCommercial-NoDerivs 3.0 Unported License.

Pretty Chic Theme By: Pretty Darn Cute Design