While He Was Napping

momma gets stuff done

  • Home
  • About
  • Archive
  • Do It Yourself
    • Crafts
      • No Sew
      • Painting
      • Paper Crafts
      • Repurpose Projects
      • Vinyl
      • Washi Tape
      • Kid’s Crafts
      • Fonts
    • Sewing
    • Decorate
      • Home Decor
      • Holiday Decor
    • Celebrate
      • DIY Gifts
      • DIY Your Party
  • Recipes
    • Beverages
    • Appetizer
      • Bread
      • Other Appetizers
    • Snacks
    • Main Dish
      • Meat
        • Chicken
        • Beef
        • Pork
        • Seafood
      • Vegetarian
      • Slow Cooker
      • 30 Minute Meals
    • Dips & Sauces
    • Salads
    • Pasta
    • Soup
    • Dessert
      • Cookies
      • Brownies
      • Cupcakes and Cake
      • Box Mix Recipes
      • Other Sweet Treats
    • Breakfast Food
      • Pancakes
      • Waffles
      • Muffins
      • Other Breakfast Food
  • Family
    • Babies
      • Pregnancy
      • Newborns
      • The 1st Year
    • Toddlers
    • Preschoolers
    • Kindergartners
    • 6-8 Year Olds
    • The Grown Ups
      • Date Night
      • Romantic Gifts
    • Self Care
  • For the Home
    • Cleaning
    • Organizing
    • Emergency Preparedness
  • Travel
    • Travel Tricks & Tips
    • Traveling with Kids
  • Tech & Gadgets
    • Must-Have Apps
    • Techy Home Appliances
    • Gadgets & Electronics
    • Blogging Tips
  • Printables
    • Posters
      • Quote Printables
      • Subway Art Printables
    • Printable Organizers
    • Printable Journals
    • Learning Printables & Worksheets
    • LDS Printables
  • Holidays
    • New Year’s
    • Valentine’s Day
    • St. Patrick’s Day
    • Easter
    • Cinco de Mayo
    • Mother’s Day
    • Father’s Day
    • 4th of July
    • Back to School
    • Halloween
    • Thanksgiving
    • Christmas
    • Holiday & Seasonal Printables

March 15, 2011 by Krista

Spring Fever: Family Information Binder

There are certain things every family needs, specific pieces of information.  Sometimes the information changes often and sometimes, once it happens, it’s the law.  Some things we need to inform other about and some we keep confidential.  All of this information can be confusing and it’s easy to loose pieces of it with so much floating around.  We just made a trip to the Social Security Office last week to replace lost cards after months of searching for them… trust me, I know how easy it is to lose things.  Let me help you get some of these pieces of information organized.  I’m going to show you how to set up a basic Family Information Binder.

What you will need:
–  A Three Ring Binder (size will depend how much you decide to put in it)
–  Sheet protectors
–  Tabbed Dividers
–  Pen

I’m just going to stick with the basic stuff, the less personal stuff, right now.  I have a different filing method for things like our birth certificates, passports and social security cards.  Things I don’t want others to have easy access to.  I’ll revisit filing more personal documentation some other time.

I don’t have any information filled in due to the personal nature of the info… there are just some things I’d not have floating around the internet.  That being said, if you don’t fill in your info, the binder is kinda pointless – so make sure you do that!

Here’s the How:
–  First, decide what information you want in your binder.  Some ideas include:

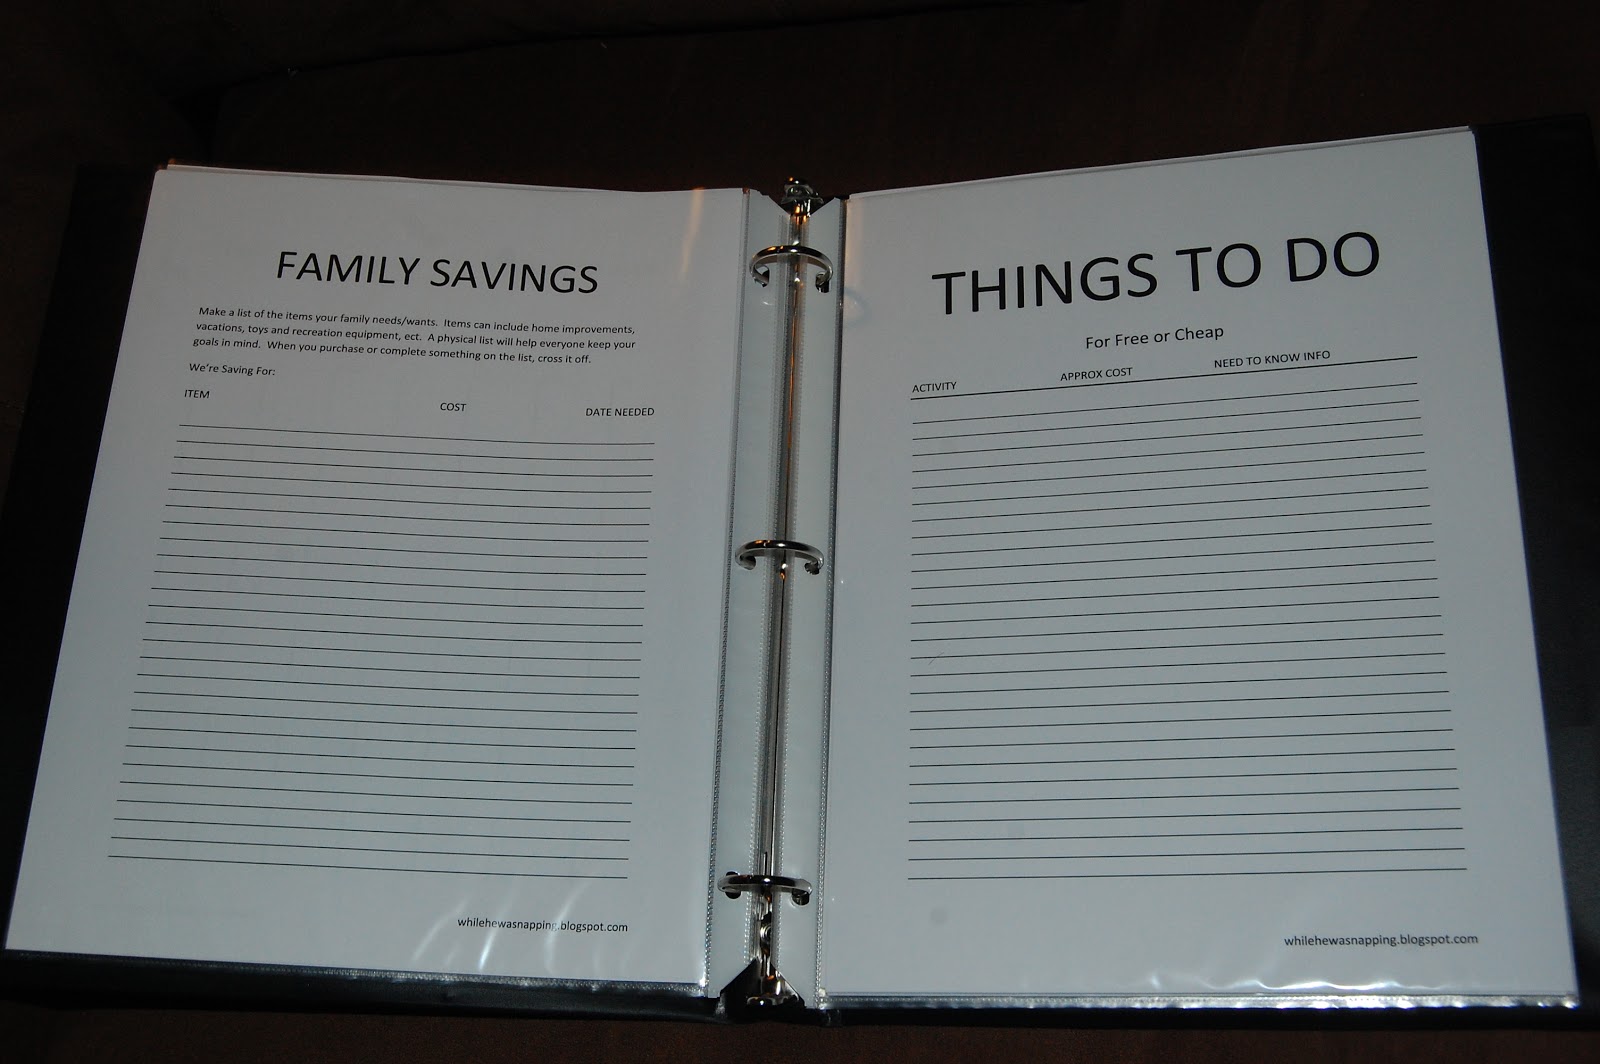
– Family Information
– Emergency Information
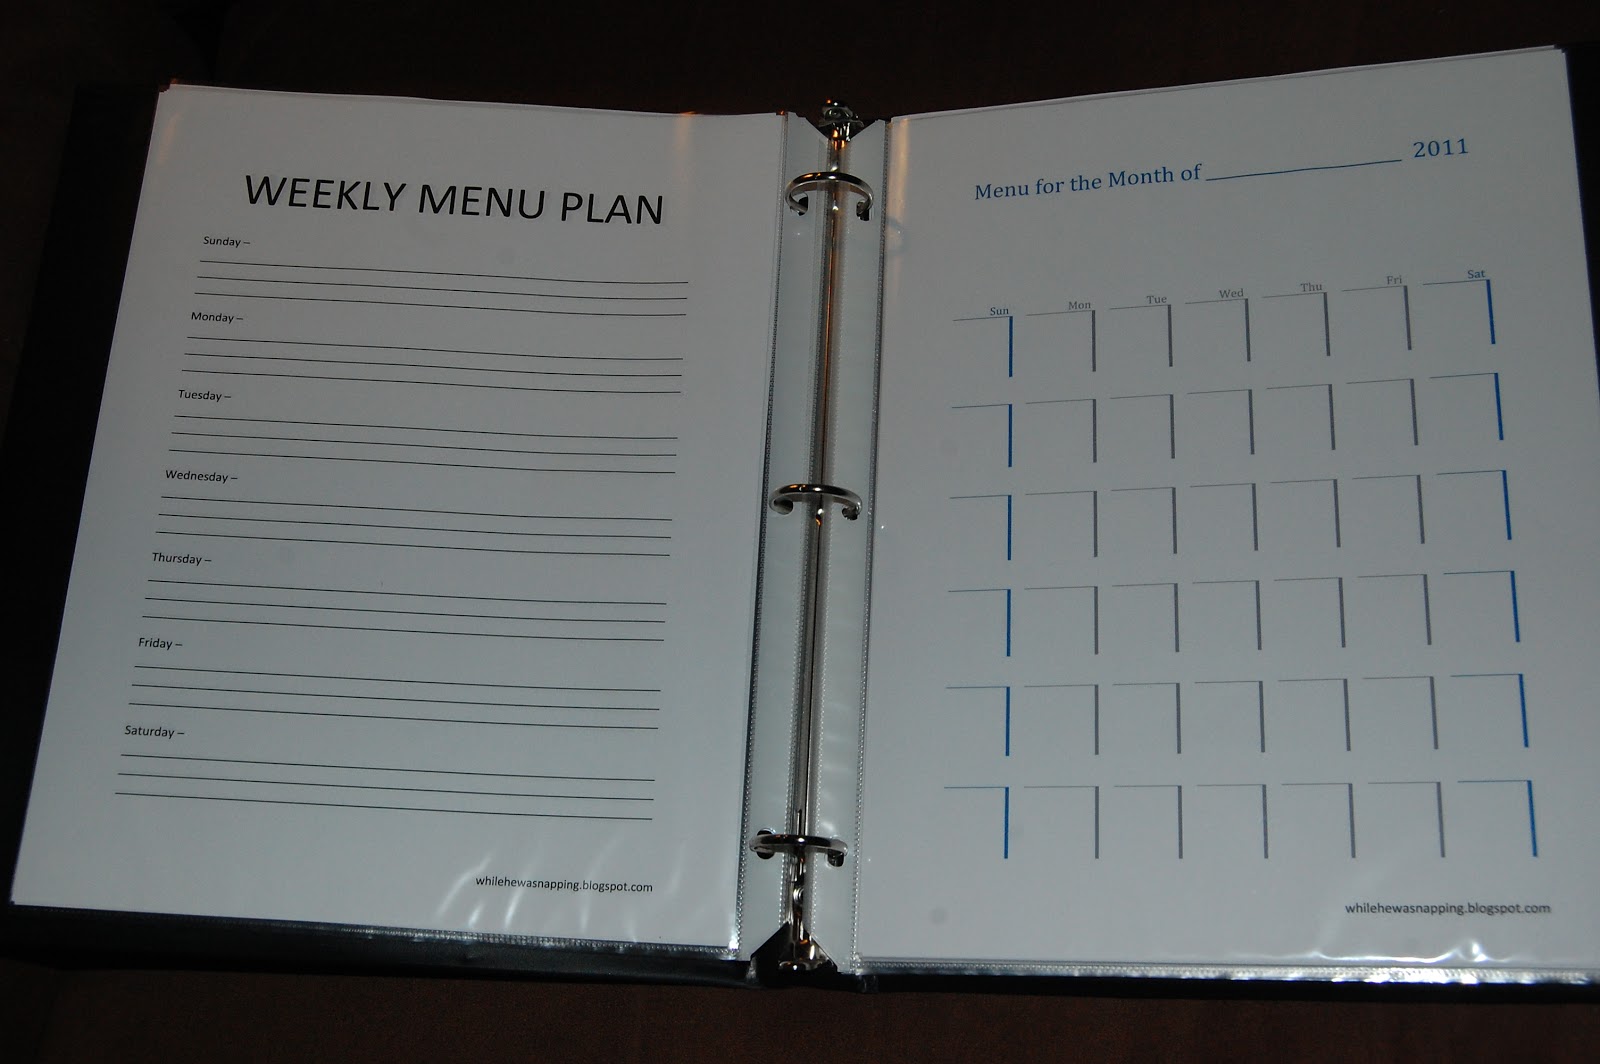
– Menu Plan
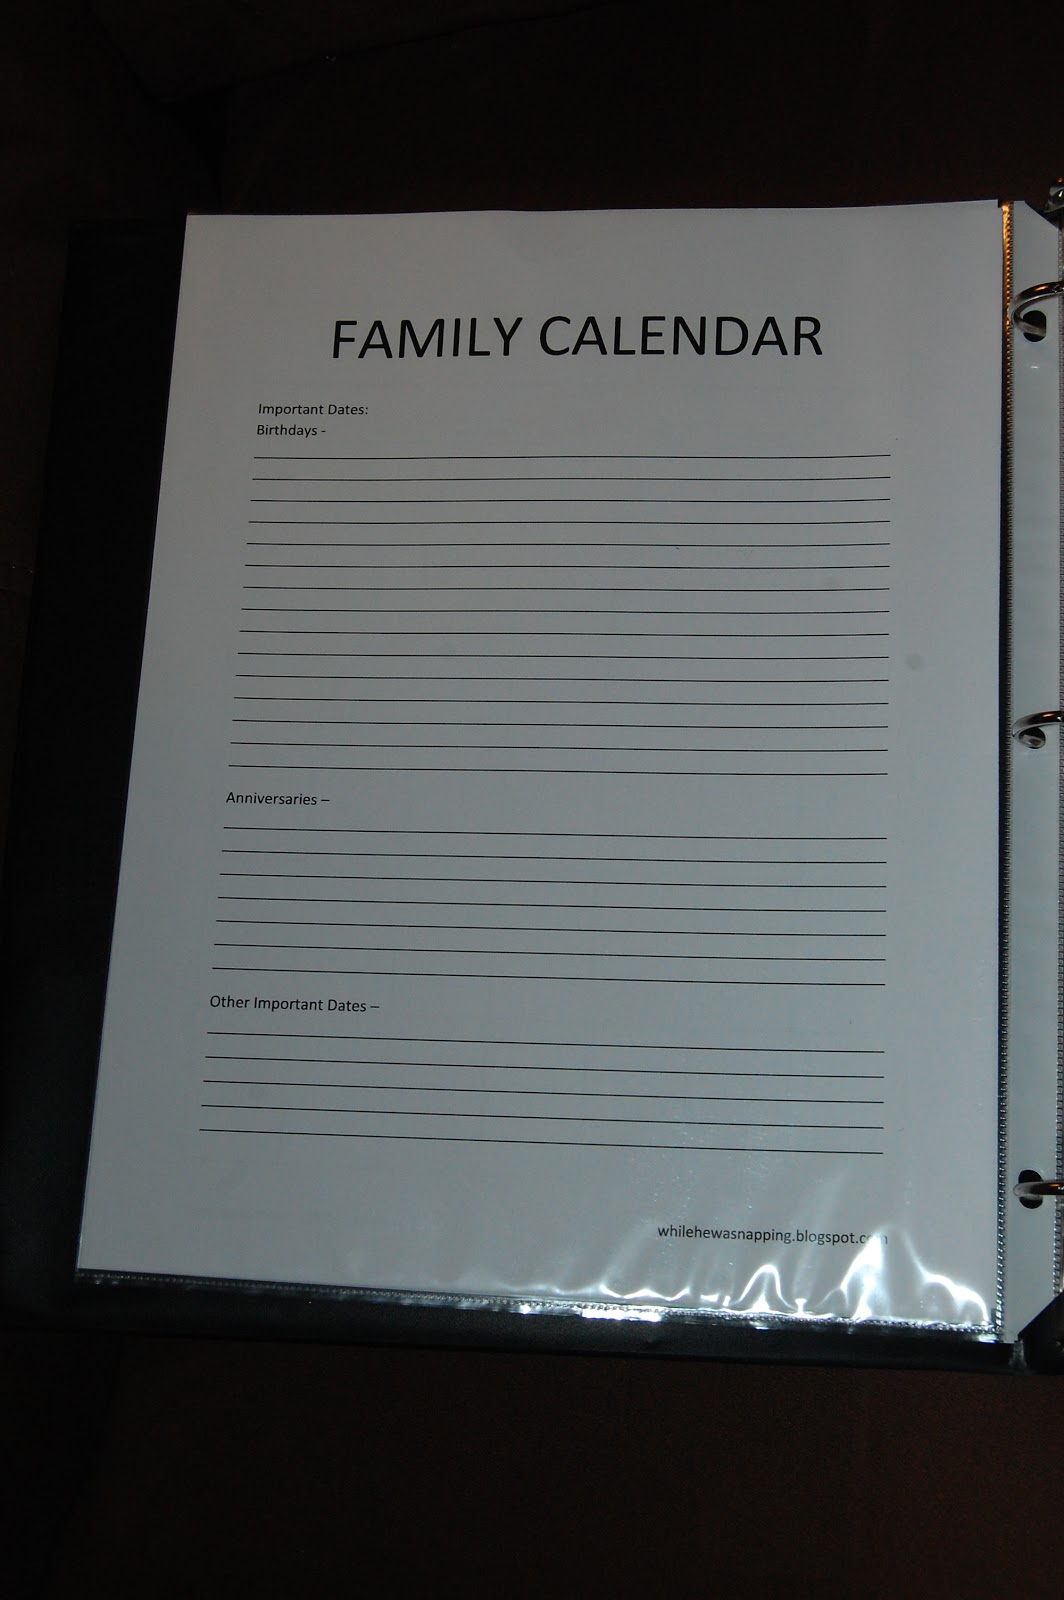
– Calendars for the family and for school
– Gift Ideas
– Things To Do (in your area)
– Family Savings Plan
– Household Chores Lists
– Contact Information for Family and Friends
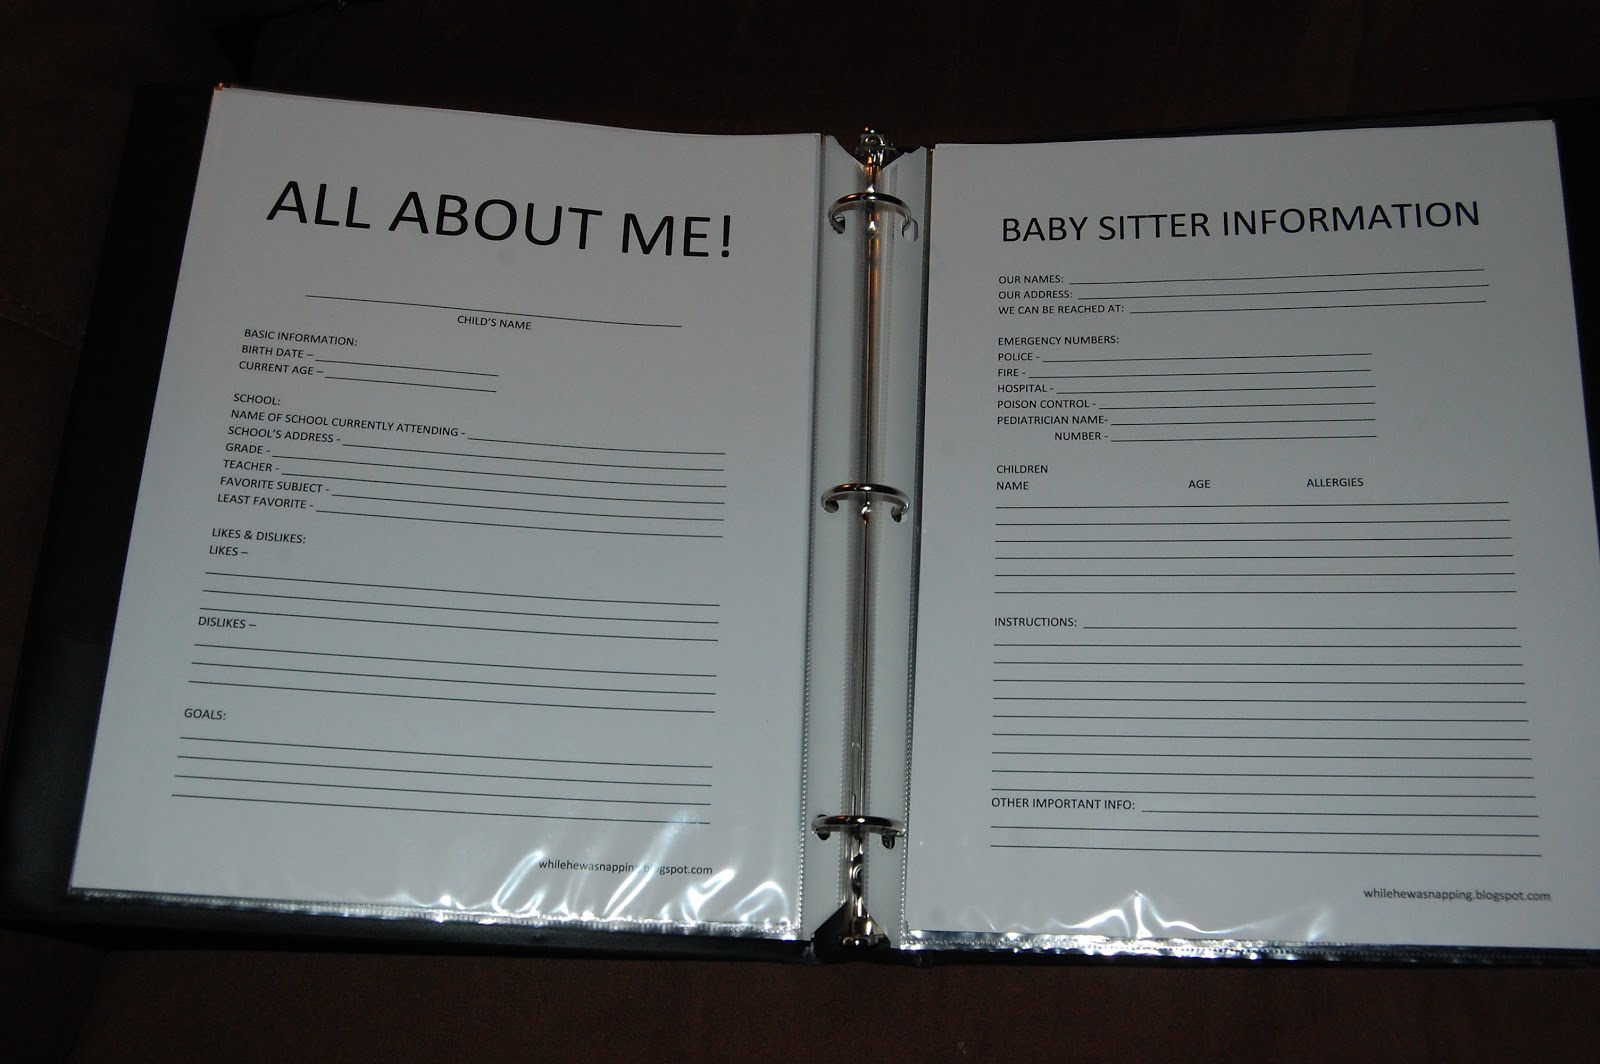
– Child Tracker Sheets
– Sitter Information
– Frequented Take Out Menus

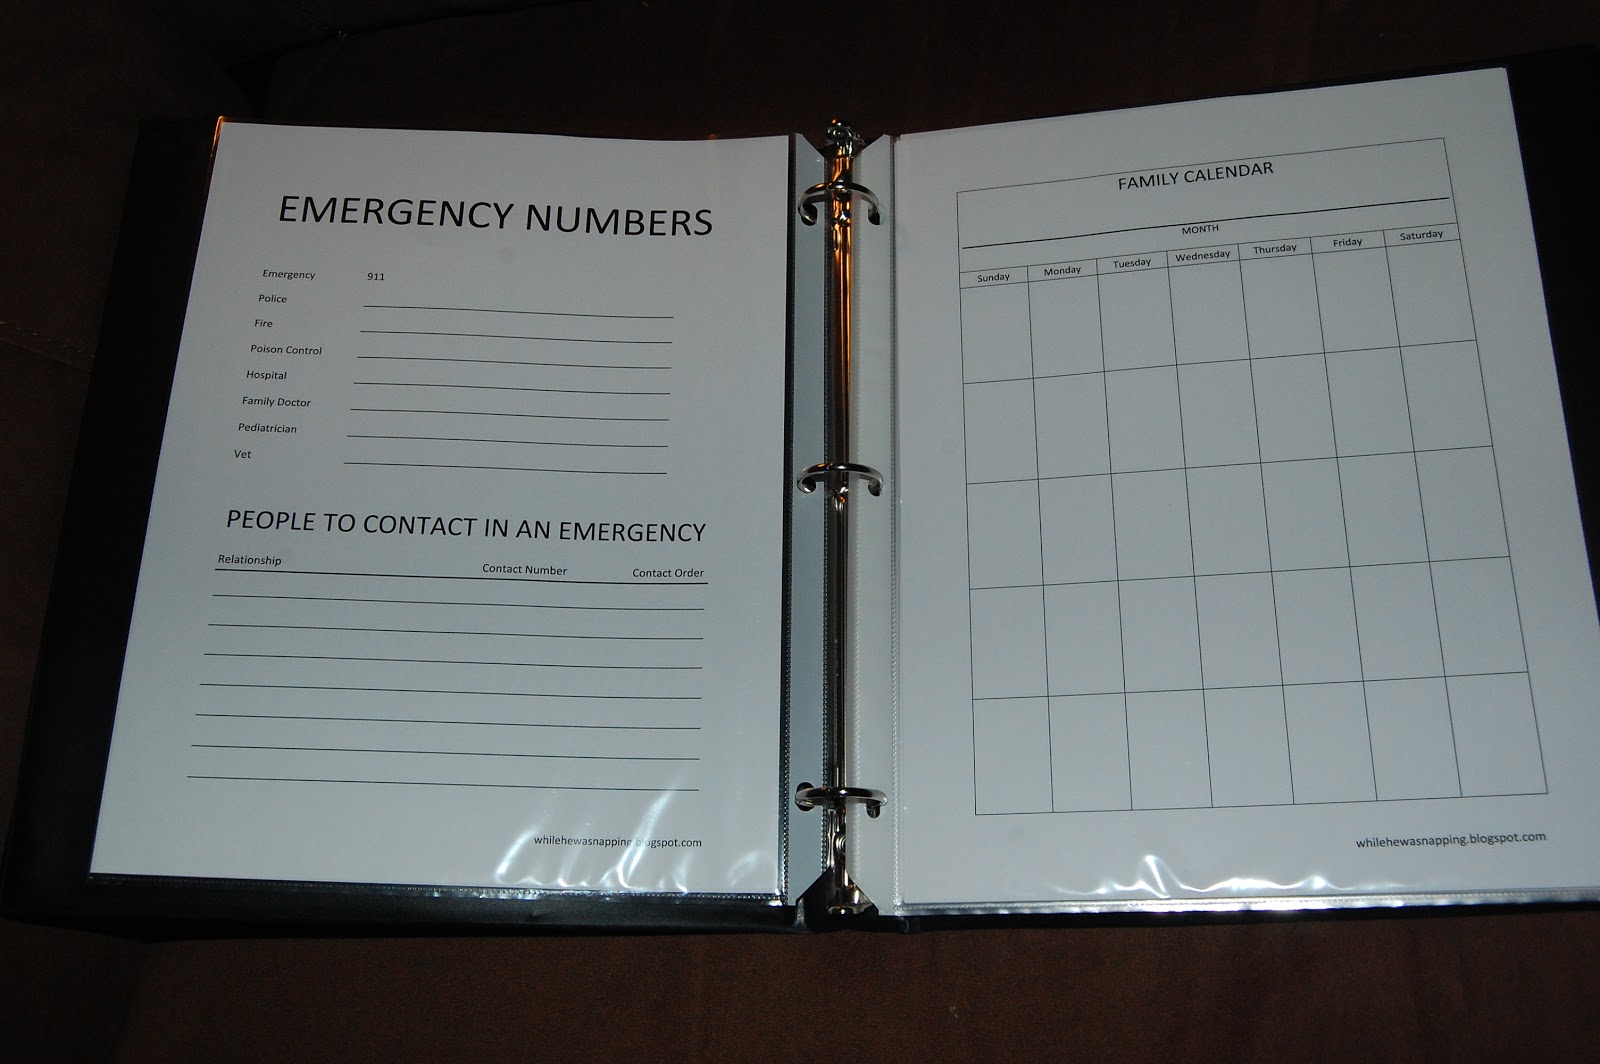
–  Decide how you are going to organize your binder.  I suggest having labeled, divided tabs to separate your sections.  Be as specific as you’d like.  I don’t have tabs. Instead, I organized it so that the information flows.  For example, our monthly meal calendar is on one side and the weekly, more detailed pages are on the other.

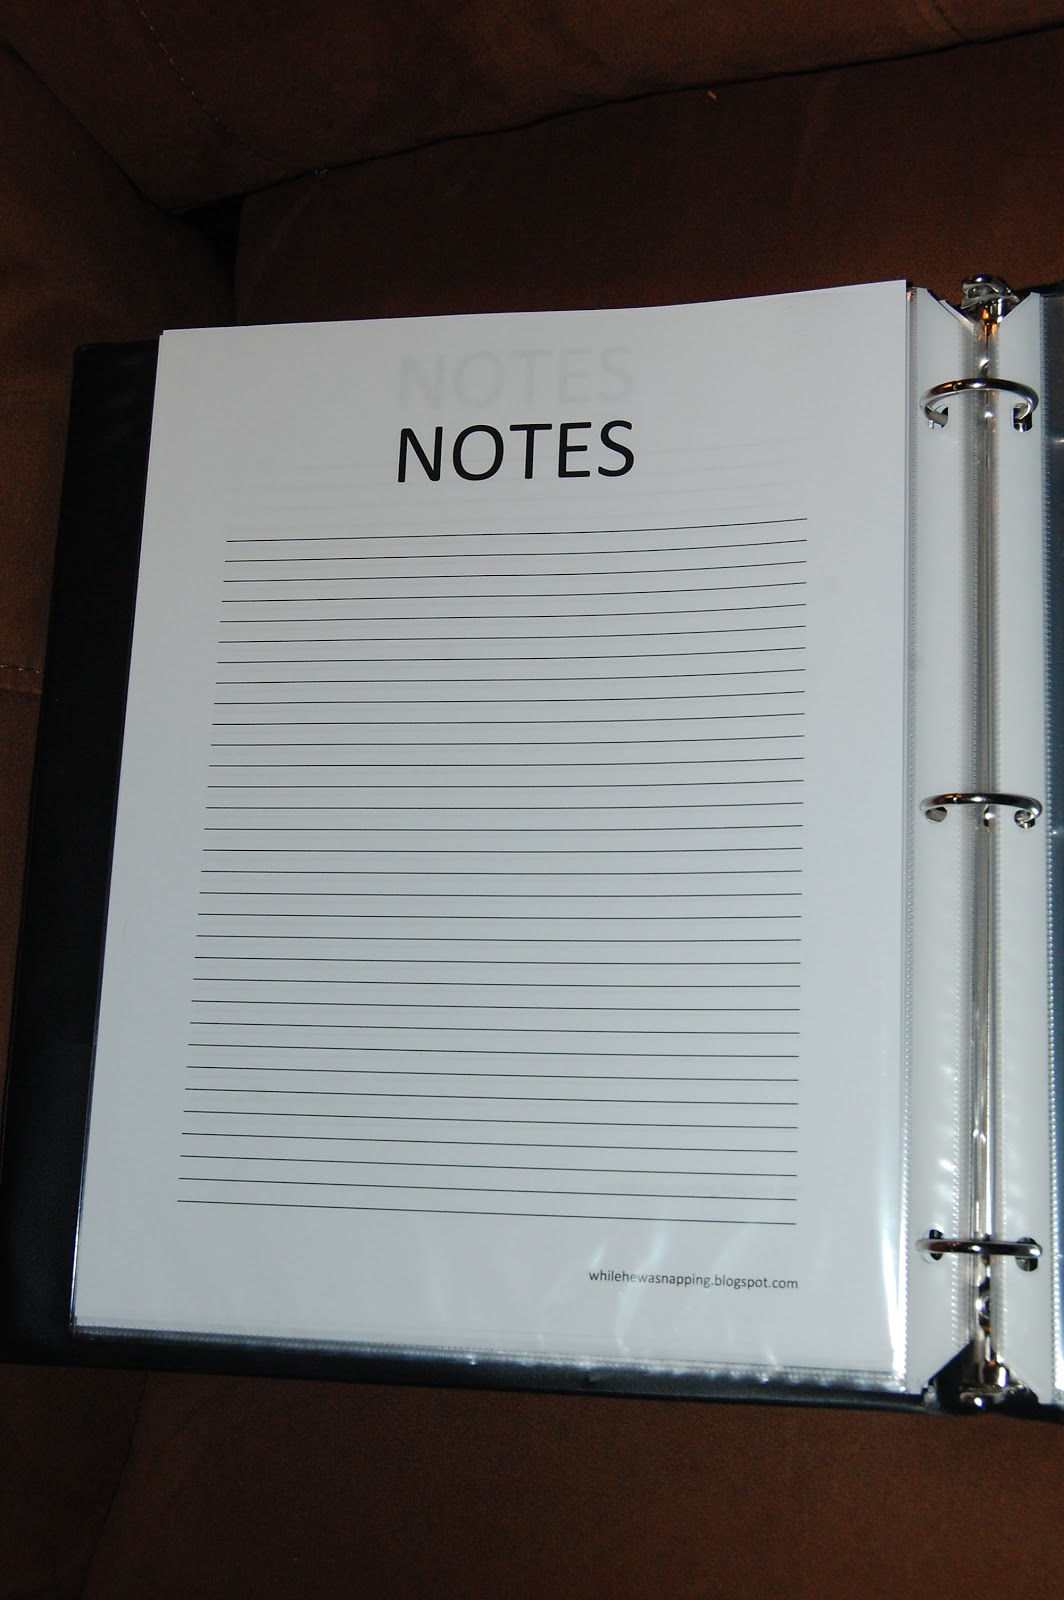
–  Begin dividing up the information by category and placing it in the binder.  For information that changes frequently, you may want to consider buying some wet erase markers (like teachers use on overhead projectors) and writing on the plastic sheet cover.  You can re-use the same page (like the baby sitter info sheet) over and over again without having to print off a hundred and three copies. 

 
–  I keep extra page protectors at the back of the binder, in case I want to add something else.  You could keep all the take out menus in one protector, but I’d probably have each page of emergency contact info in it’s own protector.

 
–  Once you have everything all divided up and in your binder, make sure all the information is filled in, up-to-date and accurate.  Having emergency numbers won’t help if it’s for the wrong hospital.

PRE-MADE INFORMATION SHEETS:
I wrote up 17 pages of information that I wanted to include in my binder.  If you would like a copy of my Family Binder worksheets, you can download them HERE.  It is a 17 page Word document.  The file is read-only, which means you won’t be able to put any of the information in electronically, you’ll have to print the pages and write the info in.

You are free to send your family and friends copies, use them for church activities, or girl’s nights or whatever your little heart desires.  All I ask is that you please don’t remove the watermark at the bottom of each page.  This way anyone you send them to will know where to get extras if they need them.  At this point there are 17 pages in the booklet and it took me some time to put it together, so please just be respectful of those terms.  Thanks!
   
This is just your basic, boring binder.  Eventually, I will probably cutesty it up, but that in no way effects the usefulness, so it will have to wait for another day…  Next on my to-do list:  72 hour kits!

If you want more information on family organization binders, check out these great sites:
http://zenhabits.net/organize-your-family-with-a-family-binder/
http://organizedhome.com/household-notebook
http://neverbored08.blogspot.com/2010/07/wfmw-family-information-binder.html
http://www.noordinarymomentsblog.com/2009/04/emergency-binder-family-information.html
http://www.noordinarymomentsblog.com/search/label/Emergency%20Binder
http://houseoforder.com/family/organize-family-family-information-binder/

March 14, 2011 by Krista

Spring Fever: Homemade Cleaning Solutions

Vinegar is a powerhouse product.  You can clean with it, cook with it, deodorize smelly man clothes with it.  It does almost everything.  Want proof, check this out!  It got me thinking, though.  Uh-oh, right?  What other common products make good cleansers?  Wanna know what I found?  Well, sit down and hang on to your seats, because here we go…


Baking Soda is mildly abrasive and naturally deodorizes.  Got a box in the fridge?  I have started using baking soda to clean my sinks and toilets.  I have also used it in dishes that have baked-on food.  You can also make a paste with water or vinegar (I prefer vinegar, seems to clean a little better) that you can set for 10-20 minutes on tougher grime.

Baking soda and lemon juice is an excellent deodorizer and smells less than vinegar.  Place equal amounts in a small dish, mix well and set around your home in smelly areas (like the bathroom or laundry room…).

Baking soda can be used to remove marks from walls and other painted surfaces.  Sprinkle a damp sponge lightly and gently rub on the affected area.  Rinse and dry.

I have only ever cleaned an oven once.  When we moved last year and it was, by far, the thing I hated the most about all the cleaning we had to do.  Wish I had known this one… Wipe down your oven with a damp sponge. Min 3/4cup baking soda, 1/4cup salt and 1/4cup water to make a thick paste, and spread around inside your oven. Be careful not to get any on bare metal and watch around the openings. Let the paste sit overnight. Remove with butter knife and wipe clean.  Tough spots may need to be scrubbed.  I haven’t tried this one, but I will the next time I have to clean an oven.  If nothing else, it would smell better than the chemical spray I used last year.

Hydrogen Peroxide and water make a great combo for killing and getting rid of mold.  Does your shower grout get moldy?  Mix 1:2 ration of hydrogen peroxide and water in a spray bottle.  Thoroughly coat the surface and let it sit for at least an hour.  Rinse well and let dry.

Rubbing Alcohol is another solution I didn’t know much about.  I’ve used it to removed stickiness that price tags have left behind and permanent marker from the bathroom counters, but I didn’t know about using it on glass, mirrors, windows and chrome fixtures.    Use a 1:1 ratio of rubbing alcohol and water.  Add 1 tbs of vinegar to every cup of alcohol for an added cleaning punch.  You can also use this recipe to make glass cleaning wipes.  Just add paper towels in a container.

Lemons are one of nature’s strongest cleaning agents.  To disinfect and clean your cutting boards, squeeze lemon juice on the cutting surface.  Let it sit for a couple minutes.  Rinse.  I really like that it won’t hurt my family if I happen to miss rinsing a spot, just add a little zing to dinner.

For a bleach-less dishwashing soap, mix equal parts of borax and washing soda.  You’ll have to increase the washing soda if your water is hard.  I do a one part borax and two parts washing soda to combat hard water stains.

Laundry detergent is expensive!  I haven’t had the chance to compare costs yet, but this recipe for a homemade detergent leaves me happy.  It cleans just as well as the Tide we used, but doesn’t have as many harsh chemicals in it.  I mix 1 cup Ivory soap, 1/2 cup washing soda and 1/2 cup borax. Use 1 tbsp for light loads; 2 tbsp for heavy loads.

I haven’t tried this one, but had to share it.  If you do try it, let us know if it works.  To remove water rings on a wooden table or counter top apply toothpaste or mayonnaise to a damp cloth and rub into the ring. Once the ring is removed, buff the entire wood surface.

Olive oil and lemon juice make a great furniture polish.  This is one recipe I am now hooked on.  We have a coffee table that gets grimy really easy.  Especially with Little Monkey around.  I’ve tried tons of products to help protect it, but I usually had to polish it about twice a week.  I tried this solution and now only polish every 7-10 days.  It’s easy and effective.  Mix 1.5 cups of olive oil to .5 cups of lemon juice in a spray bottle.  Shake well and spray a little on a soft rag.  Polish as usual.

I got the above recipe ideas from organizedhome.com and easyearth.com.  I have tried most of them, and the ones I haven’t tried I said as much.  Some of the recipes I have tweaked to my liking and others I used straight off the sites I found them on.  There are tons of other recipes out there to clean just about anything you could possibly imagine.  All of these products are easy to find in stores, cost far less than other cleaning supplies and are safer for the environment and your family.  Try some of them and you may decide it’s worth the effort to save some money and use safer cleaners in your home.

Do you have any homemade cleaning solutions you use?

March 10, 2011 by Krista

Spring Fever: Printable Free For All!

I have a treat for you.  Like a serious, hit-the-jackpot kind of treat!  In celebration of the first week of Spring Fever, and any cleaning or organizing you may have done this week, I have a whole set of printables for you!  Like six printables.  All have a household theme, focused on different rooms in your homes!  Fun, right?!?

 http://www.4shared.com/photo/Ymqr0Pvv/Bath.html
 http://www.4shared.com/photo/yl2httdT/Craft.html
 http://www.4shared.com/photo/yuBYN4nc/Families_are_Forever.html
 http://www.4shared.com/photo/ng9dcrYi/Kids_Bed.html
 http://www.4shared.com/photo/8n0L1YQL/Kitchen.html
  http://www.4shared.com/photo/Rv4w1OPf/Laundry.html

Wanna grab these babies for yourself?  Click each link to be taken to 4shared to download them.

Don’t forget to grab the laundry room printable too!

And for fun, here’s a peek at some of the newest items in my Etsy Shoppe.  Fun, right!?  Clicking each photo will give you more details.
8x10"  Bathroom Themed Subway Art PrintablesSpring Themed Subway Art Digital Printable
Family Themed Subway Art Printable - Great Home DecorCleaning Themed Subway Art Printable - Great Home Decor
Kitchen Themed Subway Art Printables - Great Home DecorDigital LDS Subway Art Posters Collection - Home Decor - Free Shipping

Enjoy the freebies!  I’d love to see how you use them!  Have a wonderful weekend and make sure to come link up to Weekend Wander tonight and all this weekend!

Krista

March 9, 2011 by Krista

Spring Fever: 10 Ways to De-Clutter

In almost every house, no matter how much of a neat-freak may live there, clutter tends to gather.  At least a little.  For some people, it’s a real problem.  My parents (love them) are packrats.  My in-laws (whom I also love) are also packrats.  The point being, My Mr. Right and I… yep, packrats.  My husband often says that his mom collects anything on paper (report cards, mother’s day cards, ect) and his dad collects EVERYTHING else.  And it’s true.  My parents, they just collect everything, both of them.  My mother has so many dishes, there isn’t room to store them all.  And my dad, well, there are still cases of floppy disks in the office.  Yeah, like the big, more-ancient-than-dirt floppy disks.  And My Mr. Right and I, we’re just like them.  We have two boxes of electronic equipment that are mostly parts… I don’t know what for though.  And I threw out probably 50 magazine issues when we moved last year.  And almost $2000 in textbooks from college.  Ok, $2000 is what I paid for them, not resale value.  But, I had books from my first semester… 5 years ago!  I didn’t read them when I was taking the classes, so I sure as heck wasn’t reading them last year. 

How do you avoid this?  Well, it’s simple.  To say.  It’s a lot harder to actually do.  Here are a few tips on ways to de-clutter your home.
1.  Everything should have “a place”.  This will be repeated.  Just so you’re warned.  Most people instinctively organize, to a point.  You don’t keep your pots in the bathroom or your bath towels in the bedroom.  You keep them near the areas they are used in, right?  Well, if you run out of “places”, you don’t have room for any more things.  So, don’t get any more.
2.  Get rid of some before you bring more in.  For example, my mom had a whole huge cupboard full of plastic containers.  Mismatched, some melted, some warped.  I hated putting leftovers away because it was such a battle to find lids and containers that fit.  So, I threw them all out.  Every single mismatched, melted and warped piece in that cupboard.  Then, I replaced them.  Not the other way around. 

3.  Work small.  You don’t have to get a whole room done in one day.  While you’re on the phone, clean out a kitchen drawer.  Waiting for the dryer to finish so you can switch the clothes over?  Clean out and organize your supply shelf or basket.  Bookcase overflowing?  Work on one shelf at a time.  It doesn’t all have to be done right now.

4.  Baskets.  Baskets, or other similar containers, will add an immediate feel of organization.  Why?  Because everything has “a place”.  And like things are kept together.  You know where to find things and where to put them away.

5.  Store like items together.  Keep all your shoes in one place.  Toy trucks go in one drawer.  Crayons and markers get another drawer.  All of your bags (purse, diaper, church, school, work, ect) go in one area.  You’ll be so much more organized if you have “a place” for everything.  And it will cut down on that frantic search as you’re trying to hurry the kids out to the bus or find your keys in your purse that you left…… somewhere.

6.  Set limits on how much.  Storing like items together will help you see how much stuff you have.  Did you notice in the above example that the trucks get ONE drawer.  Not three.  Same with the markers.  You don’t need a two drawers full of markers.  Or seven pairs of black shoes.  I have a hard time with this one, especially when it comes to fabric and paper.  And shoes.  And stickers.  And vinyl. And no, I don’t have two glue guns, even though you saw two in the baskets up above… the third one is downstairs.  Maybe I need help?  I never said I was perfect…

7.  Go digital!  It will definitely take time, but scan your old photos on to the computer.  You can get external hard drives and store tons and tons of data.  We have a computer hooked up to our TV.  Little Monkey can watch digital copies of his favorite movies without ever touching scratching a DVD.  I love that they have digital copies when you buy DVD’s now.  And we don’t have to store all the DVD’s and cases.  I said “don’t have to”… never said we didn’t.  Hehehe.  =]  There are a lot of magazines online now too.  Although, I do like the feel of the glossy paper between my fingers… not quite the same as holding a mouse.

8.   Get rid of books.  Ok, now when I say this I am referring to the books that are sitting on shelves and have been for the last three years.  Without ever being opened in that time frame.  The rule of thumb I use: if it hasn’t been read in the past year, donate it.  If you read the book, by all means, keep it.

 
9.  Go Paperless!  Many, many, many companies now offer a paperless billing option.  I highly suggest you receive your statements in an email.  It will cut down on the paper clutter in your home and you can access your email anywhere you have a connection.  More than once, we have been somewhere that needed specific documentation and forgotten a piece of paper.  Because we have things stored on the internet, it was easy to access the needed documentation at that second and show the officials.  Otherwise, we would have had to go back again later.  And no one likes government buildings right?  You can set up an email account that you use solely for paperless billing if you’re worried about it crowding your inbox.

10.  Don’t keep things you don’t have room for.  Anything you bring into your home needs to have “a place” before it comes in through the door.  Your Auntie Dee left you her huge correspondence desk in her will?  But you have no room for it?  Sell it and then donate the proceeds in her name.  You might need that griddle that is still in the box?  Bet you have a neighbor or friend you could borrow one from.  Your wedding dress is too special to part with?  Take a photo and give the dress away.  Your daughter probably won’t want to wear it anyway.  Or make a quilt, or something else you can actually use, from the fabric.  The memory is the important part, not the physical item. 

Krista

Do you have any de-clutter tips?

March 7, 2011 by Krista

Spring Fever: Laundry is for the Birds… and the Wife

…Or girlfriend or mom or what have you.  Anyway, to the point.  I have a sister-in-law who has a fantastic laundry system.  Each person has their own basket.  Laundry day is Monday.  Sounds simple (and that’s the Reader’s Digest version), but really, it doesn’t need to be complicated.  I have started a new laundry system for our little family recently.  When My Mr. Right started his active duty training, we switched his ACU’s (Army Uniforms) to his dresser and his civilian clothes to the closet.  Little Monkey sleeps in the dressing area back by the closet, so when My Mr. Right has to be up and gone early he doesn’t wake the baby (who isn’t so much a baby anymore).  Anyway. 

Our system:  We have three baskets (whites, darks and lights) for everyone.  Then, My Mr. Right has a basket for his Army clothes.  It is his responsibility to let me know when he needs more Army clothes washed.  Sometimes he can use the same uniform two or three days, and some days are one-day only!  So, sometimes once a week is enough and sometimes he needs a load or two more.  The ACU basket doesn’t usually exist when he’s not on Active Duty Training.

 The piles, sans baskets.

I do everyone’s laundry once a week.  Unless it’s something icky and gross… like a diaper blow out or whatever.  Some things just need to be taken care of ASAP.  If having a set day will help out, pick one and stick to it.  We have to juggle the laundry schedule with 8 people in our house right now though, so I don’t have a set day.  Usually, 3 loads gets all of our laundry done.  I recommend taking all the clothes to the laundry room before you begin.  It will be much easier to start the next load if you don’t have to go hunt it down, which will cut down on the amount of the day you spend doing the laundry (because I always end up getting side-tracked and the next load doesn’t get started immediately).

Have all of your supplies in a basket, on the shelf, or organized however you’d like.  But, have them all in a central location.  If you use peroxide, bleach or another treatment on stains before they get to the laundry room, have those supplies in each bathroom.  That way you won’t have to hunt down the bottle the next time you need it.  Store them safely away from the reach of your kiddos.

I have a separate basket (an old ice cream bucket, actually) that I put clothes I have pre-treated, or will need to be pre-treated, in.  That way I don’t miss a stain when I’m throwing things in the washer.  I keep this basket in the laundry room, as that is usually where I pre-treat.  If you pre-treat in the bathroom or somewhere else, it might be more convenient to keep it there.

Follow whatever washing and drying routine you prefer.  Lay sweaters, bras and other no-dryer articles on a drying rack until they are completely dry.  If you dry them in the dryer, you risk shrinkage and damage.  If you fold them before they are completely dry, they can mold.  Eww.  And a tragic disaster should it be your favorite sweater.  It might seem like a huge hassle, but it will make your clothes last longer over time.  Promise. 

I have this…
Tub Laundry Drying Rack -...
 I want one of these…

Also, make sure to disentangle your clothes when you switch them from the washer to the dryer.  This will ensure that they actually dry.  It will take less time and they will dry less wrinkly if you untangle them.  If you are lucky enough to have someone help you do the switching you might want to remind them of this.  Sometimes, people don’t always know this stuff.  (My little brother [who is 21] spent 2 hours drying jeans the other day… because they were all tangled up.) 

When the buzzer goes off on the dryer, remove your clothes promptly to prevent wrinkles.  Even, if you just lay them out and fold them later, as long as you lay them flat.  Fold or hang as soon as possible after removing them from the dryer.  My sister-in-law folds the clothes and then they go back in the different baskets.  Her kiddos are all old enough to take care of putting them away.  I put ours back in the baskets for transport up the stairs and then they go into the closet or dresser.  Usually.  I will admit that our clothes sometimes don’t make it into the dressers or closet before they end up back in the dirty baskets.  If this happens, don’t sweat it.  You can always put them away next time, because there will be a next time.  =]

This is my laundry system.  Laundry is something that is never done and sometimes the system needs to be adjusted as your family’s needs adjust.  One thing I have learned is that you should NEVER have more clothing than you have room to store.  This is something we tend to struggle with.  Little Monkey got tons of hand-me-downs from cousins.  I’ve had to weed through them a time or two, simply because we did not have the space to keep them all.  One way to increase your current wardrobe space is to only keep the seasonal things in the closets and drawers.  You’re not going to need shorts when there’s five feet of snow on the ground , so box them up and put them in the garage for winter.  It’ll make your home less cluttered. 

And, because you read through all my dirty laundry (lame, I know), head over to 4shared and grab yourself one of these cuties.  Who ever said your laundry room shouldn’t be decked out in some bling?!  Go download and print these babies off!

http://www.4shared.com/photo/Rv4w1OPf/Laundry.html
http://www.4shared.com/photo/ixiTRmpd/Laundry_is_for_the_Birds.html
As always, enjoy and I’d love for you to share if you ever do anything with my printables.  Thanks!
Krista
  • « Previous Page
  • 1
  • …
  • 17
  • 18
  • 19
  • 20
  • 21
  • …
  • 25
  • Next Page »

I'm Krista. Ringleader here on While He Was Napping, wife to my handsome Mr. Right & momma to my THREE energetic boys, Big J (9), Little J (6) & Little N (4). We FINALLY added a beautiful little girl to our family last December.

I’m knee-deep in Tonka trucks & Thomas trains. I survive our crazy days with Vanilla Coke, Sonic slushies, sweet snuggles and little giggles. When I tuck them in tight & kiss them good night, I get a little time to create & just be me.


It all happened
while (s)he was napping
Want More of My Story?

Privacy Policy

While He Was Napping respects your privacy and is committed to keeping any personal information collected on this website confidential. To find out what information we collect and how it is used or what options you have regarding your information, see our full privacy policy here. Creative Commons License The website found at whilehewasnapping.com and all subdomainsauthored and published by Krista is licensed under a Creative Commons Attribution-NonCommercial-NoDerivs 3.0 Unported License.

Pretty Chic Theme By: Pretty Darn Cute Design