I have been wanting to make this cork reindeer ornament since I made my cork jewelry organizer. Yeah, almost three years ago… But, I made the cork jewelry organizer in February. After Christmas. So, I saved it. And saved it. Annnnnnd saved it. But no more! I have put those extra corks to great use and turned them into some fabulous Christmas ornaments! This would be great for little bit older kids – there was a little too much hot glue for my not-so-careful kiddos. But it was super cathartic for me… so there’s that.
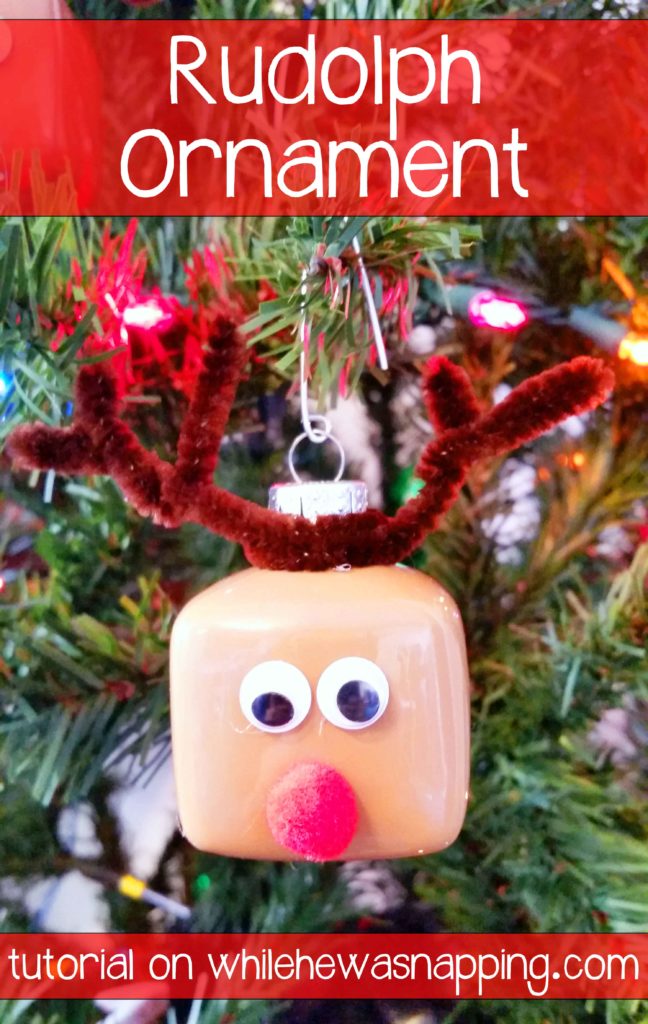
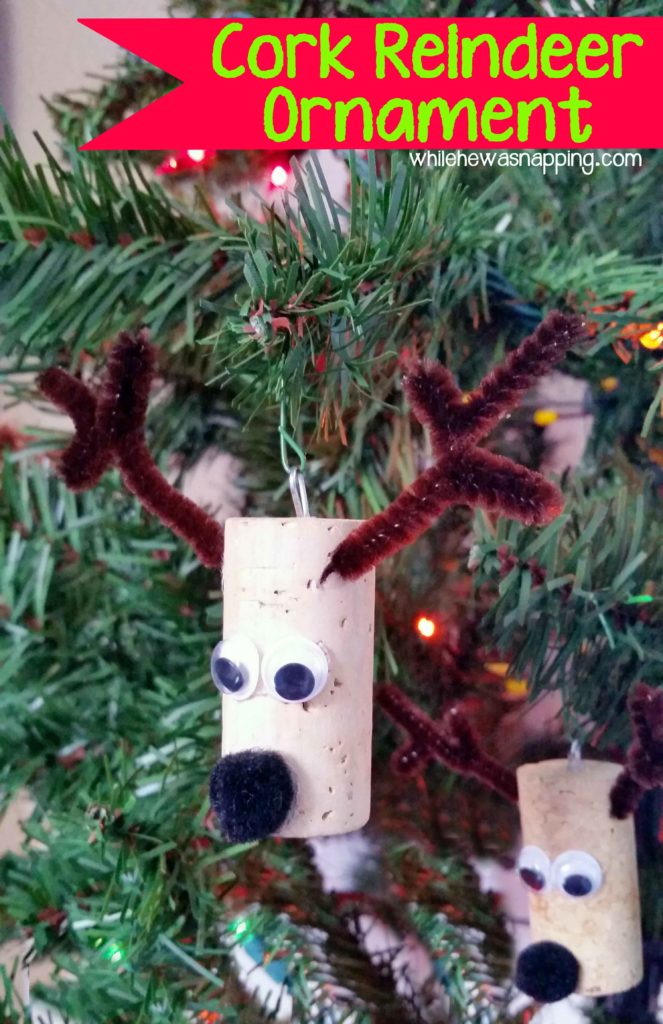
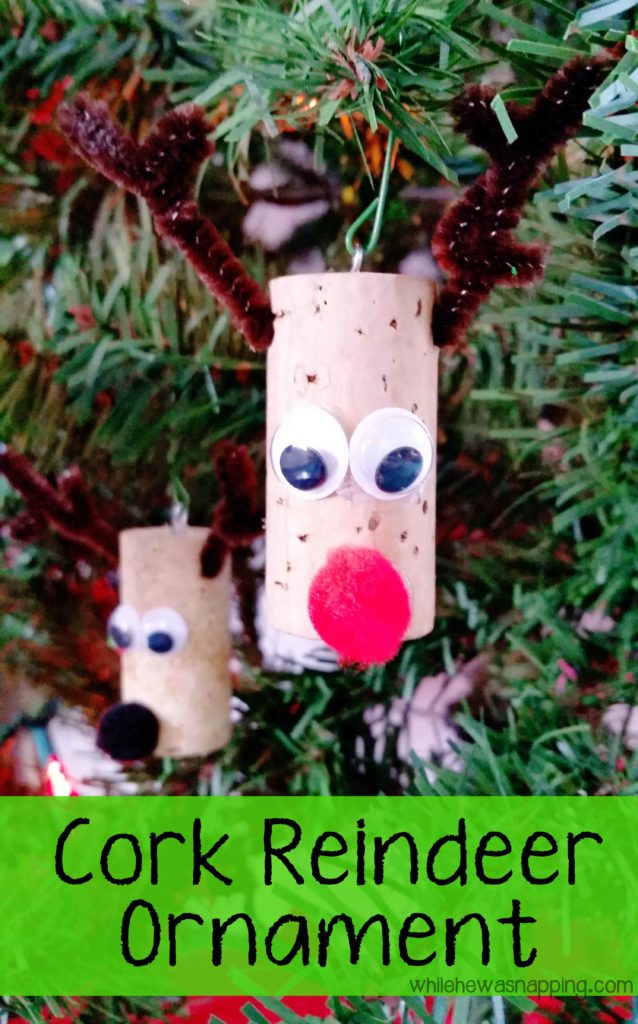
CORK REINDEER ORNAMENT
Materials:
– cork
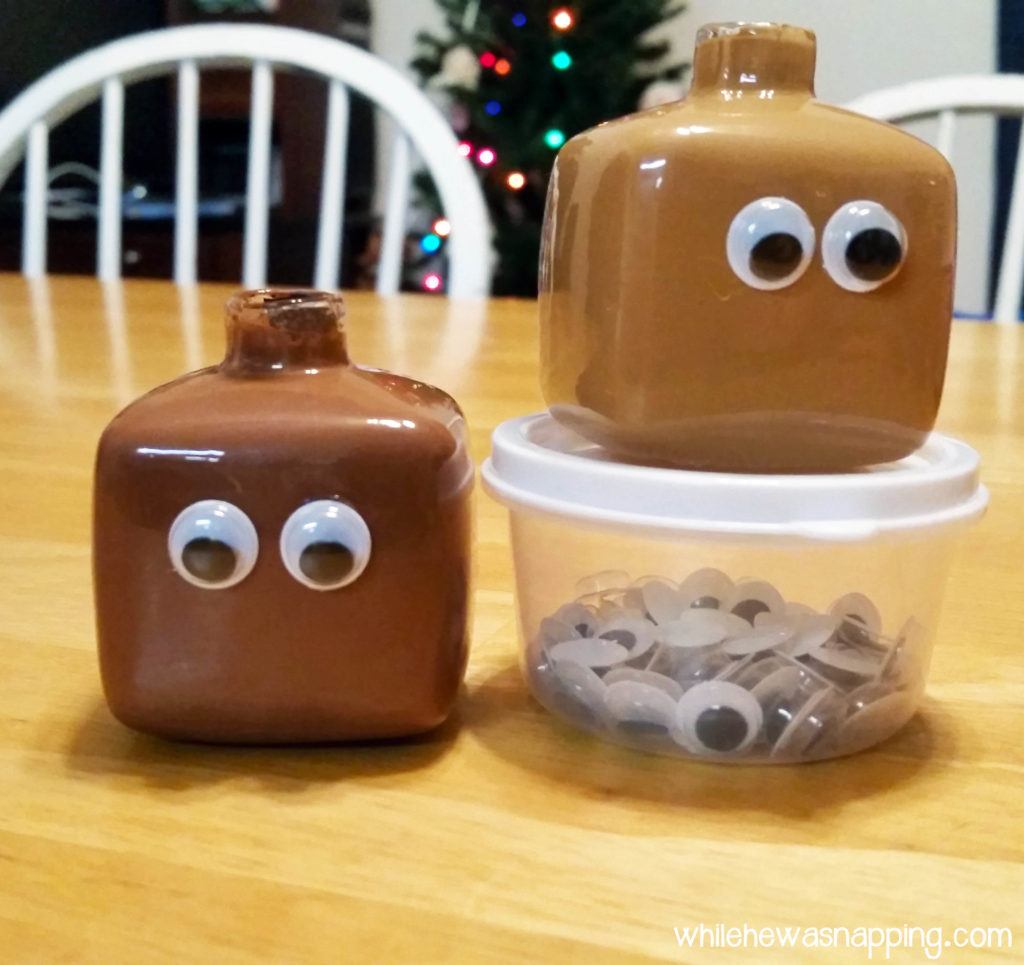
– googly eyes
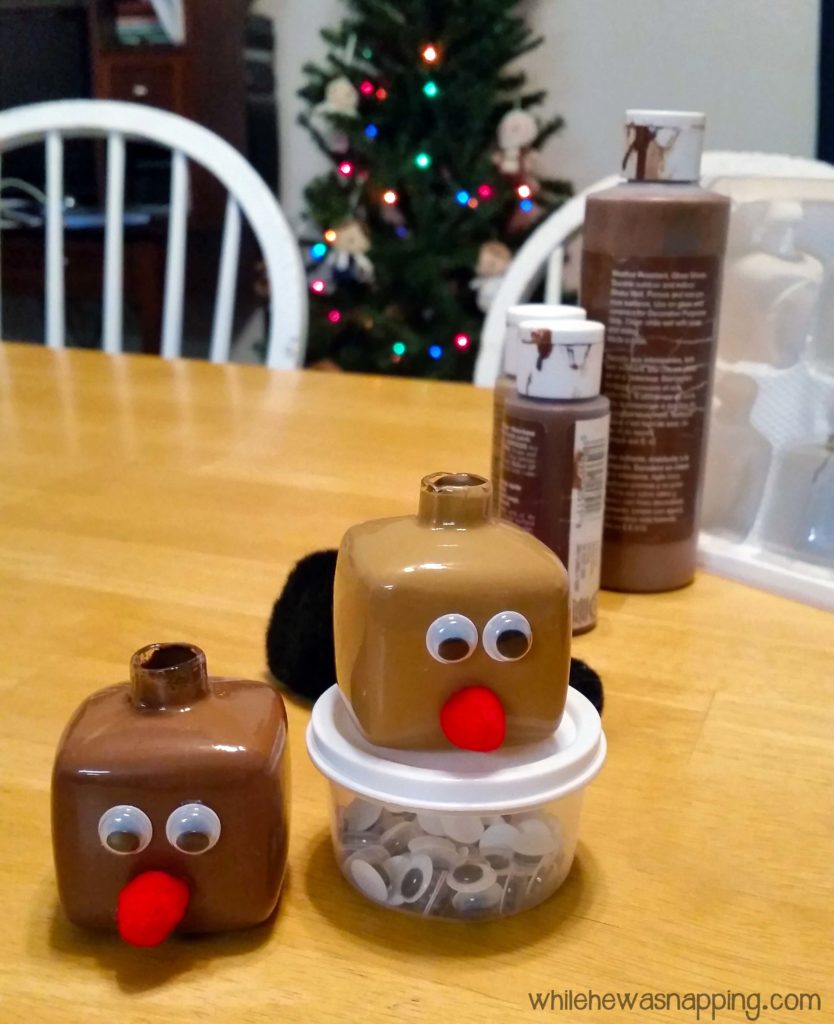
– small black or red pom pom
– 2 brown pipe cleaners
– paper clip and wire cutters
– glue gun and glue sticks

Directions:
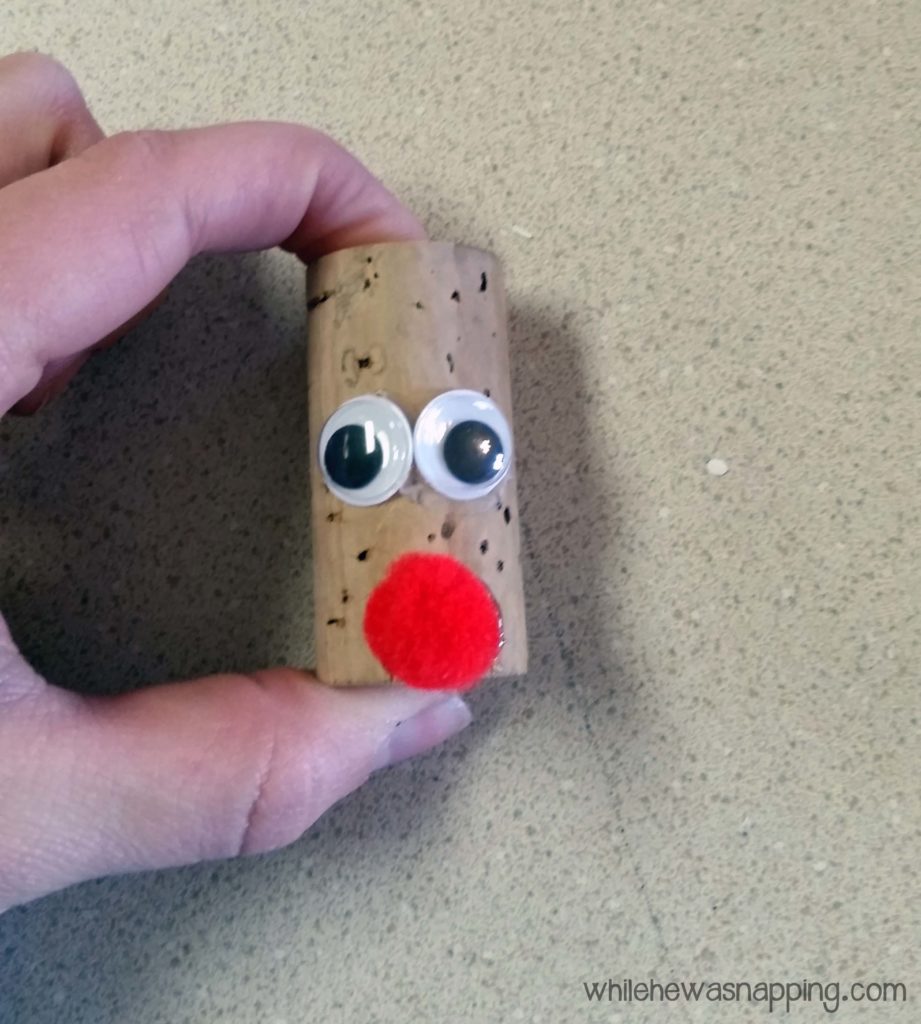
– Hot glue the eyes in the middle of the cork, close together.
– Hot glue the pom pom on the end of the cork for the nose.
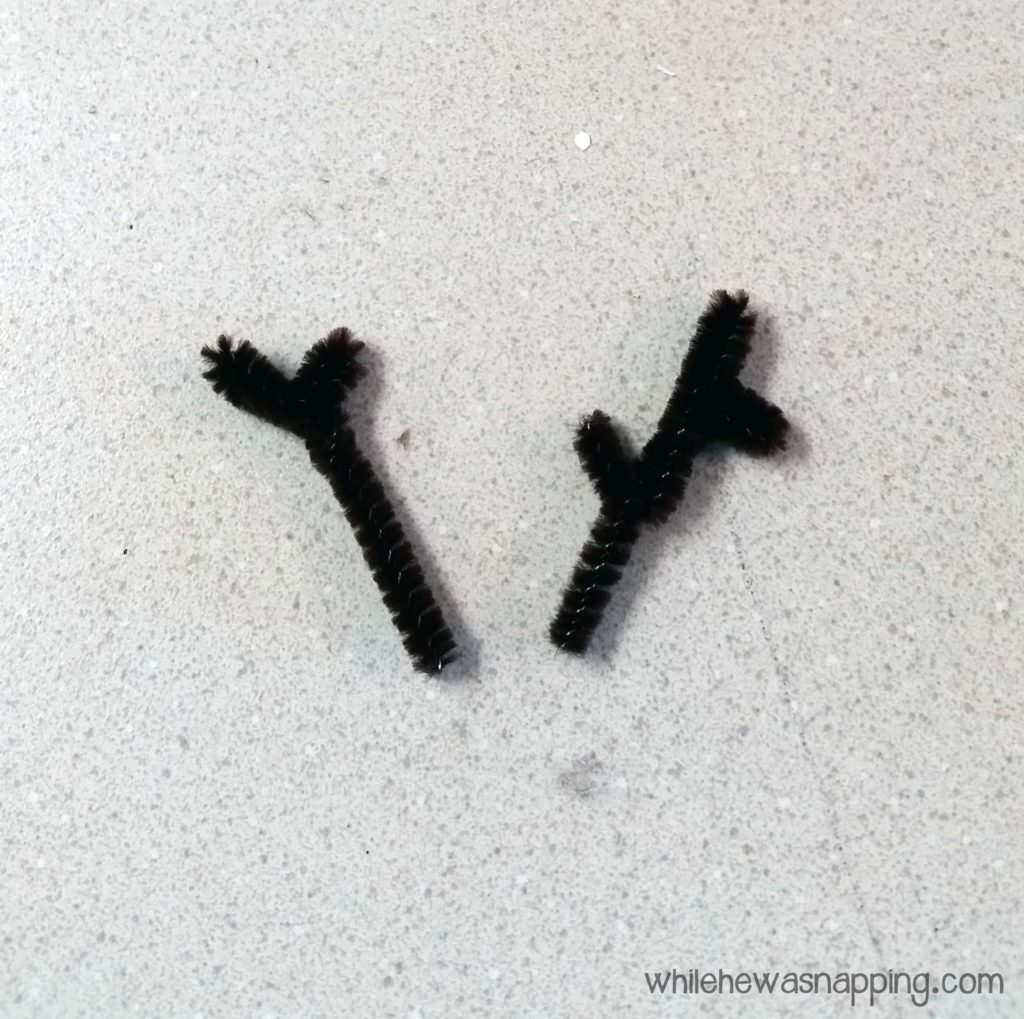
– Shape the pipe cleaners into antlers and hot glue them to the sides of the cork.
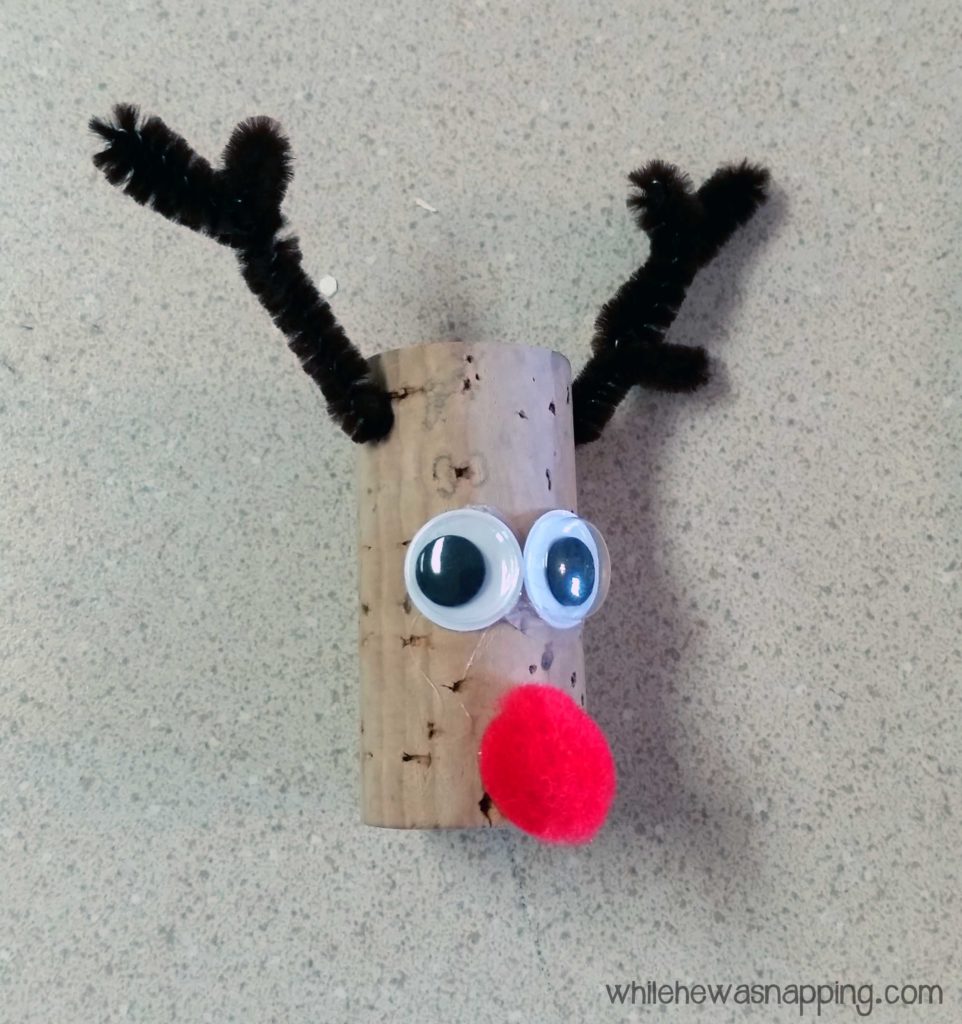
– Shove the end of the paper clip into the top of the cork. Leave about an inch of space after the paper clip comes out of the cork. Use the wire cutters to carefully bend the paper clip into a small eye hook. Secure with a bit of hot glue to keep it in place if desired.


– Attach a hook to the paper clip loop and hang it on your tree.

These went together so quickly that I ended up with three of them… so now we have three cork reindeer ornaments. Maybe I’ll slap years and names on the backs of those babies and give them to my boys as gifts. But seriously – so EASY! I would have (should have!) made them with the 8-11 year old girls I used to have Activity Days with a couple years ago. They would have loved these reindeer ornaments!


 Because sometimes even Santa needs his buddies! I love this collection of adorable characters on


 I am logging this Reindeer ornament over on