While He Was Napping

momma gets stuff done

  • Home
  • About
  • Archive
  • Do It Yourself
    • Crafts
      • No Sew
      • Painting
      • Paper Crafts
      • Repurpose Projects
      • Vinyl
      • Washi Tape
      • Kid’s Crafts
      • Fonts
    • Sewing
    • Decorate
      • Home Decor
      • Holiday Decor
    • Celebrate
      • DIY Gifts
      • DIY Your Party
  • Recipes
    • Beverages
    • Appetizer
      • Bread
      • Other Appetizers
    • Snacks
    • Main Dish
      • Meat
        • Chicken
        • Beef
        • Pork
        • Seafood
      • Vegetarian
      • Slow Cooker
      • 30 Minute Meals
    • Dips & Sauces
    • Salads
    • Pasta
    • Soup
    • Dessert
      • Cookies
      • Brownies
      • Cupcakes and Cake
      • Box Mix Recipes
      • Other Sweet Treats
    • Breakfast Food
      • Pancakes
      • Waffles
      • Muffins
      • Other Breakfast Food
  • Family
    • Babies
      • Pregnancy
      • Newborns
      • The 1st Year
    • Toddlers
    • Preschoolers
    • Kindergartners
    • 6-8 Year Olds
    • The Grown Ups
      • Date Night
      • Romantic Gifts
    • Self Care
  • For the Home
    • Cleaning
    • Organizing
    • Emergency Preparedness
  • Travel
    • Travel Tricks & Tips
    • Traveling with Kids
  • Tech & Gadgets
    • Must-Have Apps
    • Techy Home Appliances
    • Gadgets & Electronics
    • Blogging Tips
  • Printables
    • Posters
      • Quote Printables
      • Subway Art Printables
    • Printable Organizers
    • Printable Journals
    • Learning Printables & Worksheets
    • LDS Printables
  • Holidays
    • New Year’s
    • Valentine’s Day
    • St. Patrick’s Day
    • Easter
    • Cinco de Mayo
    • Mother’s Day
    • Father’s Day
    • 4th of July
    • Back to School
    • Halloween
    • Thanksgiving
    • Christmas
    • Holiday & Seasonal Printables

December 29, 2014 by Krista

Countdown Goals Printable

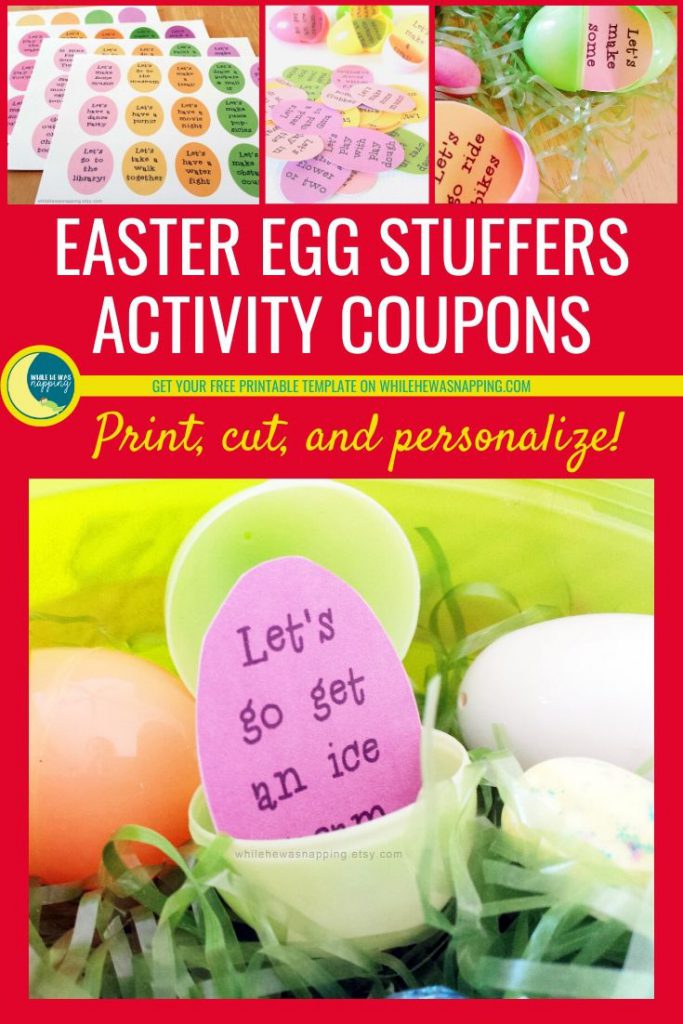
Welcome my friend! I’m so thrilled you stopped by. Do you set goals at the beginning of a new year? Do you stick with them? That’s the hardest part, for me. But, having them smack in the way where I can see them helps. And that’s how this Countdown Goals Printable was created.

Back in 2014, I had a goals printable that people went ga-ga over (you can check that out here) and it ended up being A LOT more popular than I expected. I wanted to create another, similar, design with a little more focus. And that’s where this goals printable came into play.

I love this goals printable because it’s short and sweet. It will make you really think about and focus on what you REALLY WANT this year. And it’s perfect for kids too, so you can set goals together.

LR Goals Countdown

So, what is that ONE new thing you are going to try this year? Let it push you out of your comfort zone a little bit! You got this!

Want an insider tip? Use the other goal areas to help you reach that one new thing. Learn about this new thing, read books on it, research and you’ll be so ready to take on that goal it’ll be a piece of cake.

I know I always do better when I feel prepared and have an idea of what to expect or how to accomplish something. The best goals are rarely ever ones we just fall into and everything happens to luck out.

That’s not how life works!

So, get out there and make it happen. Plan it out! Prepare! AND CONQUER!


You can download your free copy and set some goals. Get the kids involved and set some as a family, if you want to go crazy. Good luck!


DOWNLOAD YOUR GOALS COUNTDOWN

December 2, 2014 by Krista

Free Gift List Organizer Printable

It’s the first Tuesday of the month again and that means I’m over at Ask Anna once more. The holidays are fast-approaching and December is one of the busiest months all year. The key to keeping the chaos manageable is to organize, organize, organize! Let me help you organize your gift-giving with the gift list organizer.

In a simple, easy to reference layout that can be used in multiple ways the gift list organizer will help you make sure you get the perfect gift every time. You can put each recipient on a line with their gift(s) listed beside them. Or put each store on a line, with the recipients listed below, and the items you need to purchase from each location on the right side. You’ll be sure to get everything you need at each store… because who has time to retrace their steps and go back for forgotten things. Not this month, am I right?!


Holiday Gift List Organizer


Keep your chaos under control will this Gift List Organizer you can print right at home and get organizing TODAY! It doesn’t get much easier than save, print, organize! The file is formatted to an 8.5″x11″ size, perfect for your holiday organizing binder! Organize your holiday celebrations so you can enjoy

  So, head over to Anna’s and

get your FREEBIE printable organizer!

The sooner you get organized, the easier your holiday gifting will go… right?  Right?

April 16, 2014 by Krista

Printable Kid’s Easter Basket Stuffer Coupons

Here comes Peter Cottontail and Easter is quickly on it’s way. Are you trying to put together Easter baskets for the kids? Would you like something you can put in them that isn’t chock full of sugar? Yes and yes? Well, then you are in just the right place. These Kid’s Easter Basket Stuffer Activity Coupons are just the thing you need! Bonus: They can serve as your Spring Bucket List too!


Kids Easter Egg Stuffers Activity Coupons


KIDS EASTER BASKET STUFFERS THAT WON’T ROT THEIR TEETH

Kids love their candy. I know this all too well. But, kids also love feeling special. One of the best ways to do that is by giving them your undivided attention and time. I also know that doing so isn’t always easy. I’ve got 5 little ones to divide my time between and some times I worry about them all getting the individual attention they need. Encourage that time together with these fun activities.

They can trade in their coupons when they get bored or on special occasions and you won’t have to come up with the entertainment on the spot!


Easter Egg Stuffers for Easter Baskets


KIDS EASTER BASKET FILLERS MADE EASY!

Life is crazy. You know this. I know this. So, let’s simplify things. All you have to do is print this free template page with 5 complimentary activities for your kids this Easter. The activities can all be done at home with no special items required.

You know your kids best! Personalize the other activities to your kids and your family! Write in the activities and rewards that best fit your family. Screen time? Get out of chores? A picnic to a special spot? Ice cream sundaes? Whatever your little ones love most!

Then, it’s as simple as grabbing a pair of scissors and cutting them out. Put them inside a standard size plastic Easter egg and you’re ready to fill Easter baskets or hide them for an egg hunt.


Easter Egg Stuffers Activity Coupons


FREE PRINTABLE! JUST SAVE, PRINT, CUT AND FINISH THESE KIDS EASTER BASKET STUFFERS!

All you need to do is save this file to your computer. Print it out. Cut out the eggs and then fill in the activiites on each egg and stuff it into a plastic Easter egg.

To download, simply right click on the image and open in a new tab or window. Right click the image again and “save as” to your computer. You may then print these on your home computer.

If you’re tech savvy and want to fill the eggs in with an image editor before you print them, you are welcome to. You can even download and use the same font I did.

Make sure you print at the “actual size” setting to get the right size to fit in your eggs.

Make as many copies as you like, but please don’t share the file. Please send your friends and family here to download their own copies. Thanks!


CAN IT GET ANY EASIER? YES IT CAN! KIDS EASTER BASKET STUFFERS DONE FOR YOU!

If you’d rather let me do all the work for you, there is a set of 45 activities plus a full blank template page available in my Etsy shop!

All you have to do is print and cut the eggs out. The activities are already all filled out. Pick the ones that fit for your child or family and you’re all set to cut out and stuff those eggs with good memories just waiting to happen!

Printable Kids Easter Coupon


All digital files are for personal use only. This image, nor any variation of it, may be copied or sold.  Thanks and enjoy!

November 12, 2013 by Krista

{Printable} Always Be Thankful Chalkboard Printable

I’ve got a super fun printable poster for you today. It’s so great when this time of year comes around and everyone seems to be a little nicer and a little more thoughtful towards others. Except the guy that cut me off while I was picking up Big J from preschool today… But, I guess you can’t have everything. Wouldn’t it be nice if everyone behaved like that all the time?!  The being extra nice part, not the cutting people off in traffic. But, thankfully, getting cut off was just an annoyance and not a car accident or something like that. See… there’s always something to be thankful for.

Have you ever thought it would be helpful to have a cute little reminder to Always be Thankful? This printable should do just that!

ALWAYS BE THANKFUL

WM-Always-be-Thankful

Get your free copy of the Always be Thankful chalkboard printable HERE.

Click the link above to download the full quality, watermark-free print from Google Drive. You’re welcome to print as many as you like. All I ask is credit when it’s due and a link back to this page if you’d like to share this print on the web.

The file is formatted to 8×10″ and can be cropped smaller (5×7″ and 4×6″) with no problems. The free download is for personal use only. If you’d like a larger print, let me know and I’ll set you up a listing (and a deal!) in my Etsy Shop.  Thanks and Happy Holidays!

This post was written by Krista and originally appeared on While He Was Napping.

October 3, 2013 by Krista

DIY Witch’s Potion Bottles

These fun and easy Potion Bottles are the perfect addition to your DIY Halloween Decor! It’s the perfect spooky decor project to upcycle all your empty bottles and there are even printable potion bottle labels for you to download that will make this Halloween craft even easier! Bring out all the spooks and step up your Halloween Witch Decor with a great set of DIY potion bottles for all your witchy decorating.

Make Your Own Potion Bottles


Materials:
– Various bottles and containers (I will go through the ones I used in just a bit)
– Matte brown spray paint
– Sandpaper
– Potion Labels
– Glue gun & glue sticks
– Coffee grounds
– Shallow pans/baking sheets & a small pot
– Oven & Stove
 
Directions
THE BOTTLES:
– Wash your containers and bottles.  Scrape all the labels and goo off.  I washed mine in the dishwasher and then soaked the bottles that still had labels or glue on them in hot water for about 20 minutes.  The hot water soak will loosen the glue on the labels.  Peel off the glue and labels.  I had a few that were particularly stubborn (those Swedes know how to attach a label!  One of the bottles I used was from IKEA…) and I used a Goo-Gone-soaked paper towel on them to get them clean.
– Use the spray paint and paint your bottles.  I did this with the majority of my bottles, but there were three glass bottles I left.  I’ll go over that process in a moment.  I started off with the idea to do a mod podge stain on them, but it was taking FOREVER to get the shade I wanted.  So, I canned that idea and just settled on the spray paint.  If you want a lighter finish on the bottles, stand back a little further than usual when you paint them.  That way, you’ll just “dust” them, instead of a full-on layer of paint.  I was painting these on my kitchen island one stormy day and didn’t have a lot of space to play with so they ended up a little darker than I had first planned on making them.  Make sure you paint the lids too.  Let dry thoroughly.
– Lightly sand the bottles to give them an aged appearance.  Be careful not to sand off too much paint.  This bottle was an old vitamin bottle, so I didn’t paint it.  But, you can get the idea of the texturing you’re after.
DIY Witch's Potion Bottles
 
 
For the glass bottles, I wanted to age them and started off sanding them with sand paper. I’m an impatient crafter and after about five minutes of practically immeasurable progress I ditched the sandpaper and grabbed my bottle of glass etching cream from the cupboard.  It worked fabulously.  The hardest part was trying to apply the paste randomly.  Dang OCD tendencies.  Let bottles and cream stand 5-10 minutes… or until you remember you’re in the middle of a project.  Rinse and wipe dry with a paper towel.  Don’t forget to paint the lids for these bottles.
 
DIY Witch's Potion Bottles
 
DIY Witch's Potion Bottles
 
THE LABELS:
– Print off the DIY Witch’s Potion Bottles labels or make your own.  I used a laser printer to keep the ink from smearing.  I didn’t try it with an inkjet, so I don’t know how smeared they’d end up.  It might look like great aging, I really don’t know.  Also I printed mine on card stock.  Worked like a charm, none of them ripped.
– Preheat the oven to 200F (90C).
– On the stove heat about two (2) cups of water with a quarter (1/4) cup of coffee grounds.  I hate the smell of coffee, so this was the worst part for me.  Heat to warm, but not so warm you can’t touch it.  I had my hands in this up to my palms.
– Okay, now decide if you want to cut your labels apart before you stain them or after.  I did it after.  But, you might get some neater staining on the edges if you cut them apart before.  In a shallow pan, lay down your sheets of (or the cut apart) labels and use a small cup to pour the coffee over the paper.  Push the paper down against the pan to help it soak up the liquid.  Let stand 3-5 minutes or so.  The longer it stands the darker the labels will be.  Drain excess coffee back into the pot.
DIY Witch's Potion Bottles
 
 
–  Put the labels and the baking tray in the oven for 5-10 minutes.  If you cut the labels apart before you stained them, it’ll be closer to five.  If you didn’t cut them apart, it’ll be closer to 10.  When the paper is dry enough you can handle it without it tearing, take the tray out of the oven and carefully pick up the paper.  Holding the paper so that it is hanging over the pan, use a paper towel and gently dab it off.  This will remove any coffee grounds and extra liquid.  Hang to dry if possible.  (You can leave the paper in the oven longer and it will dry out faster.  Keep an eye out though.  Paper is flammable…)
DIY Witch's Potion Bottles
 
 
DIY Witch's Potion Bottles
 
 
– Once your labels are dry, cut them apart if you haven’t already, and use the glue gun to attach them to the bottles.  I found that gluing in stages worked the best.  And get as close to the edges as you can with the glue.  I started in the middle and put glue on that, then stuck it to the bottle.  Then I’d glue each end one at a time.
 
– Then I took sandpaper and lightly sanded the labels to age them.  Don’t go too crazy.  You’ll rip your stain off or tear the paper.  Lightly, my friends, is key.
 
Once the labels are on the jars, you can fill them.  Most of mine are actually empty.  Easier to store that way.  And less hazardous if my boys decide they need to play “potions” while I’m hiding in, er… uhm, using… the bathroom.
 
DIY Witch Potion Bottles
 
If you’re interested, below is a list of the bottles and jars I used in my DIY Witch’s Potion Bottles, as well as a list of filler ideas.  The blank fillers were ones that have labels, but I don’t have actual filler ideas.  Sorry.  Enjoy!  Happy Potion-Making!


  • « Previous Page
  • 1
  • …
  • 3
  • 4
  • 5
  • 6
  • Next Page »

I'm Krista. Ringleader here on While He Was Napping, wife to my handsome Mr. Right & momma to my THREE energetic boys, Big J (9), Little J (6) & Little N (4). We FINALLY added a beautiful little girl to our family last December.

I’m knee-deep in Tonka trucks & Thomas trains. I survive our crazy days with Vanilla Coke, Sonic slushies, sweet snuggles and little giggles. When I tuck them in tight & kiss them good night, I get a little time to create & just be me.


It all happened
while (s)he was napping
Want More of My Story?

Privacy Policy

While He Was Napping respects your privacy and is committed to keeping any personal information collected on this website confidential. To find out what information we collect and how it is used or what options you have regarding your information, see our full privacy policy here. Creative Commons License The website found at whilehewasnapping.com and all subdomainsauthored and published by Krista is licensed under a Creative Commons Attribution-NonCommercial-NoDerivs 3.0 Unported License.

Pretty Chic Theme By: Pretty Darn Cute Design