While He Was Napping

momma gets stuff done

  • Home
  • About
  • Archive
  • Do It Yourself
    • Crafts
      • No Sew
      • Painting
      • Paper Crafts
      • Repurpose Projects
      • Vinyl
      • Washi Tape
      • Kid’s Crafts
      • Fonts
    • Sewing
    • Decorate
      • Home Decor
      • Holiday Decor
    • Celebrate
      • DIY Gifts
      • DIY Your Party
  • Recipes
    • Beverages
    • Appetizer
      • Bread
      • Other Appetizers
    • Snacks
    • Main Dish
      • Meat
        • Chicken
        • Beef
        • Pork
        • Seafood
      • Vegetarian
      • Slow Cooker
      • 30 Minute Meals
    • Dips & Sauces
    • Salads
    • Pasta
    • Soup
    • Dessert
      • Cookies
      • Brownies
      • Cupcakes and Cake
      • Box Mix Recipes
      • Other Sweet Treats
    • Breakfast Food
      • Pancakes
      • Waffles
      • Muffins
      • Other Breakfast Food
  • Family
    • Babies
      • Pregnancy
      • Newborns
      • The 1st Year
    • Toddlers
    • Preschoolers
    • Kindergartners
    • 6-8 Year Olds
    • The Grown Ups
      • Date Night
      • Romantic Gifts
    • Self Care
  • For the Home
    • Cleaning
    • Organizing
    • Emergency Preparedness
  • Travel
    • Travel Tricks & Tips
    • Traveling with Kids
  • Tech & Gadgets
    • Must-Have Apps
    • Techy Home Appliances
    • Gadgets & Electronics
    • Blogging Tips
  • Printables
    • Posters
      • Quote Printables
      • Subway Art Printables
    • Printable Organizers
    • Printable Journals
    • Learning Printables & Worksheets
    • LDS Printables
  • Holidays
    • New Year’s
    • Valentine’s Day
    • St. Patrick’s Day
    • Easter
    • Cinco de Mayo
    • Mother’s Day
    • Father’s Day
    • 4th of July
    • Back to School
    • Halloween
    • Thanksgiving
    • Christmas
    • Holiday & Seasonal Printables

Archives for December 2011

December 16, 2011 by Krista

Weekend Wander #60

Welcome, welcome.  Let’s check out some of the goodies from last week and then we’ll this party started!

Christmas Charger Plate @ Burton Avenue

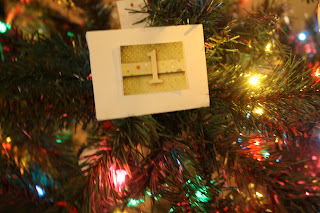
Printable Christmas Advent Calendar @ Dew This
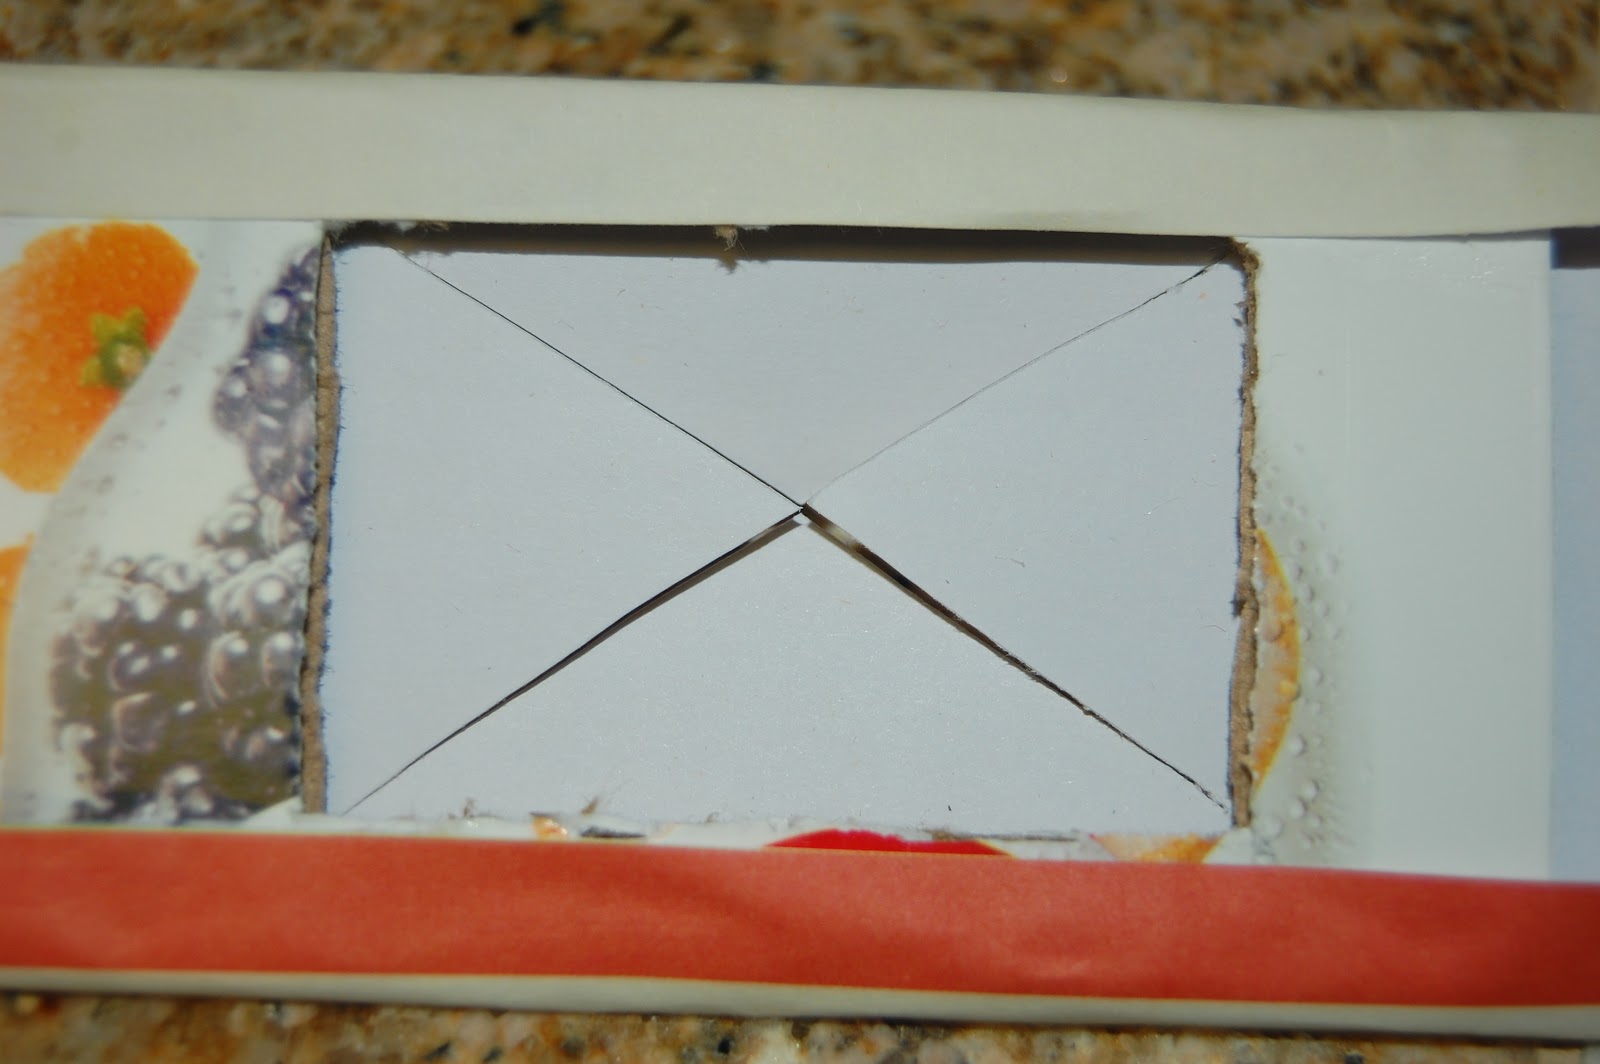
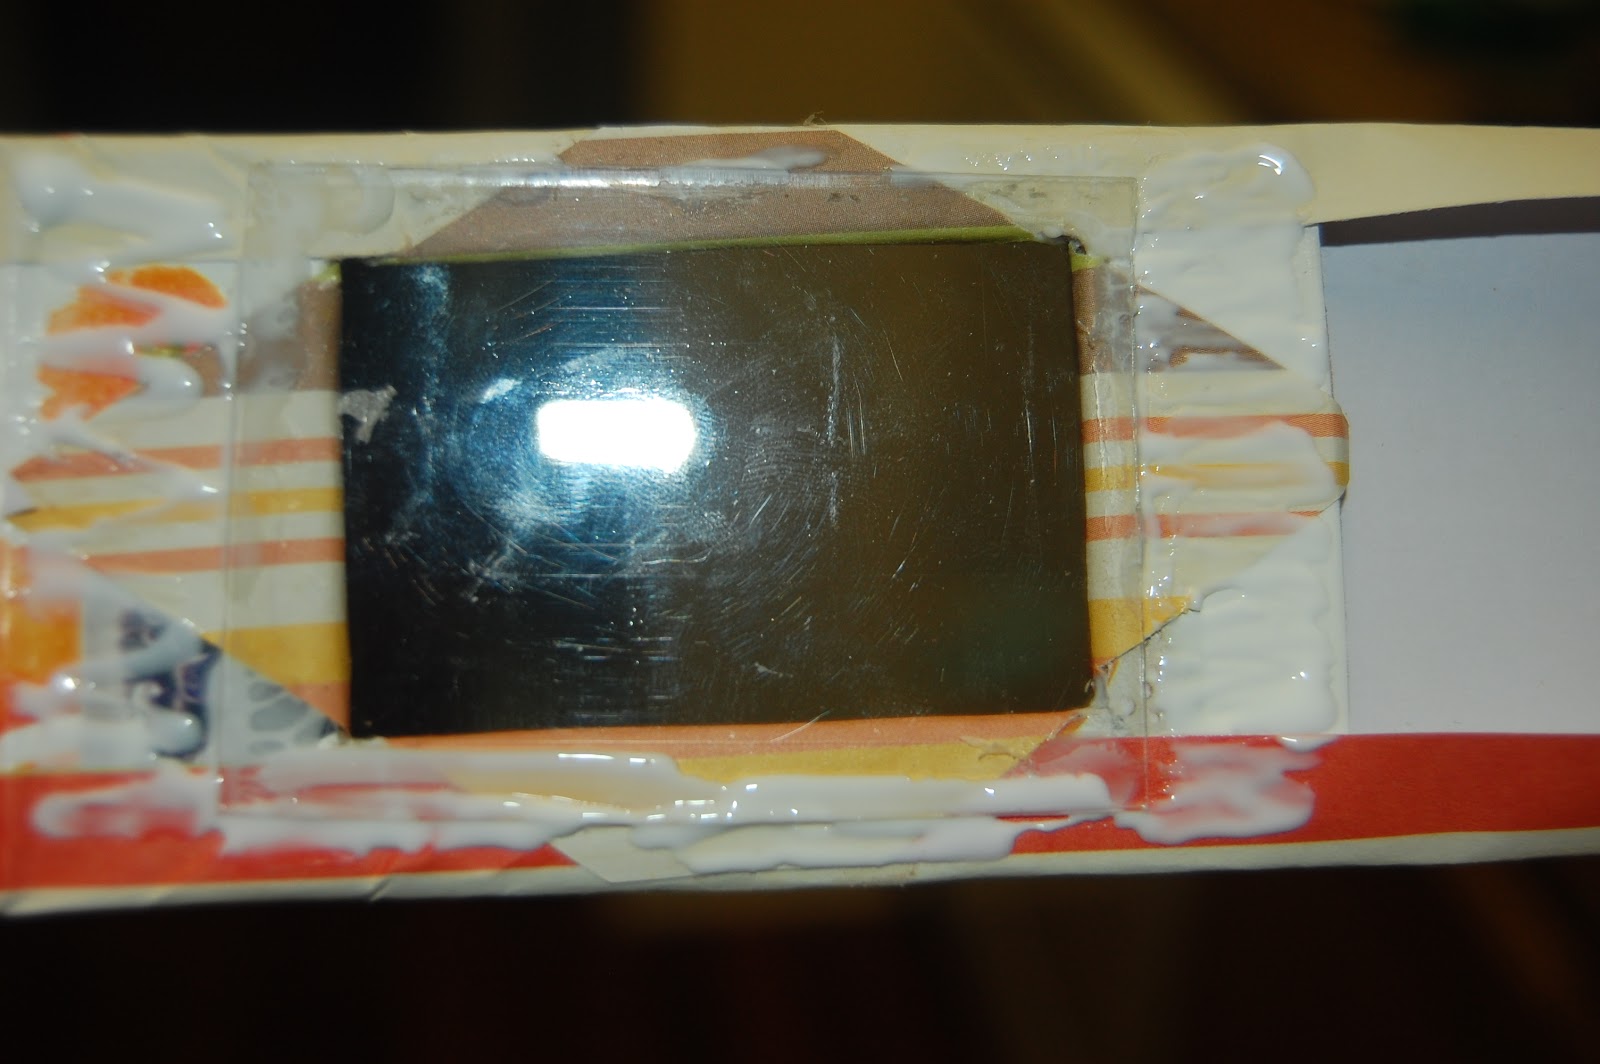
Burlap Advent @ All Things Homie
Fondant Penguin Tutorial @ Fowl Single File
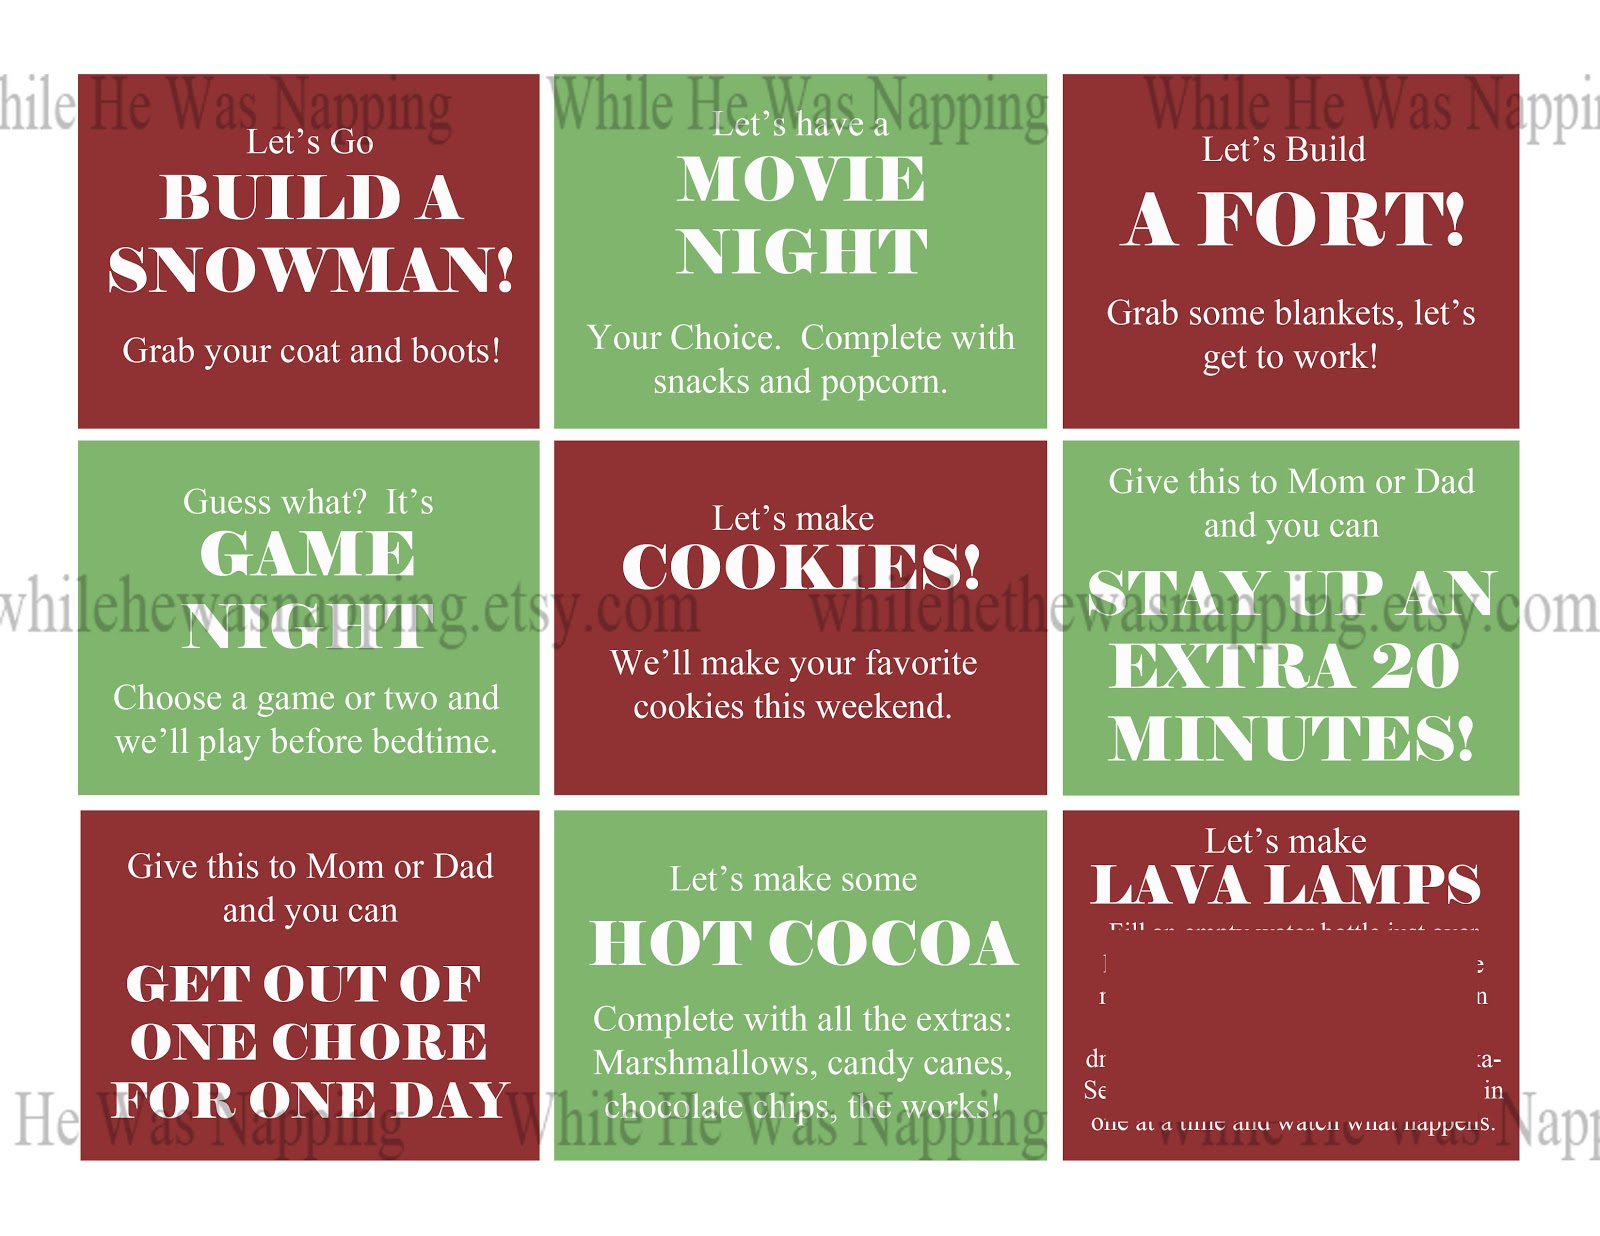
Great Activities for Younger Kids @ Suburbia Momma
  
Featured buttons are in the side bar, ladies!  Awesome stuff!
Thank you to every one who came to the party.  I enjoy looking at all the great things you guys come up with and it’s always a challenge to only choose a few each week.

Also, if you’re thinking about ordering anything from my Etsy Shop, please do so by Sunday, December 18th to ensure delivery by Christmas.  Digital items can be ordered until Saturday, December 24th at 10pm PST and you’ll have the files within 2 hours.

Now, let’s get to the party!  Link ’em up.  And have a super weekend!

December 14, 2011 by Krista

Homemade Play Dough: Round Two

Waay back in March/April, I made some play dough for Little Monkey.  It was cool.  For a while.  Then he got tired of it.  I didn’t have any food coloring when we were moving into our apartment and so the play dough was a lame brown color, which I’m sure didn’t help matters.  


Back at the beginning of November, I was trying to hurry and get gifts done so they could be delivered when we were around for Thanksgiving.  We have a set of friends (we gave them THIS GIFT) who have a little boy a few months older than Little Monkey.  So, of course, we gifted for him too.  Little Monkey was so jealous that he didn’t get to play with the cool colors.  But, he will be getting some new play dough in his stocking this year, in way more than four colors…


Here’s the How:
This recipe came from An Art Nest, and Pinterest has held it hostage for me.


Supplies:
Makes four 3/4 cup sized balls 


1 1/2 cups of flour
3/4 cups salt
1 1/2 cups water
1 Tbs vegetable oil
1/2 Tbs cream of tartar (this will give your dough a 3-6 month shelf life)
food coloring (I just used the cheap Wal-Mart brand liquid)


Mix all the ingredients, except for the food coloring, in a medium pot on medium-low heat.  Heat for about 5-10 minutes.  When it looks like dough, instead of batter, and the goop sticks together, remove from heat and dump it onto a floured cutting board or counter top.  


If the dough is too hot, let it cool before you begin kneading it.  Separate your dough into four balls (more or less, depending on how many colors you want to make).  Add flour as you need to reach a consistency that doesn’t stick to your hands.  I probably ended up adding another cup or two of flour to the whole thing.  


Push the dough out to form a rough bowl shape and squeeze 3-5 drops of food coloring into the middle.  Wrap up the edges to seal the coloring inside.  Knead and knead and knead until the color is evenly distributed.  Add more color for darker shades.  (I probably ended up using closer to 10-15 drops of color).  Don’t forget, you can make some really unique colors by mixing the food coloring together.  I love the way that orange came out!  And the lime green!


Once you have your color distributed, place each ball in an air-tight container (or zippy bag) and seal.  Enjoy!


*The biggest time factor here is getting the color distributed evenly through out the dough.  Your hands will get tired, as it requires a lot of kneading.  Maybe save that part for a stressed-out friend…   If you want to color the dough before you begin kneading it, cut the ingredients into fourths and then add the color to the pot with all the other ingredients and mix well.*  

December 13, 2011 by Krista

$1 Flat Iron Heat-Resistant Case

Oh, wow.  Please tell me I’m not that only that thought last week was an incredibly long and unproductive week…  This baby is getting big enough that I’m uncomfortable all the time, don’t sleep well and just generally want to do nothing other than lay on the couch.  All.  Day.  Long.  Not only that, mortality seems to have the theme for last week.  A friend unexpected lost her husband to spinal meningitis and now is the sole provider and caregiver of their three young children.  Health is such a fragile thing.  It’s shocking and scary how quickly things can change.  Annnd… to top it off… My Mr Right wrecked on his motorcycle last weekend.  He’s fine.  He really just scraped and bruised his knee.  And it’s mostly cosmetic damage to the bike.  But, it was a bit of a wake up call when he walked back in the door A LOT sooner than I expected him with a bloody knee and torn clothes.  Definitely made me remember the important things in life and that I never want to take my most favorite people for granted.  So…  How was your week?!

Ok.  Here is a super quick and easy (and SOO CHEAP!) little project.  It’s actually part of my little sister’s Christmas gift.  She never reads my blog though, so I’m safe.  We do a fair amount of traveling, but if you have little kiddos around this would also be fabulous to have.  Little Monkey has been the victim of burns from my flat iron.  He’s only ever touched it once while it was hot… he’s no dummy… but a case like this could have prevented it.  Ready?  A Flat Iron Heat-Resistant Case.

Here’s the How:
Supplies-
An Oven Mitt (I bought mine from the Dollar Tree)
Sewing Machine
Straight Pins
Scissors
Thread to coordinate

1)  Take your mitt and cut it down to fit your iron.  I used a mitt, cut the thumb off and thinned it down a little.  You could definitely do this with a hot pad too.  Just fold it in half and sew the top and side together.  Just make sure you leave enough seam allowance for your iron to fit in the mitt once you sew up the open edge.

(I had originally planned to use the thumb as another case,
but it was so skinny and thick I couldn’t get it flipped right side out.
I ended up just tossing it out.)

2)  Turn your mitt inside out and pin it so the edges meet.  Sew the side of your mitt together.  Secure with a good back stitch at each end.

3)  This is, by far, the hardest and most time consuming part of this whole project.  Turn your mitt right side out.  This took me a good twenty to thirty minutes and several hand cramps (because the mitt is so thick) to get it right side out.  I ended up using my teeth… so if you can borrow an extra set of hands, it might be helpful… just sayin’.

4)  Wash the mitt, ’cause well, you used your teeth and there is spit all over it, right.  Eek.  TMI?  =)  Make a cute little box or something to gift it in.

Ta-da!  Even with the thirty minutes it took to turn it right side out, I still had this project done in about an hour.  An hour of my time and buck from my pocket?  I’d call that a super duper gift.

Little side note:  I didn’t purposefully leave the sealed end of the mitt wider than the open end, but it worked out very nicely to have that little bump as a place to store the cord when you wrap it up to put it in your suitcase or whatever.  It goes in even better than the last photo of this post shows, I just wanted you to be able to see that the iron was in the case.

And… There is a set of printable Kid’s Activity Coupons now available in my Etsy Shop, if you’re looking for some cheap and easy stocking stuffers…  Just FYI.

December 12, 2011 by Krista

DIY Luggage Tags

This originally posted on Someday Crafts back over the summer, but with gift giving season in full swing, I thought you might be interested in something DIY, cheap and easy.  If you know any avid travelers, kids about to graduate and leave home, or if you have the ever-elusive diaper bag (or is that just at my house?)… how about some personalized luggage tags?

Today, I have a fun (and easy) tutorial for you.  It’s a perfect summer time project.  My Mr. Right travels a lot for work.  As I was trying to come up with Father’s Day gifts, I tripped over a suitcase.  Literally.  After I muttered a few irritated words and ripped the airline tag off, an idea hit.

I don’t have a whole lot of extra cash rolling around right now, so a DIY was essential.  It was relatively easy and they are sturdy (a lot sturdier than I thought they’d be).

Here’s the How:
1)  Find a thick piece of cardboard.  The thicker, the better.  I used a Costco IZZE box.  Cut it down to the height you want your luggage tags and double the width.  Measure your piece of cardboard and find the middle.  Score the opposite side of the cardboard so you can fold it in half.  Mark out the window for your address.  I used a small box of matches to measure it.

2)  Cut out the window and fold your tag on the score.

3)  Measure a piece of scrapbook paper.  Leave some extra around all the edges.  Put glue on one side of the cardboard and lay it face down on the paper.  Flip the cardboard over and fold the extra paper over the top and bottom and glue it down (see the photo).  I used Tacky Glue.  It worked really well, other than there was some added drying time and I had to wait before moving on.

4)  In your window, cut an “X”.  Fold the paper back and glue it down.  If there is any extra at the top and bottom, trim it off so it won’t be visible when you fold your tag in half.  Put a little dot of glue in each of the corners to help keep them from tearing.

5)  Cut a piece of thick plastic a little larger than the window.  Just re-purpose the packaging from one of your purchases.  I used the plastic cover from a Costco battery package, it was perfect.  Glue it down.  When it’s dry, apply glue on the side of the tag with the window.  LEAVE THE TOP UNGLUED!  If you glue the top, you won’t be able to slide your address tag into the holder.  Fold the tag in half onto the glue and let it dry well.  I suggest putting it under a couple of heavy books (or your 5-inch thick box of scrapbook paper).

6)  Fold the ends of the tag like you would a gift.  Glue it down.  Cut a slit in one end of your tags.  Thread a coordinating ribbon through the slit.  Your ribbon will need to be about 2.5 times as long as your tag.  The thicker the ribbon, the better it will hold.  Tie it in a knot and glue it a little to help it hold.

7)  Write out your address and slide it in the top of your tag.  That’s it!  You’re done and you have some super cute, one-of-a-kind luggage tags.  Easy to spot at baggage claim and you’ll know immediately that you grabbed the right bags.

If you are worried about the paper tearing, you can do a thin layer of modge podge over the top to seal it.

My Mr. Right saw these tags before Father’s Day and so I asked him if he liked them.  He was less than impressed.  My Mr. Right is very particular about everything having a purpose and the “airline tags are good enough” apparently.  Men.  In any case, I enjoyed making them and have since made some more for Little Monkey and myself.  It’s a nice, easy way to tag your beach bag, diaper bag, stroller and many other items.  If you’re worried about privacy, attach them to a small zipper inside your bag or with a safety pin.

~Krista

December 8, 2011 by Krista

Weekend Wander #59

Ugh… so, I just realized at like 6pm that this week’s party was early, not late.  Which means I spent all day thinking today was Friday.  This pregnancy brain is killing me.  Gah!  Ten more weeks, only ten more weeks.  Except then the new-mommy, zombie brain will set in.  Gah-Rate.

Ok, features from last week:

The most viewed link was cleaning between your oven doors over at Racks & Mooby:  

Threading My Way has a great way to upcycle your wedding dress: 
What a great way to display all those Holiday cards over at Here Comes the Sun:

The Crafty Conundrum has a great must-try recipe!
Ok, grab a featured button if you want one, ladies.  Thanks for linking up everyone!  And now, welcome to the party… sorry, I started it without you.  I blame the baby.  
Link ’em up!
1.  No Commercial Site.
2.  Family Friendly Link Only, Please.
3.  Mingle!

  • « Previous Page
  • 1
  • 2
  • 3
  • 4
  • Next Page »

I'm Krista. Ringleader here on While He Was Napping, wife to my handsome Mr. Right & momma to my THREE energetic boys, Big J (9), Little J (6) & Little N (4). We FINALLY added a beautiful little girl to our family last December.

I’m knee-deep in Tonka trucks & Thomas trains. I survive our crazy days with Vanilla Coke, Sonic slushies, sweet snuggles and little giggles. When I tuck them in tight & kiss them good night, I get a little time to create & just be me.


It all happened
while (s)he was napping
Want More of My Story?

Privacy Policy

While He Was Napping respects your privacy and is committed to keeping any personal information collected on this website confidential. To find out what information we collect and how it is used or what options you have regarding your information, see our full privacy policy here. Creative Commons License The website found at whilehewasnapping.com and all subdomainsauthored and published by Krista is licensed under a Creative Commons Attribution-NonCommercial-NoDerivs 3.0 Unported License.

Pretty Chic Theme By: Pretty Darn Cute Design