While He Was Napping

momma gets stuff done

  • Home
  • About
  • Archive
  • Do It Yourself
    • Crafts
      • No Sew
      • Painting
      • Paper Crafts
      • Repurpose Projects
      • Vinyl
      • Washi Tape
      • Kid’s Crafts
      • Fonts
    • Sewing
    • Decorate
      • Home Decor
      • Holiday Decor
    • Celebrate
      • DIY Gifts
      • DIY Your Party
  • Recipes
    • Beverages
    • Appetizer
      • Bread
      • Other Appetizers
    • Snacks
    • Main Dish
      • Meat
        • Chicken
        • Beef
        • Pork
        • Seafood
      • Vegetarian
      • Slow Cooker
      • 30 Minute Meals
    • Dips & Sauces
    • Salads
    • Pasta
    • Soup
    • Dessert
      • Cookies
      • Brownies
      • Cupcakes and Cake
      • Box Mix Recipes
      • Other Sweet Treats
    • Breakfast Food
      • Pancakes
      • Waffles
      • Muffins
      • Other Breakfast Food
  • Family
    • Babies
      • Pregnancy
      • Newborns
      • The 1st Year
    • Toddlers
    • Preschoolers
    • Kindergartners
    • 6-8 Year Olds
    • The Grown Ups
      • Date Night
      • Romantic Gifts
    • Self Care
  • For the Home
    • Cleaning
    • Organizing
    • Emergency Preparedness
  • Travel
    • Travel Tricks & Tips
    • Traveling with Kids
  • Tech & Gadgets
    • Must-Have Apps
    • Techy Home Appliances
    • Gadgets & Electronics
    • Blogging Tips
  • Printables
    • Posters
      • Quote Printables
      • Subway Art Printables
    • Printable Organizers
    • Printable Journals
    • Learning Printables & Worksheets
    • LDS Printables
  • Holidays
    • New Year’s
    • Valentine’s Day
    • St. Patrick’s Day
    • Easter
    • Cinco de Mayo
    • Mother’s Day
    • Father’s Day
    • 4th of July
    • Back to School
    • Halloween
    • Thanksgiving
    • Christmas
    • Holiday & Seasonal Printables

February 20, 2012 by Krista

Bundles of Baby: Rag Edge Burp Cloths

I want to thank everyone who has left such sweet comments and for all the congratulations and well wishes on our newest little bundle of fun.  You guys are the best!  We made it a whole seven days with a newborn before Little Monkey came down with a fever of 104!  Luckily, so far, we seem to have kept the boys separated enough that Little Monkey didn’t share.  Which was awfully hard, because he LOVES being a big brother.  He is such an awesome help.  Anyway.

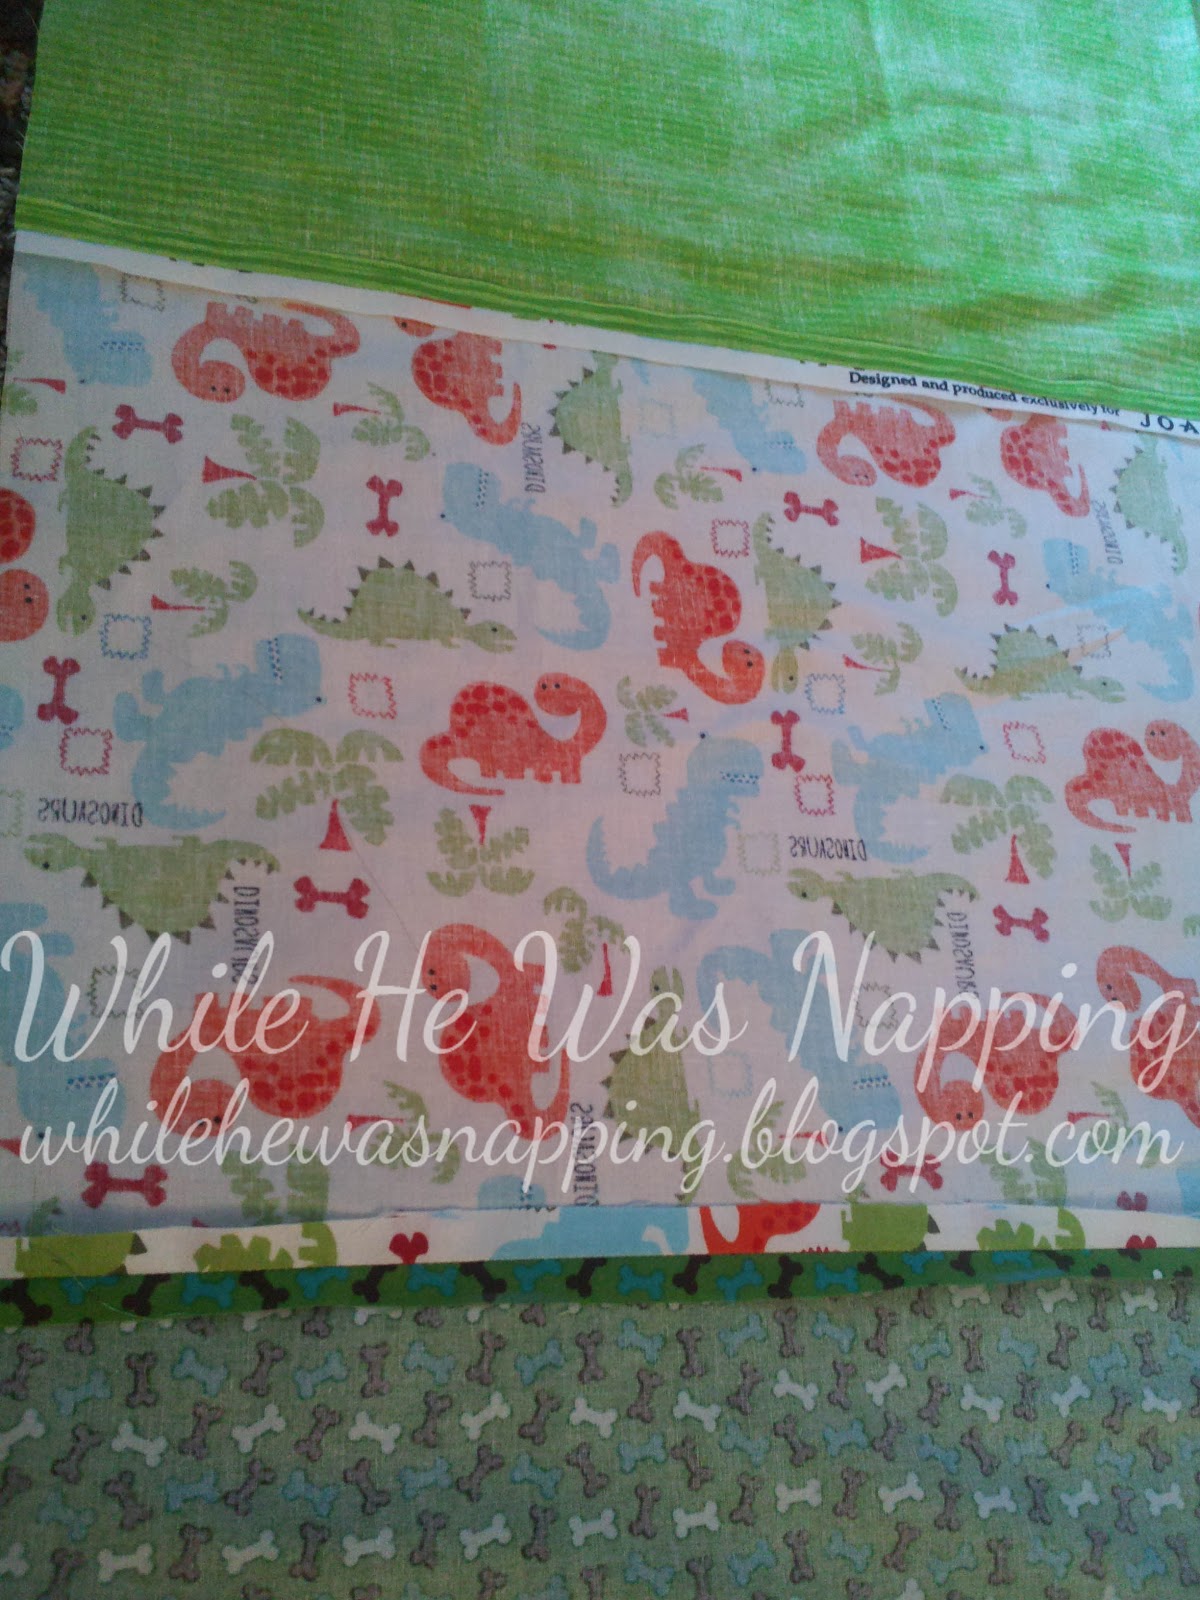
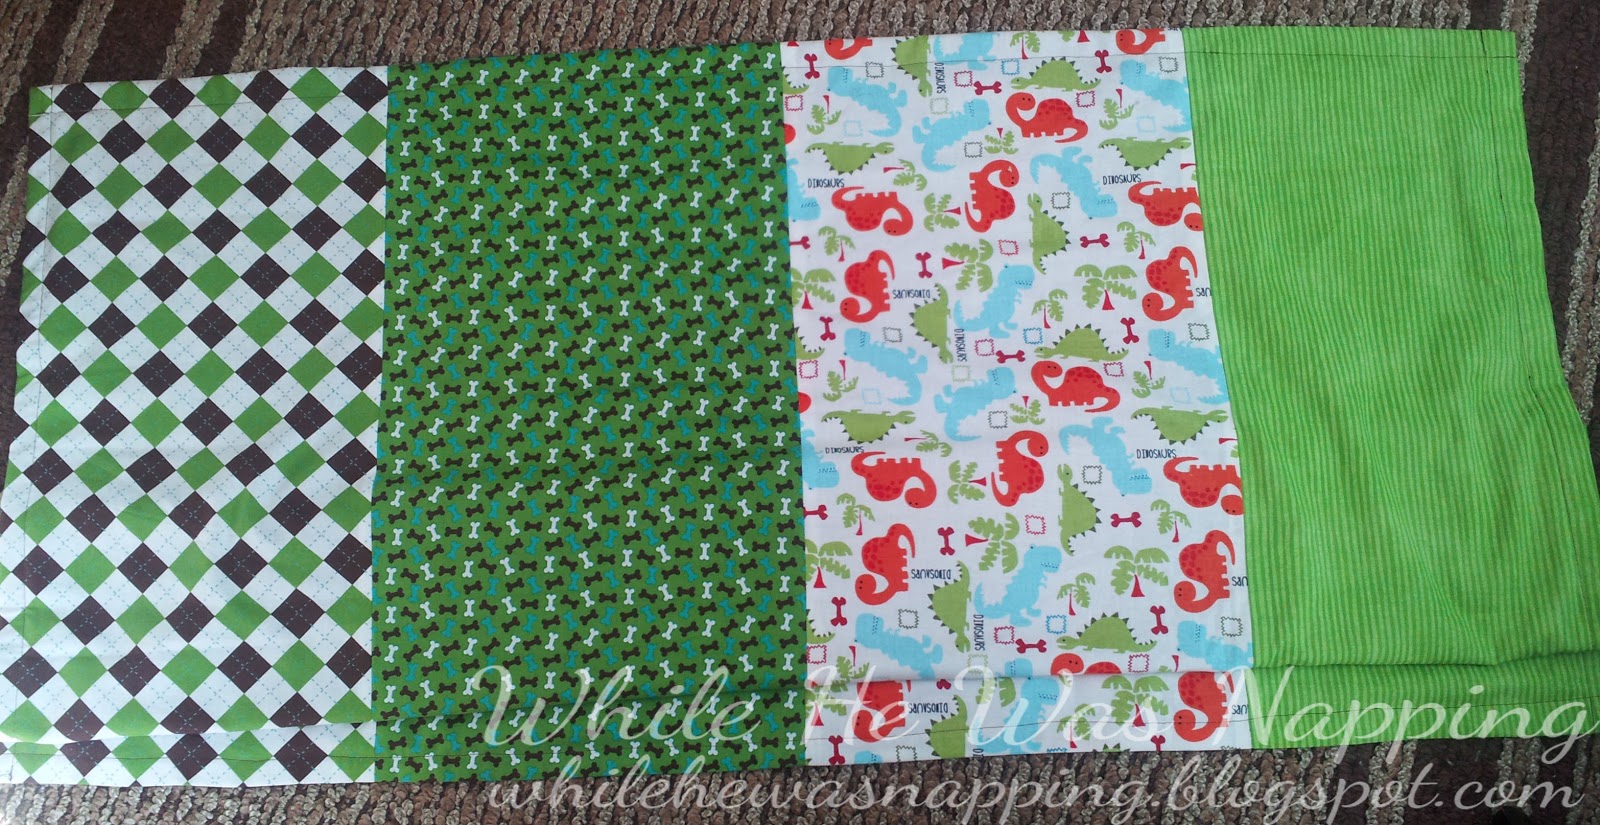
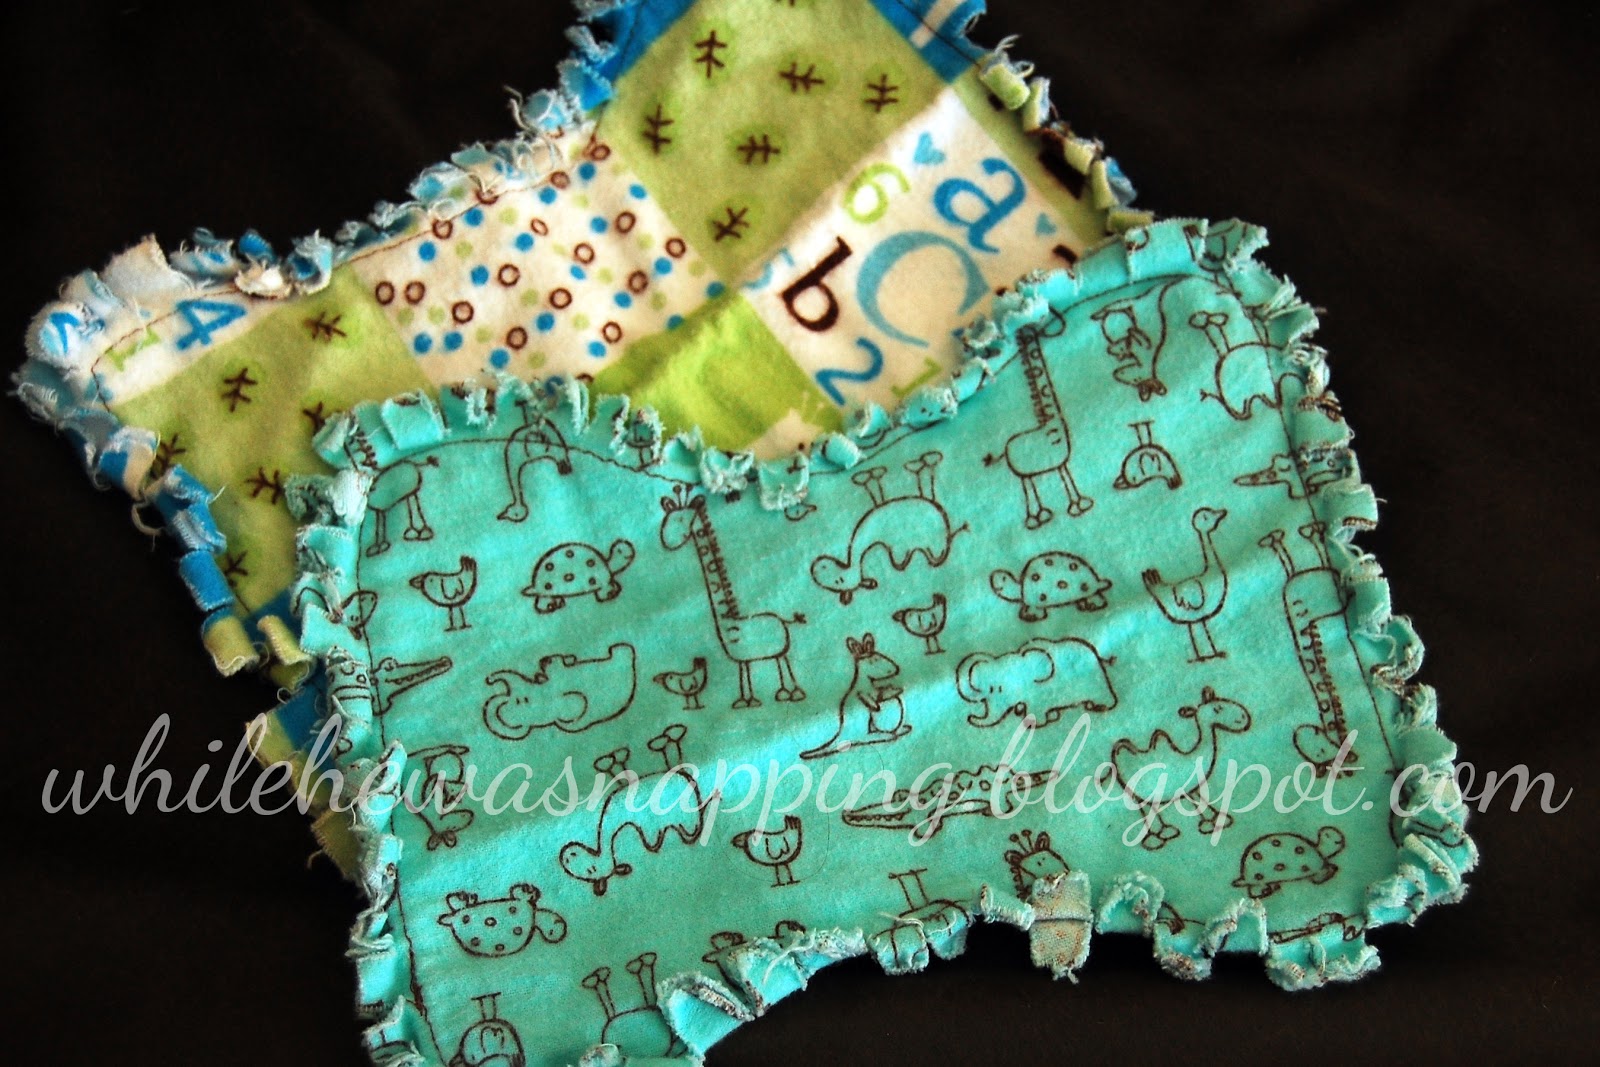
My name is Krista and I’m addicted to fabric.  Every time Jo-Ann puts their flannel on sale, I can’t help myself. It’s a compulsion!  So, I have A LOT of flannel laying around my house.  Like, several boxes of it.  So, what’s a girl to do?  Although I could make a really cool fort or something, I opted for some burp rags instead.  Much less work.  With Little Monkey we got some hand-me-down burp cloths that were flannel and shaped kinda like a peanut.  They were awesome.  It fit over your shoulder without bunching up around your neck.  I used the same shape for these.

Here’s the How:
Supplies-
–  1/3 yard Flannel (You can adjust the size of these to suit your needs.  A 1/3 yard will give you a 12″ long burp cloth.  I actually made mine about 11″ long, the size of a single sheet of printer paper.)
–  Coordinating thread
–  Sewing Machine
–  Good snipping scissors (You can buy spring-loaded scissors that pop back open, but a regular ole normal pair of fabric scissors is what I use)

Directions-
1.  Draw out a pattern on paper.  Unless you are really good at drawing symmetrically (I am not), fold you paper in fourths and draw only a fourth of the pattern.  Or just print off the pattern below.  Click the image and save it to your computer.  Print it off.  I believe it’s formatted to a single 8.5″x11″ sheet of printer paper.  And, you’re welcome.  You will need to cut 2.

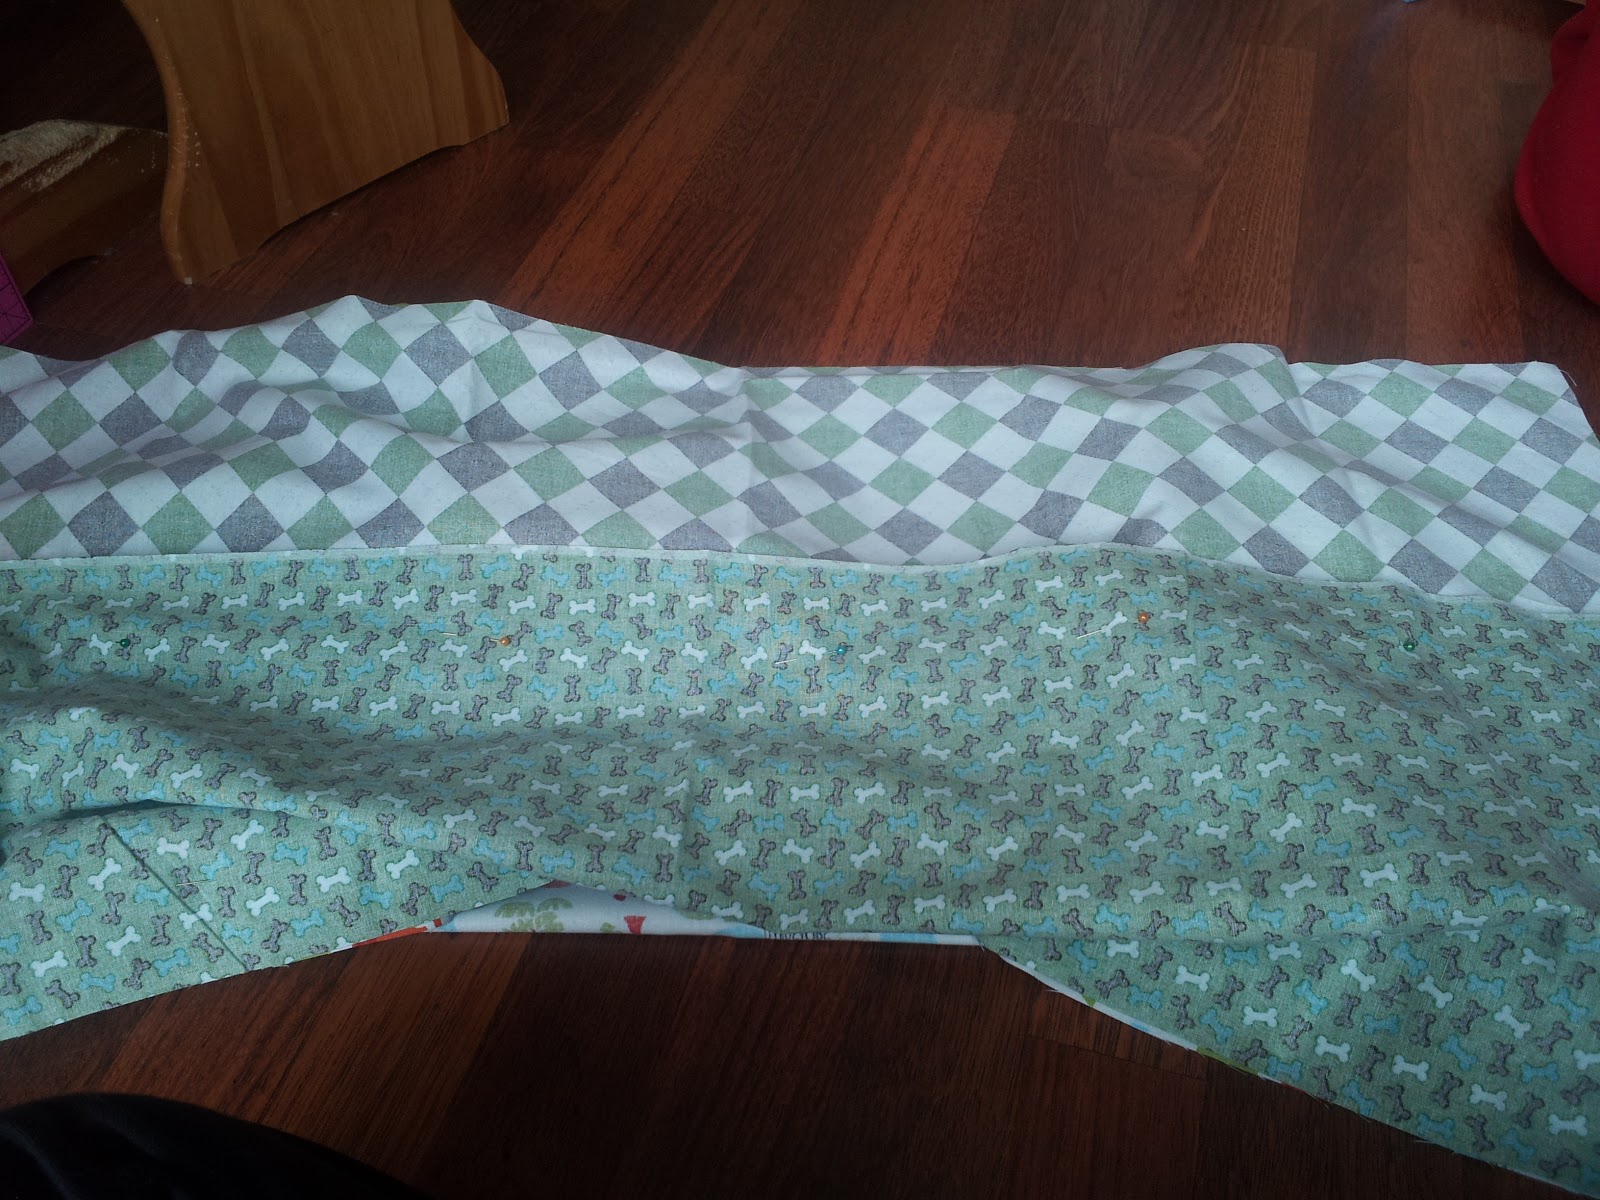
2.  Wash your fabric.  Iron it if it sits damp in the dryer for a day or two… just sayin’.  You will want your fabric to be two layers thick, so fold it in half with the selvage edges together and the wrong sides touching.  You should be able to see the pattern on your fabric.  You can cut two separate pieces, but I figure why do it twice when you can fold it and do it once.  (And know you know why some of my projects don’t turn out, hmm.)

3.  Pin your pattern and cut out your pieces.  Remove the pattern piece.

4.  Stitch around the outside of your burp rag.  Remember, the fabric should have wrong sides together (you should be able to see the print on both sides).  You can use whatever seam allowance you want.  I opted for about an inch.  You will want it to be big enough that you can snip the edges.

5.  Take your scissors and snip all the way around the perimeter of the burp cloth.  Don’t cut your seam!  You can get as close as you dare, but if you cut the seam your whole burp cloth will start to fall apart.  So, be careful.

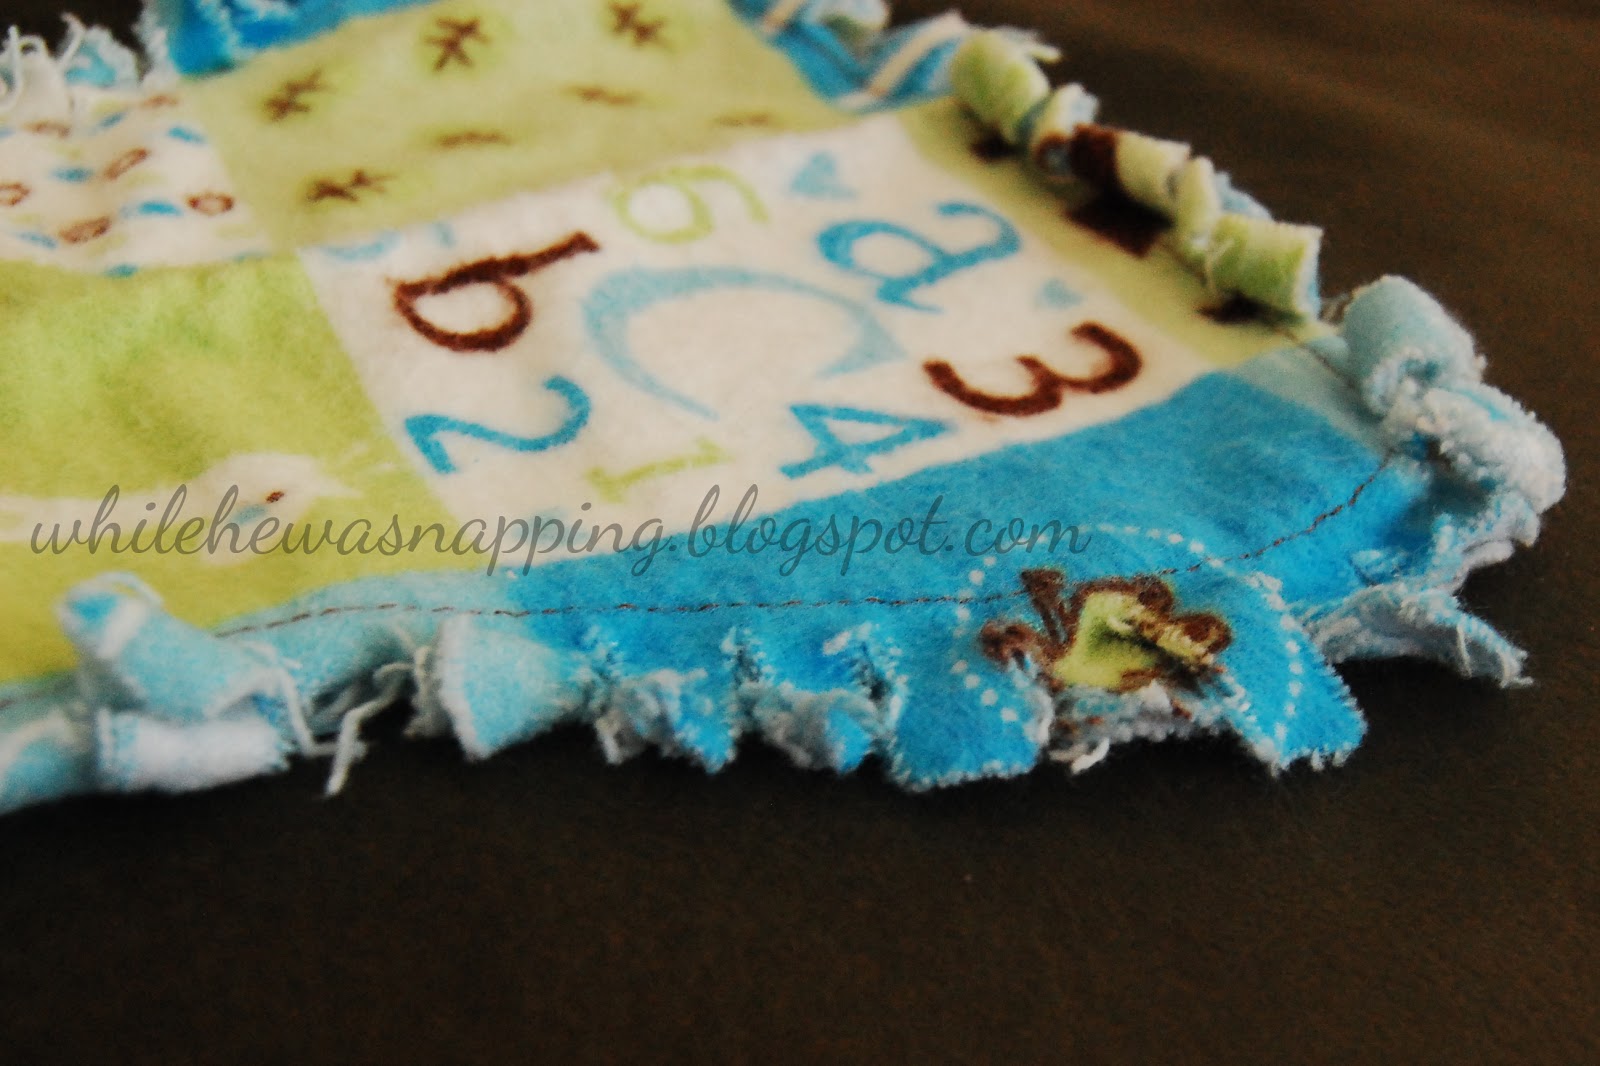
6.  Wash to start the fraying process.  I only washed mine once.  I figure it’ll see the washer time and time again.  And, the best part, it will only look better every time it does.  This can be completed in about half an hour.  Maybe an hour if you’re a slower seamstress or just learning.  So, give it a try.

February 19, 2012 by Krista

Bundles of Baby: Maternity Must-Haves

While growing a baby, you spend nine months in agony and pain.  Ok… not everyone has miserable pregnancies.  I have a sister-in-law that adores being pregnant.  She looks amazing the entire nine months, never feels sick and loves every minute of it.  Me… not so much.  I have never had heartburn in my life… except when I’m pregnant.  And this time, well, let’s just say I have to count the number of antacid tablets I take in a day so I don’t go over the maximum dose.  Seriously.  And morning sickness is an all day thing for at least six weeks.  My feet swell, my ribs are so incredibly sore sometimes it hurts to breathe, those horribly painful calf cramps, the round ligament pain, the Braxton-Hicks, the acne.  Don’t you just want to run out and get pregnant?!?

Actually, I’m pretty lucky.  I spend my pregnancies (at least, so far) uncomfortable and slightly miserable, but I haven’t had any serious health issues.  No gestational diabetes, high blood pressure, edema, eclampsia, placenta previa or other problems and I always manage to gain a healthy amount of weight without too much trouble … except when I went to the doctor a few weeks ago and they told me I’d gained almost 15 lbs in three weeks.  I about died.  Turns out, the nurse was in a hurry and didn’t bother to be very accurate.  I’d only gained about 3 lbs.  Whew.

So, what’s a gal to do?  Accept misery and defeat?  Nope.  There are some things these days that make those nine months as an incubator bearable.  Now, are these items truly “must-have” items?  No.  Millions of women have survived pregnancy without them.  But, I sure have found them handy these last few months…

1. Antacid Tablets.  I live off of these babies.  Like I have to count out the tablets and limit how many I take a day, so I don’t exceed the maximum dosage.  This kid will not have any sort of calcium deficiency, that’s for sure.  Are they gross?  Yes.  I have a texture issue with them.  But, the nasty chalky texture is a mild step up the throat-on-fire issue.

Source

2.  Drawstring pants.  Oh my heck.  Especially this pregnancy, I have a lot, I mean A LOT, of yoga-pants-days.  Thank goodness for knits.  And with a drawstring, I can loosen the ties as I continue to expand.  The pressure on my belly from tighter-fitting pants is just too much most days.

3.  A rubber band.  Actually, I use a hair tie.  Not for my unruly mane that has a mind of it’s own more than ever before, nope, I use them to hold my pants up.  Or at least together.  Sometimes, the “up” part is a whole ‘nother issue.

Source

4. Belly band.  These babies are pricey.  My mom bought me a couple when I was expecting Little Monkey.  However, it’s crazy how heavy babies get to be.  And it’s not like I had amazing abdominal muscles before I was pregnant.  I have more stretch marks on my hips than I do on my belly.  The belly band is soo nice for the extra support.  It’s like finally finding that awesome bra that holds everything up… only it’s your belly.  Over at Make It and Love It, there’s a tute for a DIY version of the belly band.  And you can wear your pre-preggo pants with a belly band, at least for a little while longer.  With Little Monkey I was able to button my jeans the whole pregnancy.  I have no idea how long the rubber band trick has been in play this pregnancy, but I’ve used it more than I haven’t this time around.  And the belly band helps with the aforementioned “up” issue.

4.  The rice bag.  Oh goodness, this thing has been a life saver.  My back has been so sore this pregnancy I think I might have died without spending hours and hours with this thing on my back.  Some days I spend more time with it than I do my husband.  And with my hormones, he’s probably grateful for that.  I’ve had a lot more back pain this pregnancy, especially after sitting in horrendously uncomfortable chairs for three hours every week at church.  They should have a section of La-Z-Boy recliners for expectant mommas…  (and maybe a snack bar…)

5.  Shoes that you don’t have to tie.  While pregnant with Little Monkey the last few months were in the summer time.  Hello, flip-flops.  This time… it’s January.  Flip-flops are a no-go.  So, boots have been my new besties.  The lame, boring ones that don’t tie or zip or anything.  I can’t even see my feet anymore… what makes you think I can reach them?!

Source

6.  A good bra or two.  Now, I’ve always had a hard time shopping for bras.  There just aren’t many companies that make a size 34D.  A size 34DD?!  Ha.  It’s nearly impossible to find.  And bras are expensive!  Seriously, I’m gonna be changing bra sizes again in three months and again in six months when I start nursing.    And when I stop nursing, the changes will continue… I don’t have an endless bra budget!  The trick is to invest in just a couple good quality, supportive bras in the sizes you need.  ‘Cause those girls will get so heavy they’ll hang to your belly button.  Wait until you need them though, so you’re sure to get the right sizes.

So, with Little Monkey, I invested in a couple basic nursing bras that were sports-bra in style that I could sleep in comfortably (and my grandma gifted me with a few, good quality nursing bras… that fitting session was a little awkward, but you get over it quick when you see the total on the cash register).   And I invested in two good bras for this pregnancy.  You know, the kind your grandma wears (and leaves hanging in the bathroom when company comes over…) – the ones with thick straps and so many fasteners it nearly takes two people to do them all up… they are my baby-growing bras (not to be confused with ‘baby-making bras’… those ones live in the drawer labeled “mommy’s pretties” which has been locked since about week 23 of this pregnancy…)

7.  An extra pillow.  I’ve needed some extra support while sleeping with this baby.  Our memory foam mattress is pretty great, but that totally unflattering pillow between your knees can feel like heaven to aching hips.  I often sleep with my back against My Mr Right’s back for a little extra support too.  Or you could go with a pillow like this…  although I’m not sure my bed is big enough for all of us…

Source
8.  Lotion.  A good moisturizing lotion.  Whether or not you believe the cocoa butter theories, you’ll need a good lotion for your whole body.  Cocoa butter has never prevented stretch marks for me, but it’s an awesome moisturizer and I use a knock off of Palmer’s Belly Butter.  My stretch marks have stretch marks, but at least I’m not crazy itchy.

9.  Healthy snacks.  As you run out of room in your torso, your stomach will lose the space to expand when you eat.  Therefore, you will find yourself eating much smaller portions and ALL DAY LONG.  Having snacks like yogurt, string cheese, rolls and lunch meat (after you heat it, of course), and fruit will be so much more convenient.  Once you’re hauling around an extra twenty pounds, you won’t want to do a whole lot of standing in front of the stove…  Just sayin’

Source

10.  Extra undies.  Well, let’s sit an extra 15 pounds on your bladder, wiggle it around and see what happens…  ’cause every time you sneeze, laugh, cough or when your baby moves, you’ll be glad you sprang for the ultra bulk package.

Any more suggestions on Maternity Must-Haves?

February 17, 2012 by Krista

Weekend Wander #68

Welcome, welcome Party People!  I’m still adjusting to life with two children (as if having a newborn isn’t enough, right?  Let’s throw in a two and a half year old who doesn’t believe in sitting still for more than .0001 second).  We love having our little one here and it’s been nice that My Mr. Right was able to take some paternity leave too.  It’s been some great bonding time for our little family.  Ok, anyway… Let’s party!  No features this week, but I’ll come back to last week’s party and do features in a couple weeks.  So, show me whatcha been doin’?

February 15, 2012 by Krista

Bundles of Baby: Self-Binding Strip Quilt

I set the goal for myself that I would make each of my children a blanket before they were born.  So far, so good.  Little Monkey got this Safari Quilt and it was one of my first projects I put up on this blog.  And, that translates to: the tutorial on it is less than impressive.  So, I used the same binding method on this new little baby’s blanket as I did on Little Monkey’s quilt and figured this was as good a time as any to re-visit that post.  This blanket was my first strip quilt and, let me say, easy peasy!  I spent more time cleaning out my sewing machine because my thread kept tangling than I did on the actual quilt ( I’d never cleaned my sewing machine before… I got the machine for my 16th birthday… probably a miracle it still worked at all.)!  There will definitely be more of these types of quilts and blankets in my future.

Little Monkey’s Quilt with a Double Roll Binding
 Strip Quilt with Double Roll Binding
Here’s the How:
Supplies:
– Coordinating fabrics.  I used four different cotton blend fabrics.  I cut mine to 12″ wide, but you can make them wider or skinnier if you want.
– Coordinating thread
– Backing fabric.  How much will depend on how big you make your blanket.  I chose a minky brown and used a little less than a yard.

– Ruler
– Fabric Marker (I actually use chalk)
– Scissors

Directions:
1.  Wash your fabric to prevent shrinkage after you sew your blanket together.

2.  Measure and cut each fabric to your desired width.  My strips are 12 inches wide.

3.  Pin the long sides of the fabric right sides together and sew a straight stitch so you get one long rectangular piece.  Iron down your seams.

4.  Lay the strips of fabric piece face down on the floor.  Position your backing fabric on top.  Wrong sides should be touching.  The backing fabric will need to be smaller than your strips of fabric piece.  You may have to cut it down.  My minky backing piece was a remnant and I ended up having just enough.

5.  Do a double roll on your hem with your strip fabric.  Catch the backing fabric in your second roll so it will be inside the hem.

The first roll should have the edges of the two fabrics touching.
 The second roll should roll down over the top of the backing fabric.
Pin your rolls down.  Make sure you pin through all layers of fabric.
It can help to iron each roll so things will stay in place better as you sew.
 6.  Sew a straight stitch along each edge to finish your blanket.  I really like this method because it hems your fabric and binds the blanket all at the same time.  It’s easy, quick and looks great.  Unless your thread catches and you don’t notice it.  Ask me how I know that…

I didn’t do any kind of quilting on this blanket.  I may have to go back and do that.  The back of the minky is pretty slick and I may need to do at least a few straight seams to help the blanket keep it’s shape.  If I do, I’ll update this.  You may want to go ahead and do that so you don’t have to re-visit this project again…  Just a though.

February 14, 2012 by Krista

Guest Post: Re-Purposing Old Clothes by Homegrown & Healthy

Hey friends!  Happy Valentine’s Day!  I hope you’re all having a good day.  My plans include diapers, my new role as a dairy cow, and watching “Valentine’s Day” (it seems fitting and I’m all about the romantic comedy).  I’ve got a 4-day-old newborn, so I’m exhausted and will be doing as little as possible.  Luckily for me (and you!) I have a great guest post for you.  


Amber, from Homegrown & Healthy, is here to share a fantastic secret!  I know when we found out we were expecting Little Monkey almost three years ago, and that he was indeed a “he”, we started getting hand-me-downs by the box full.  For which we were incredibly grateful.  Baby clothes are SPENDY!  And your kid will wear them for maybe a couple months…  That’s a lot of money on hardy used clothes.  But, with those boxes came some stained outfits that just screamed “Please throw me away!”  Kids are messy!  Life happens.  Come along with Amber and she’ll show you a frugal and easy way to make those “throw aways” into “good as new”.  Take it away, Amber!  

________________________________


If you’re like me then with each new baby announcement came a flood of hand-me-down baby clothes. Okay, with a thrift store in the family and a reputation for being, um, frugal, I may have gotten a little more than the “average” new mom. But when those nesting instincts kick in and maternity leave begins you may just appreciate this low key, work at your own pace, project. Regardless of your level of craftiness, with a little time and elbow grease anyone can up-cycle those used baby clothes and make unique outfits that are eco and wallet friendly.


With two little girls and an active lifestyle I just assume that messes are bound to happen. Between art projects, playing in the mud, and eating with our hands (for the sake of appearing lady like, I’m going to just pretend that one was for the baby) I end up throwing a lot of clothes away. But no longer! This project is easy enough to complete in a nap time, depending on how much you plan on dyeing.


The dye that I used is available at all of the grocery stores that I’ve ever been to and costs less than $3 and believe me, each packet of dye will cover a lot of articles. Follow the instructions on the package, and remember to read everything. Mine recommended adding salt and laundry detergent to my dye pot.  It also instructed me to wash the garments afterwards until the water ran clear. That was clearly a prank, as the water WILL NEVER RUN CLEAR, EVER. 


After I gave up washing it in the sink I even took my clothes into the shower with me, and it STILL NEVER RAN CLEAR. The next batch I got wise and put all of the newly dyed clothes, partially hand rinsed, into the washing machine together. This ensured that all of the extra dye came out all at once and I didn’t have to worry about the dye bleeding off onto our other clothes come laundry day.


Honestly, I don’t know what got onto that thing in the before pictures. It’s most likely tomatoes, as she tends to stain most of her clothes with those guys. You can see in the after picture that, like magic, the stain is gone!  I know that it won’t cover all stains, but for all of the clothes I’ve tested so far it’s worked (except to cover paint).


Now all you have to do is add a few cute accessories. With babies you need to be careful of choking hazards, but there is plenty of ribbon and other frills that you can use to embellish. Have you used iron on transfers before? They’re incredibly easy, inexpensive, and a great way to get a “custom outfit” on a shoestring budget.

Now find a cute model. Presto! New clothes in no time at all.
 

 _______________________________________

Look at that!  You can’t even tell that dress was used and a little abused.  It looks fabulous!  Thank you so much for sharing with us, Amber!  I’m off to sort through some little clothes in search of stains, because I’ve got to try this!

  • « Previous Page
  • 1
  • …
  • 135
  • 136
  • 137
  • 138
  • 139
  • …
  • 231
  • Next Page »

I'm Krista. Ringleader here on While He Was Napping, wife to my handsome Mr. Right & momma to my THREE energetic boys, Big J (9), Little J (6) & Little N (4). We FINALLY added a beautiful little girl to our family last December.

I’m knee-deep in Tonka trucks & Thomas trains. I survive our crazy days with Vanilla Coke, Sonic slushies, sweet snuggles and little giggles. When I tuck them in tight & kiss them good night, I get a little time to create & just be me.


It all happened
while (s)he was napping
Want More of My Story?

Privacy Policy

While He Was Napping respects your privacy and is committed to keeping any personal information collected on this website confidential. To find out what information we collect and how it is used or what options you have regarding your information, see our full privacy policy here. Creative Commons License The website found at whilehewasnapping.com and all subdomainsauthored and published by Krista is licensed under a Creative Commons Attribution-NonCommercial-NoDerivs 3.0 Unported License.

Pretty Chic Theme By: Pretty Darn Cute Design