While He Was Napping

momma gets stuff done

  • Home
  • About
  • Archive
  • Do It Yourself
    • Crafts
      • No Sew
      • Painting
      • Paper Crafts
      • Repurpose Projects
      • Vinyl
      • Washi Tape
      • Kid’s Crafts
      • Fonts
    • Sewing
    • Decorate
      • Home Decor
      • Holiday Decor
    • Celebrate
      • DIY Gifts
      • DIY Your Party
  • Recipes
    • Beverages
    • Appetizer
      • Bread
      • Other Appetizers
    • Snacks
    • Main Dish
      • Meat
        • Chicken
        • Beef
        • Pork
        • Seafood
      • Vegetarian
      • Slow Cooker
      • 30 Minute Meals
    • Dips & Sauces
    • Salads
    • Pasta
    • Soup
    • Dessert
      • Cookies
      • Brownies
      • Cupcakes and Cake
      • Box Mix Recipes
      • Other Sweet Treats
    • Breakfast Food
      • Pancakes
      • Waffles
      • Muffins
      • Other Breakfast Food
  • Family
    • Babies
      • Pregnancy
      • Newborns
      • The 1st Year
    • Toddlers
    • Preschoolers
    • Kindergartners
    • 6-8 Year Olds
    • The Grown Ups
      • Date Night
      • Romantic Gifts
    • Self Care
  • For the Home
    • Cleaning
    • Organizing
    • Emergency Preparedness
  • Travel
    • Travel Tricks & Tips
    • Traveling with Kids
  • Tech & Gadgets
    • Must-Have Apps
    • Techy Home Appliances
    • Gadgets & Electronics
    • Blogging Tips
  • Printables
    • Posters
      • Quote Printables
      • Subway Art Printables
    • Printable Organizers
    • Printable Journals
    • Learning Printables & Worksheets
    • LDS Printables
  • Holidays
    • New Year’s
    • Valentine’s Day
    • St. Patrick’s Day
    • Easter
    • Cinco de Mayo
    • Mother’s Day
    • Father’s Day
    • 4th of July
    • Back to School
    • Halloween
    • Thanksgiving
    • Christmas
    • Holiday & Seasonal Printables

February 7, 2012 by Krista

Guest Post: Bumper Covers by One Hot Crafty Mama

Chelsea, from One Hot Crafty Mama, is here today to share a SUPER crib bumper tutorial with you all.  This was a project I kept saying, “I should do that!” and never got around to it.  I ended up buying the set we used with Little Monkey.  Some times, time is worth more than money.  Chelsea makes it look super easy and maybe, just maybe, I’ll have to give it a go with this little one.  Take it away, Chelsea!

____________________________________________

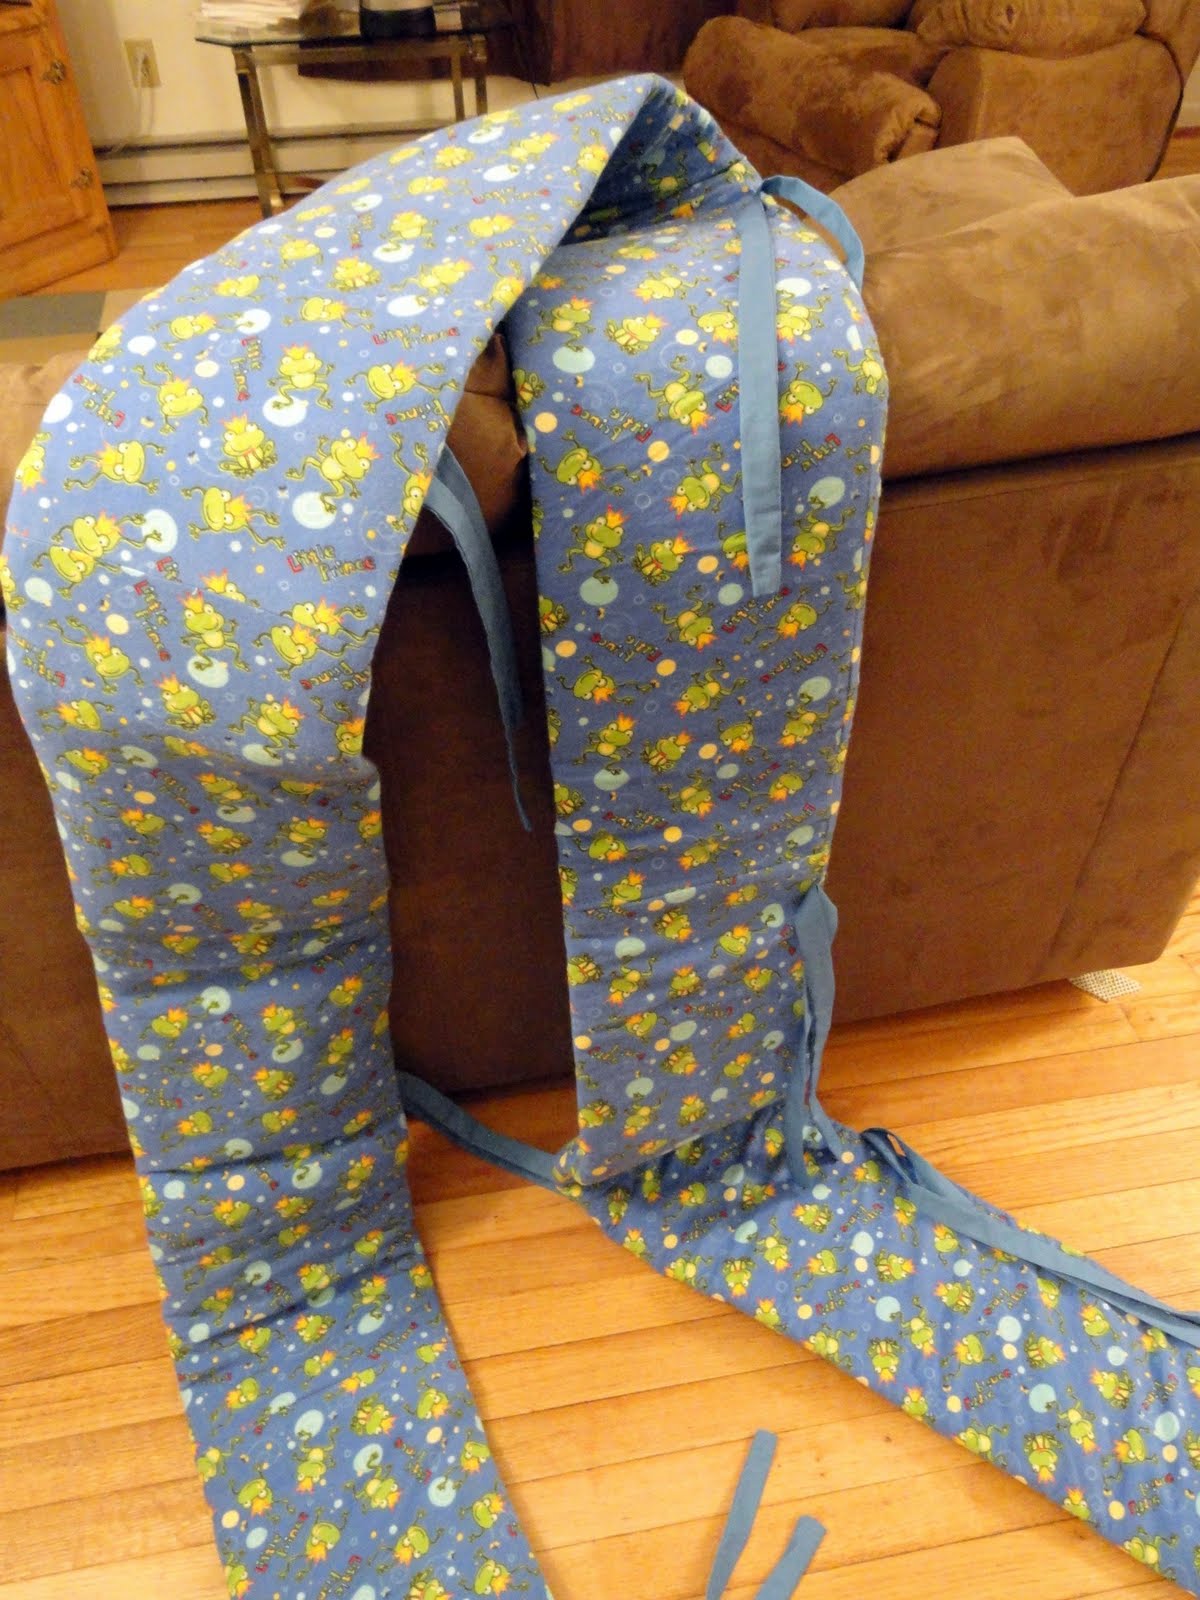
I am beyond super excited how this turned out!!! I found this fabric on clearance at Joann’s and fell in love with it, so I bought the rest of the bolt it ended up being about 2 1/2 yds, I wasn’t sure what I was going to do with it but I knew that I would think of something, this is what I thought of!!

Our first child was a daughter and EVERYTHING that she had when she was a baby was either pink or purple. It was all gifts, so I’m VERY VERY grateful for it don’t get me wrong. But when we found out that this baby is a boy, I was kind of in a spot of now I need everything for a boy and nothing we have is neutral. I have been looking at bedding for the crib online and have been shocked how much stuff is. That is when I decided that I can make a cover for the bumper that we already have, using the pink bumper as my guide I made what I think is a pretty cool cover.
I was able to cut on the fold and get twice as much length out of the fabric then before and it was the perfect width.

I then cut 2 1/2″ strips of fabric to make ties with.

Everything was made into tubes, the actually cover was easy to flip with the right side out. The ties were a little harder, but I have found that using a pencil helps it out a lot.

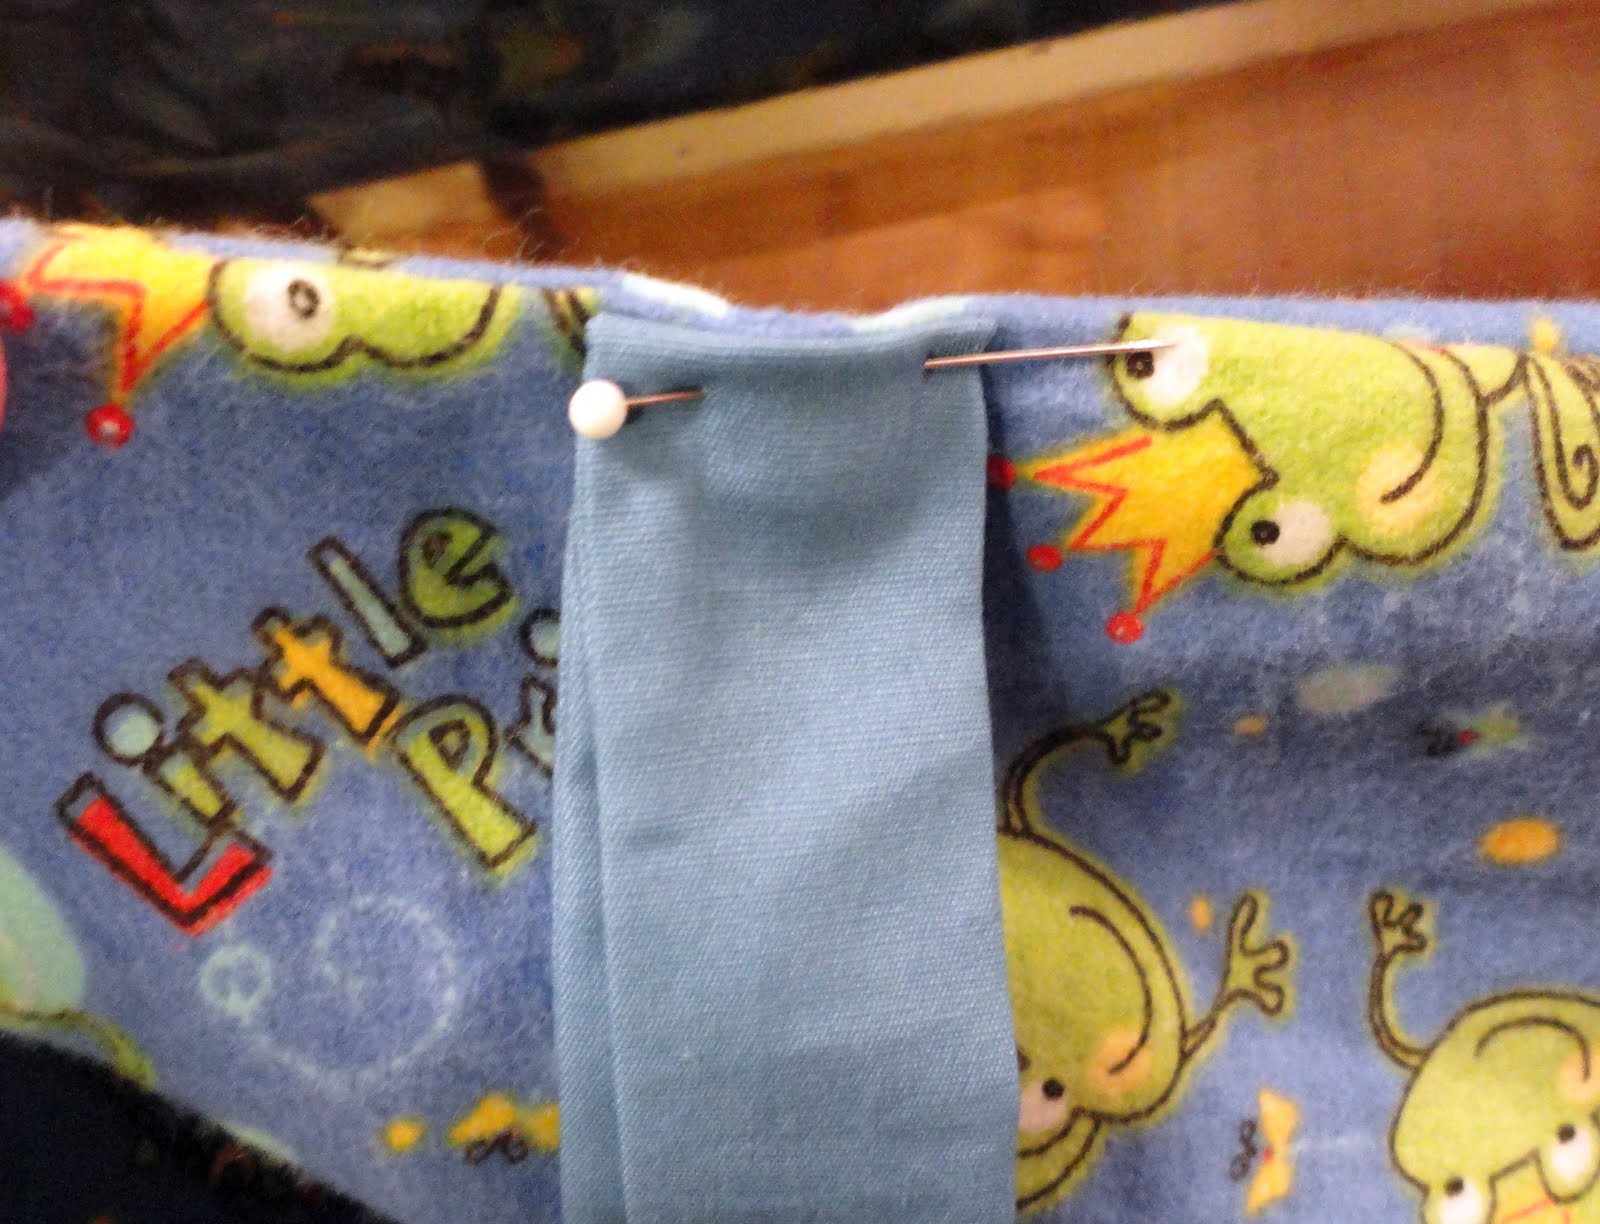
Again using the bumper as a model I measure the distance between ties and sewed them the same distance apart on the cover.

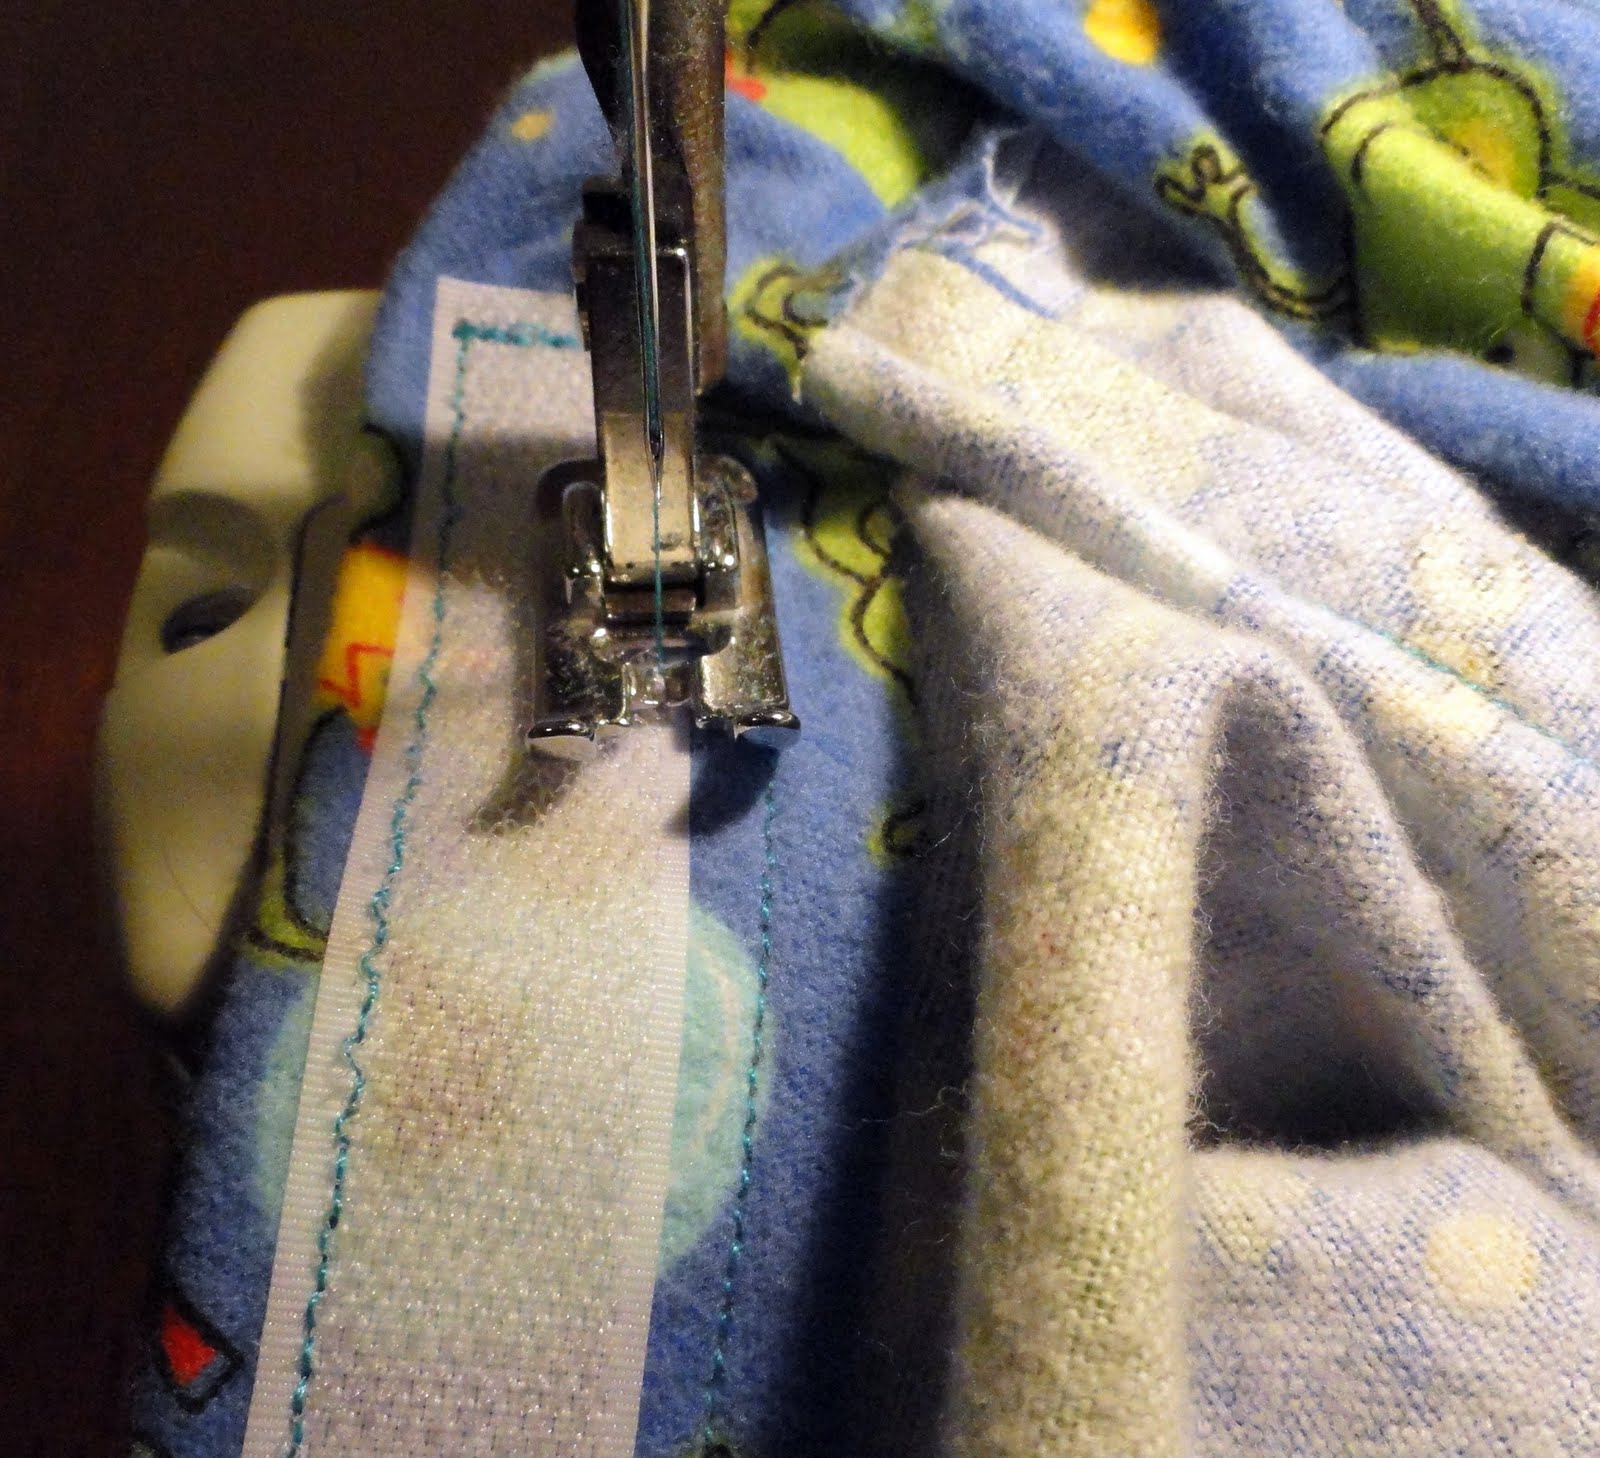
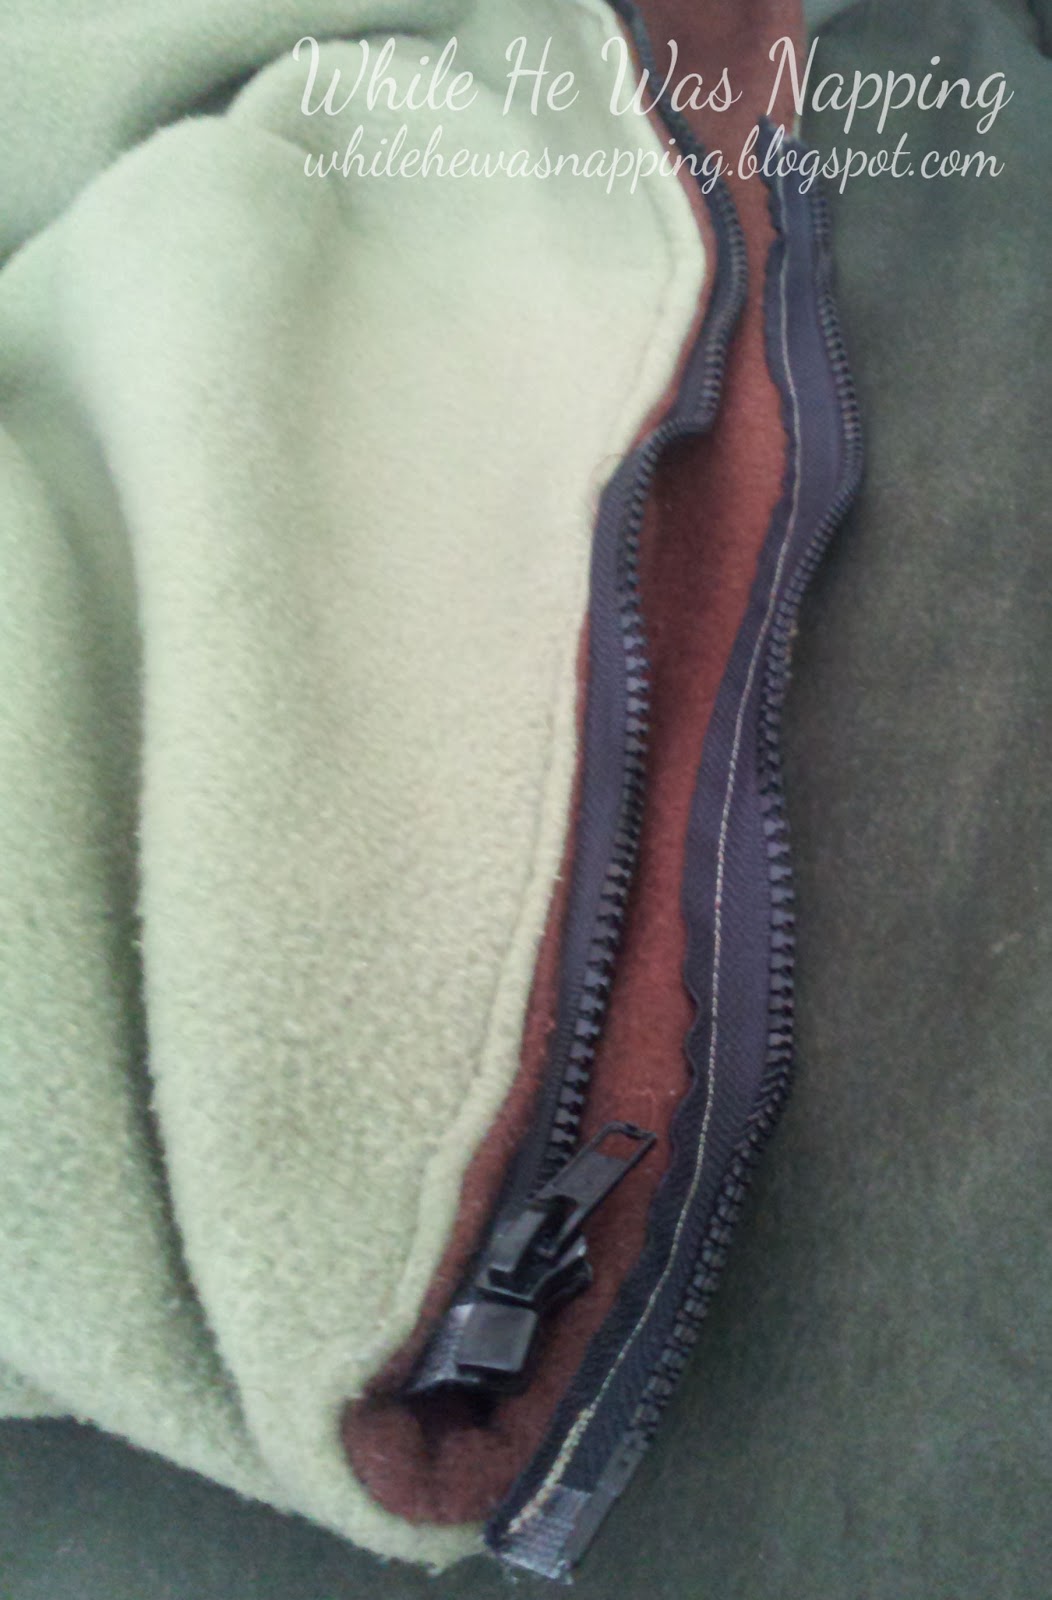
On one end I added Velcro so I could easily remove it if I need to.

____________________________________________
Isn’t that fabric adorable?!  Love it.  Those turned out so great.  I want to make a set of those, it looks so easy!  Thank you for come over and sharing with us, Chelsea.  Now, make sure you go check out more of Chelsea’s awesome talent over at One Hot Crafty Mama.
Disclaimer:  Before anyone jumps down my throat about how dangerous crib bumpers are, let me tell you, I’ve heard it before.  However, there are very few consumer products available that don’t have some sort of warning on them, whether in print or implied.  In my mind, it is a personal judgement call on which ones to use and which ones to avoid.

Whether you are for or against crib bumpers, that’s your personal choice.  Please respect the choices of others and keep any negative comments in your head.  Or feel free to mutter them aloud, if you wish..    

February 6, 2012 by Krista

Bundles of Baby: BundleMe Car Seat Blanket Knock Off

We have some friends that have a little boy two months older than our Little Monkey.  Back when the boys were just little (like in infant carriers kind of little), they were given a BundleMe Car Seat Cover.  I liked it A LOT!  It was warm, attached to the seat (who doesn’t love picking wet, dirty blankets up off the ground?), and you can still put the seat belt straps up against the child like they are supposed to be fastened.

And then I started doing some looking for them.  I about died when I saw they were around $50!  For the light, cheap versions.  The heavier version I wanted was closer to $90!  Uhm,  JJ Cole, I’m not made of money!  So, I set out to make my own.  Wal-Mart was having their polar fleece on sale and so I decided to use that for our knock-off.  I spent less than $10 on my knock off and bought other stuff {you know, like diapers and wipes} with the $80 I saved on the JJ Cole version.

Here’s the How:

(Because this project was pre-blog, I don’t have process pictures.  It’s fairly self-explanatory though.  If you have questions, please email me or leave a comment {and make sure your email address is enabled so I can answer you back!}.  I will get back to you as soon as I can.)

 This is the car seat with no cover.

 Car seat with my version of the BundleMe.

Supplies:
– 4 yards of polar fleece.  I did two yards of brown and a yard and two yards of green to match our car seat.  If you want a lighter, single-layer cover, you’ll only need two yards.
–  Velcro.  I prefer the non-sticky back for sewing.
–  Scissors
–  Coordinating thread.
–  Zipper.  You’ll need either two shorter ones or one great big long one.  I couldn’t find one long enough to go all the way around the bottom of the cover, so I ended up with two shorter ones, one on each side of the cover.

Instructions:
1.  Lay your fleece out in the car seat so you’ll kind of have an idea of how it will fit.  The top of the fleece will sit at the top of the car seat.  It should lay flat in the car seat and then fold up over the bottom to make a blanket.

2.  Lay your fleece out, right sides together.  Pin and sew the fleece together.  Leave a hole that you can turn the fabric through.  I left one whole side open to flip my cover through.  You could leave a smaller opening if you want a little more finished look to your cover.  If you opt for a lighter, single layer version, skip this step.

3.  Turn the fabric so your seams are on the inside.  Lay the cover out in the car seat again and mark the locations of the buckles.  Make sure you get all the holes for the shoulder straps and the strap that goes between the legs.

4.  Cut a small slit just wide enough to get the bottom buckle (the one that goes through your little one’s legs) through the fabric. Stitch a small rectangle around the slit to help hold the fabric in place.  Because fleece doesn’t fray, you don’t have to hem it.

5. For the shoulder straps, I cut a vertical split that runs from the top slit to the bottom slit.  Sew a length of velcro along the slit.  Your shoulder straps will slip through the velcro and you won’t have to sew individual slits for each position.

6.  Figure out where your cover will fold back up and cover your little one’s legs/torso.  Ours is actually long enough to hang on the canopy of the car seat, which we did with Little Monkey.  (With this new kidlet, it will be more like a blanket and we’ll use the car seat cover as the over-the-top cover.)  Pin your zippers in place and sew them down.  I didn’t tuck them in between the seams.  (If you want to do that, you’ll need to place and sew your zippers in before you sew the two pieces together.)

You’ll end up with this:

7.  Insert into car seat.  Compare the $90 JJ Cole version to your $10 version and admit it may not be as pretty, but you have an extra $80 in your wallet…

JJ Cole Version
(Source)

February 5, 2012 by Krista

Bye-Bye GFC – What Will You Lose?

So, you’ve probably heard that the GFC Followers is going away in March for non-Blogger blogs.  And, quite possibly, it will go away for everyone in time.  Google is trying to consolidate their services (which will be nice to not have 30 different accounts anymore…) and promote Google+.  However, that means everything associated with GFC will disappear.  Frustrating, I know.  All those blogs that have thousands of followers…  yep, all non-Blogger blogs will lose all those followers.

I do use Blogger so there won’t be a ton of change for While He Was Napping come March.  BUT, I know a lot of my fave blogs are not Blogger-hosted.  Do you follow any non-Blogger blogs (I’m sure every one of us does)?  But, I’m working on transferring all my GFC content to my Google Reader so I don’t lose or miss out on anything.  So, how do you make sure that you don’t lose all those blogs you’ve worked so hard to find in your reading list?

(Via Google)

My preferred method is with an RSS Feed.  I use Google Reader because I have the reader app on my phone.  And, right now, it’s fairly easy to go back and forth between GFC and Reader to transfer my subscriptions.  It’s great and I love that it’s easily accessible on my phone, tablet and on the web.  When I’m bored (like waiting for the doctor – which I do A LOT of these days) I can just pull up my reader and catch up on all my favorite blogs.  It’s great because it’s got everything all in one spot.  {I just wish there was a “Pin This” option in the reader.}  Anyway, there are several options as far as RSS readers go: Yahoo!, Google, Bloglines, Windows Live, and more.  To sign up and follow While He Was Napping in an RSS Feed, click HERE.  You’ll be taken to feedburner, where you can choose which reader you’d like your content sent to.  Just keep adding more blogs to the same reader and, in no time, you’ll be all set up.

Photobucket
There is also an option in the left side bar to sign up and receive all post updates in your email inbox.  

I also have added the option for you to follow with Bloglovin’, Networked Blogs and Linky Followers.  There are follow widgets in the left side bar to make it easy.  Just click on the “Follow” button.  Bloglovin’ also has apps in the App Store and Android Market.  The Android app is free.  Networked Blogs links to Facebook.  And Linky Followers is a new option, run by Brent Riggs (you may know him as the guy that runs Linky Tools, a popular link party service).  It’s a free service as well.  It’ll keep all your blogs in one place.  I’ve only started playing with it, so I don’t know a whole lot about it yet, but it seems pretty easy to use.

(Via Bloglovin’)
(Via NetworkedBlogs)
(Image via The Design Confidential – 
Check out her explanation of Linky Followers.  
It’s great.)
You can stay updated on the basics by following on Facebook, Twitter, Google+ and Pinterest.  You won’t get full post content, but you’ll know when something new is posted.  The social media buttons under “Get Connected” at the top of the left side bar will take you to the respective While He Was Napping site/profile. 
{These buttons are also active links to the same sites… Just FYI.}
http://www.facebookloginhut.com/facebook-login/ http://www.facebookloginhut.com/facebook-login/ Photobucket http://www.facebookloginhut.com/facebook-login/
You can always email me:

Or find me on Etsy:
 

I know that’s a lot of info I just threw at you.  If you have questions, let me know.  I’ll do my best to answer them.  Good luck getting everything transferred.

February 3, 2012 by Krista

Weekend Wander #66

Is it party time already?!  Wow.  It feels like it should only be Tuesday or Wednesday.  Well, welcome party people.  Don’t forget about the Baby Linky too.  Come party there too!

A couple features from last week:

Curtido Recipe @ They Call Me Hypo
Organizing the Laundry Room @ Saving4Six
Play Make-Up @ Here Comes the Sun
20 Homemade Cleaning Products @ Happy Go Lucky
I Am Home Printable @ Crafting in the Rain

Congrats!  And thank you to everyone who linked up.  
You know what to do!  
Let’s get this party started!  Show me what’cha got!

February 2, 2012 by Krista

Love’s Little Rewards Date

So, in trying to make room in our teeny little apartment for a baby {I forgot just how much stuff babies need!}, I found some props for a date I’d planned… and we never did.  Eek.  Well, it might end up being our Valentine’s date this year, since we will have a 4-day old newborn and it’s already planned.  And it can be done at home, with the kiddos or after they are in bed.

Click the images.  Right click and “Save As” to your computer.  You can then print.

Here’s the How:
You’ll Need-
– Love Bucks
– Love’s Little Rewards Brochure
– A bottle of your favorite bubbly drink
– Dinner (ingredients or money)
– Lotion or massage oils (optional)

Directions-
1.  A week or so before the actual date, start handing out Love Bucks for things your sweetheart does to help out.  Be generous.  Did he take out the trash?  Five Love Bucks.  Do the dishes?  Ten Love Bucks.  Bathe the kids?  Forty Love Bucks.  You get the idea.  And you decide how much each task is worth.  You might even want to clue him in and let him award you Love Bucks too.

2.  The morning of your date, give your sweetie the Love’s Little Rewards brochure.  Don’t say anything else, just hand it to him as he walks out the door.  He’ll figure it out (hopefully) or just be really confused (maybe).

3.  When he gets home, ask him what he thought.  His choices will determine your date.  If you chose to award each other Love Bucks, take a few minutes, sit down and decide what you’d like to do together.  Now, get ready for your date to begin.

4.  Follow through with the things he (or both of you) chose from the brochure.  Enjoy your evening together.  A week of kind acts and a date?  Sounds like win-win to me.

These images have watermarks on them  If that’s ok with you, feel free to use them.  If you’d like watermark-free images that have more editing possibilities, you can find this date kit in my Etsy Shop.

  • « Previous Page
  • 1
  • …
  • 137
  • 138
  • 139
  • 140
  • 141
  • …
  • 231
  • Next Page »

I'm Krista. Ringleader here on While He Was Napping, wife to my handsome Mr. Right & momma to my THREE energetic boys, Big J (9), Little J (6) & Little N (4). We FINALLY added a beautiful little girl to our family last December.

I’m knee-deep in Tonka trucks & Thomas trains. I survive our crazy days with Vanilla Coke, Sonic slushies, sweet snuggles and little giggles. When I tuck them in tight & kiss them good night, I get a little time to create & just be me.


It all happened
while (s)he was napping
Want More of My Story?

Privacy Policy

While He Was Napping respects your privacy and is committed to keeping any personal information collected on this website confidential. To find out what information we collect and how it is used or what options you have regarding your information, see our full privacy policy here. Creative Commons License The website found at whilehewasnapping.com and all subdomainsauthored and published by Krista is licensed under a Creative Commons Attribution-NonCommercial-NoDerivs 3.0 Unported License.

Pretty Chic Theme By: Pretty Darn Cute Design