Today, Kate from Uniquely Undone is here for a visit. She’s got some ideas for those of us that just don’t have the space for an office or craft room. My “Craft Room” also houses a queen size bed and side tables for when we have guests. It’s not a big room and all my craft stuff got shoved in the closet before company got here one time. Since then, it has exploded out of the closet and all over that queen size bed… These are ideas I could use. So, here’s Kate.
Some of us are lucky enough to have a separate room for an office. Others carve out space in a closet or the kitchen. I, have neither! However, I was once blessed with an entire room for my office when I ran my business from my home. But if I had to do it all over again, I’d go with the “nook” option. Either in a kitchen, hallway landing, or perhaps a closet (which is nice since “out of sight, out of mind” rings true when company is coming!!)
Here are just a few of my favorite “nook” offices that are way more than just a spot to get down to business…they are oh so fabulous!


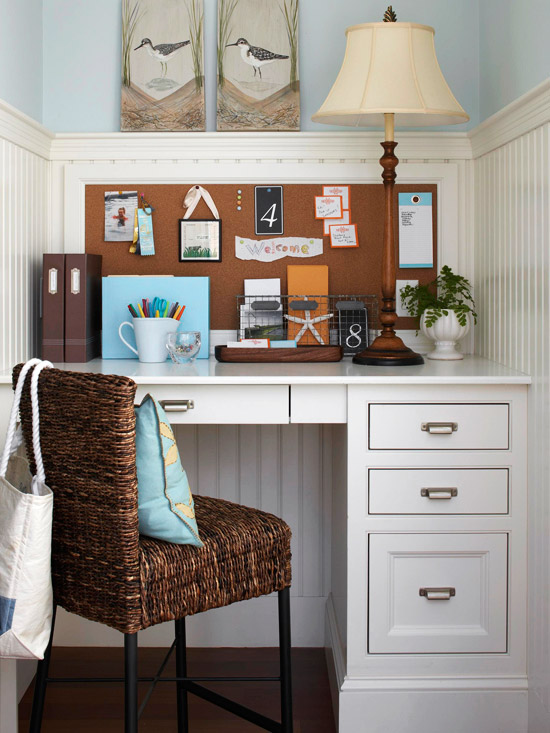
 |
| Better Homes and Gardens |
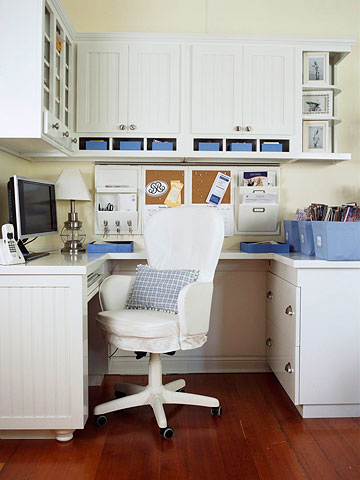
 |
| Curious Leigh |

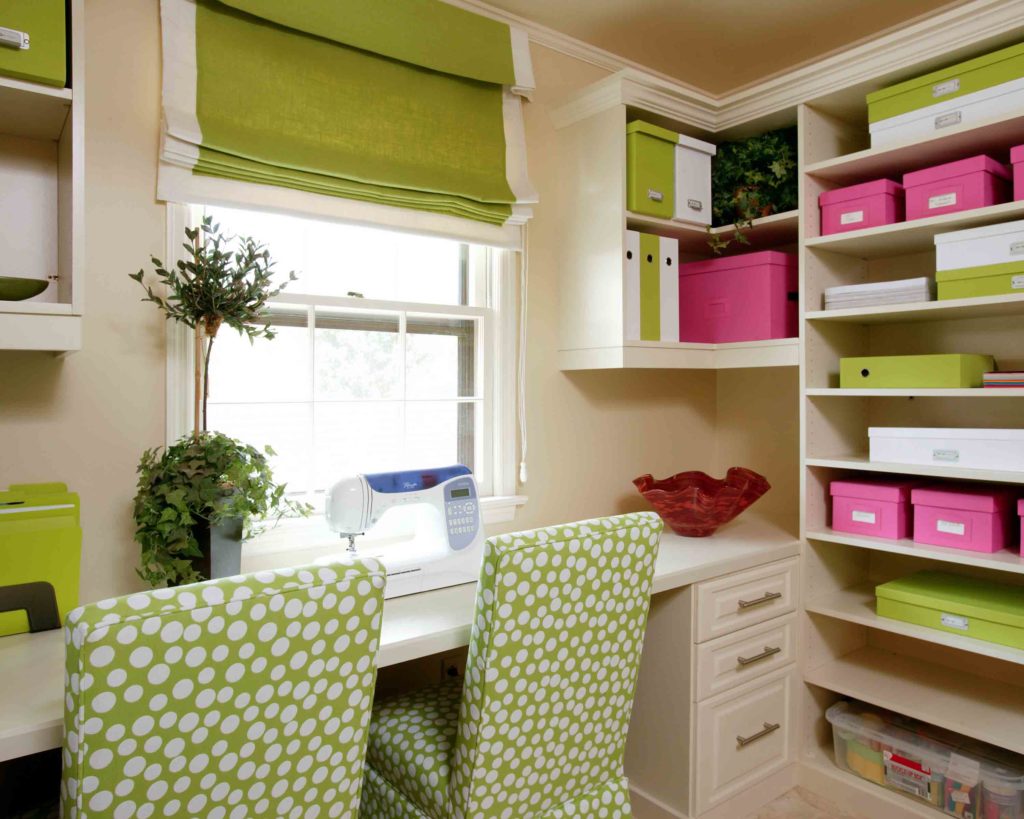 |
| Tobi Fairley |
 |
| Better Homes and Gardens |
 |
| My Design Chic via Fieldstone Hill Home |
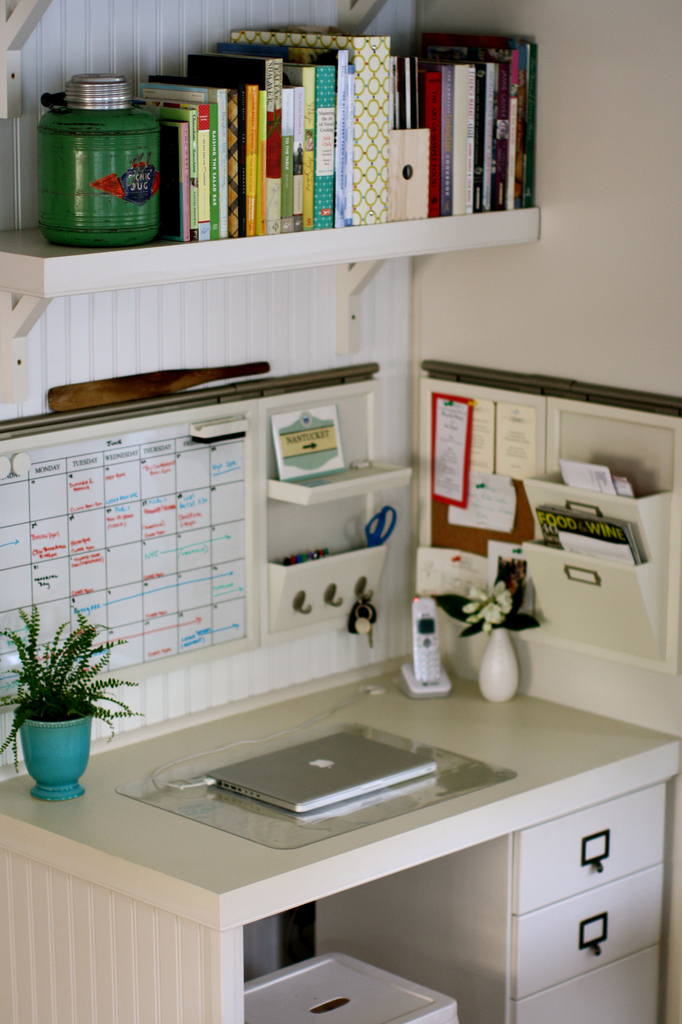
 |
| A Thoughtful Place |
 |
| Pretty Handy Girl
So…which are your favorites? Don’t these make you want to get to tackling those bills rather than run from them!!
|

Thanks, Kate! Great ideas. The nook from A Thoughtful Place has me drooling. Lots of things all in their places. Eep! That gives me hope. Maybe I will be able to contain the mess… someday. Go check out Uniquely Undone and all the great things Kate has to offer over there!