While He Was Napping

momma gets stuff done

  • Home
  • About
  • Archive
  • Do It Yourself
    • Crafts
      • No Sew
      • Painting
      • Paper Crafts
      • Repurpose Projects
      • Vinyl
      • Washi Tape
      • Kid’s Crafts
      • Fonts
    • Sewing
    • Decorate
      • Home Decor
      • Holiday Decor
    • Celebrate
      • DIY Gifts
      • DIY Your Party
  • Recipes
    • Beverages
    • Appetizer
      • Bread
      • Other Appetizers
    • Snacks
    • Main Dish
      • Meat
        • Chicken
        • Beef
        • Pork
        • Seafood
      • Vegetarian
      • Slow Cooker
      • 30 Minute Meals
    • Dips & Sauces
    • Salads
    • Pasta
    • Soup
    • Dessert
      • Cookies
      • Brownies
      • Cupcakes and Cake
      • Box Mix Recipes
      • Other Sweet Treats
    • Breakfast Food
      • Pancakes
      • Waffles
      • Muffins
      • Other Breakfast Food
  • Family
    • Babies
      • Pregnancy
      • Newborns
      • The 1st Year
    • Toddlers
    • Preschoolers
    • Kindergartners
    • 6-8 Year Olds
    • The Grown Ups
      • Date Night
      • Romantic Gifts
    • Self Care
  • For the Home
    • Cleaning
    • Organizing
    • Emergency Preparedness
  • Travel
    • Travel Tricks & Tips
    • Traveling with Kids
  • Tech & Gadgets
    • Must-Have Apps
    • Techy Home Appliances
    • Gadgets & Electronics
    • Blogging Tips
  • Printables
    • Posters
      • Quote Printables
      • Subway Art Printables
    • Printable Organizers
    • Printable Journals
    • Learning Printables & Worksheets
    • LDS Printables
  • Holidays
    • New Year’s
    • Valentine’s Day
    • St. Patrick’s Day
    • Easter
    • Cinco de Mayo
    • Mother’s Day
    • Father’s Day
    • 4th of July
    • Back to School
    • Halloween
    • Thanksgiving
    • Christmas
    • Holiday & Seasonal Printables

September 3, 2010 by Krista

Fanciful Friday: Purse Roll

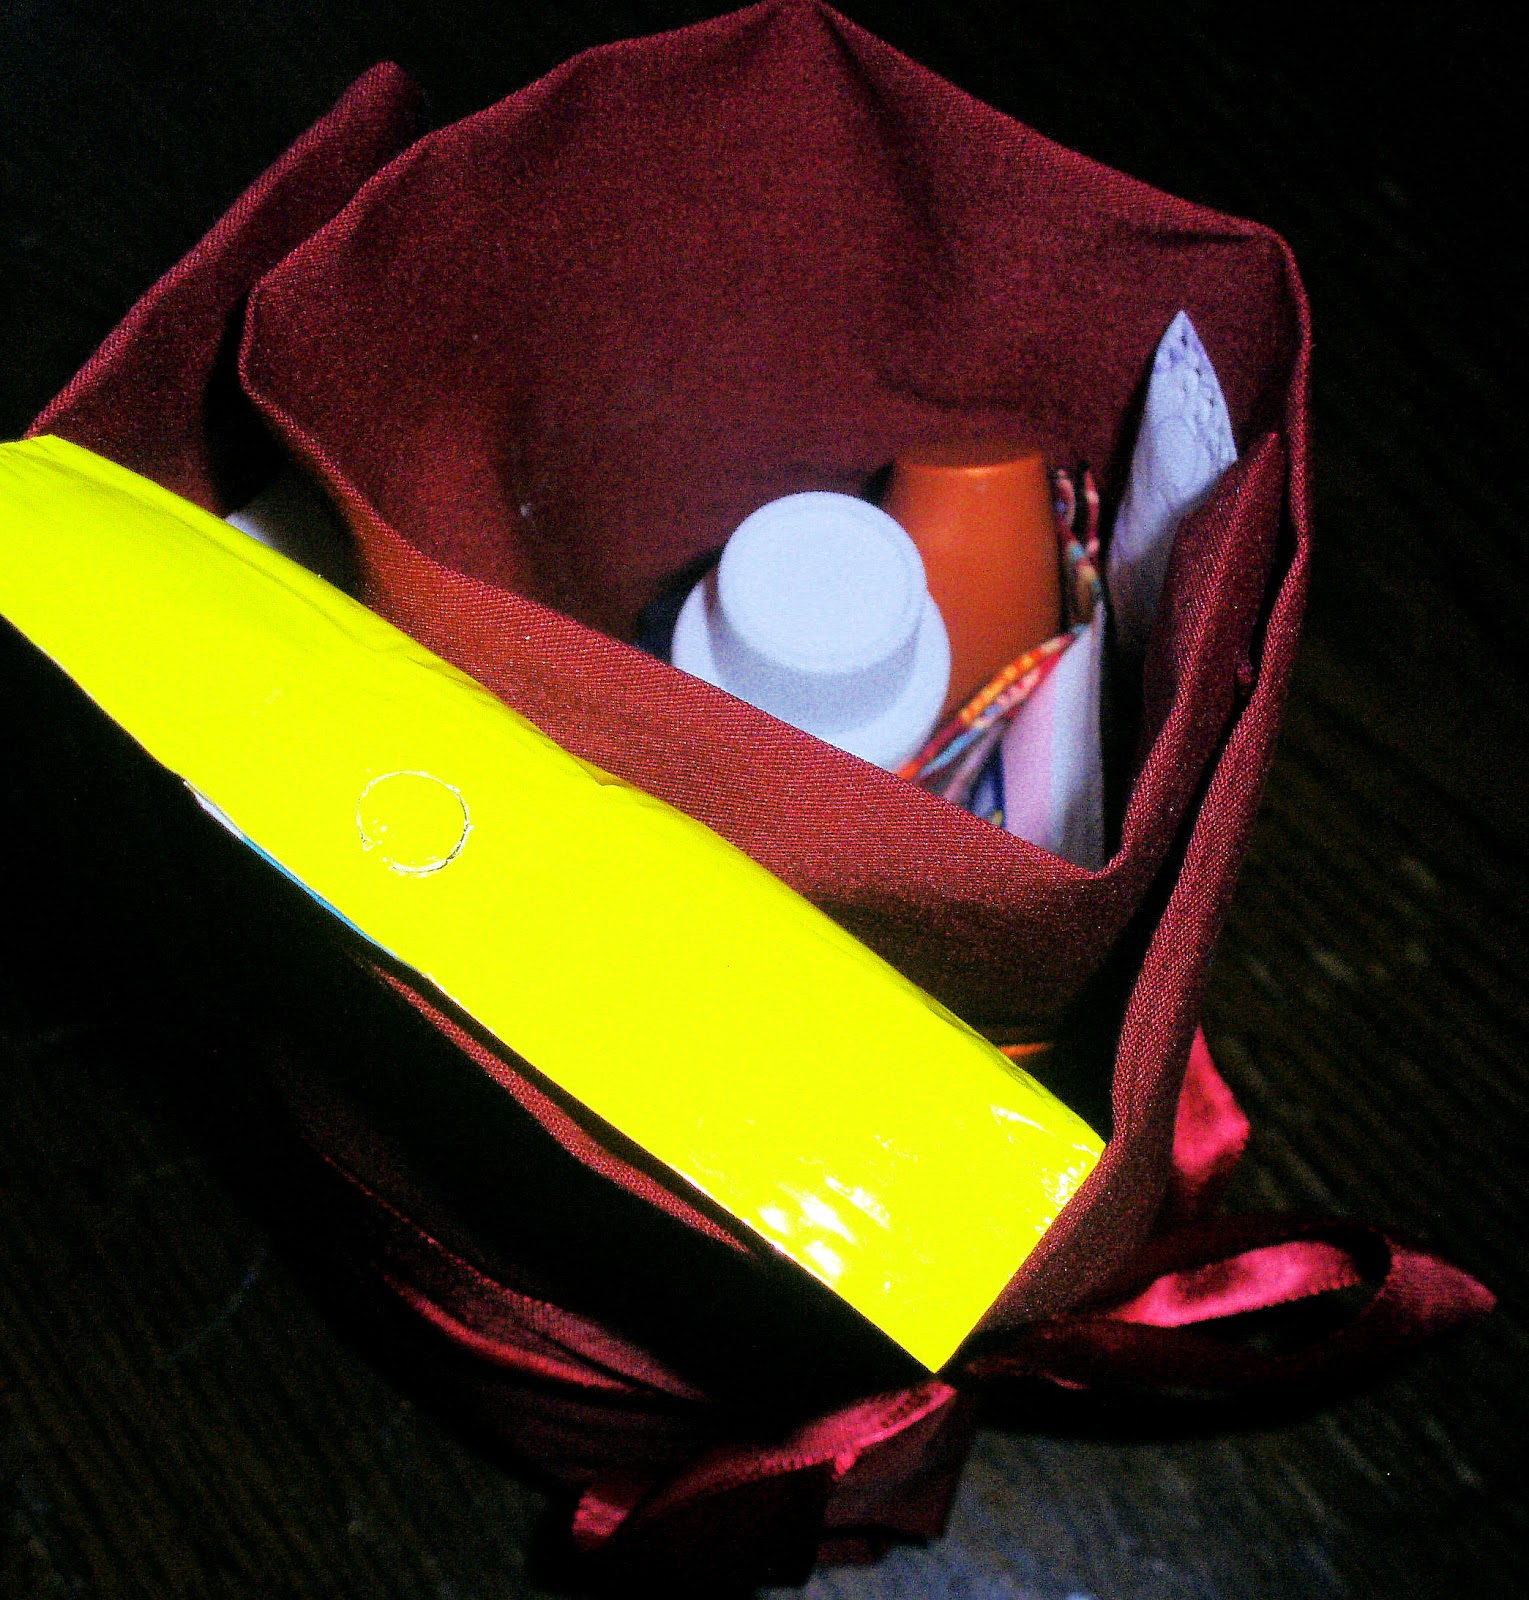
This is similar to all the make up rolls and crayon rolls floating around out there in blog land.  But, I wanted something to organize my purse.  So, here is what I came up with…

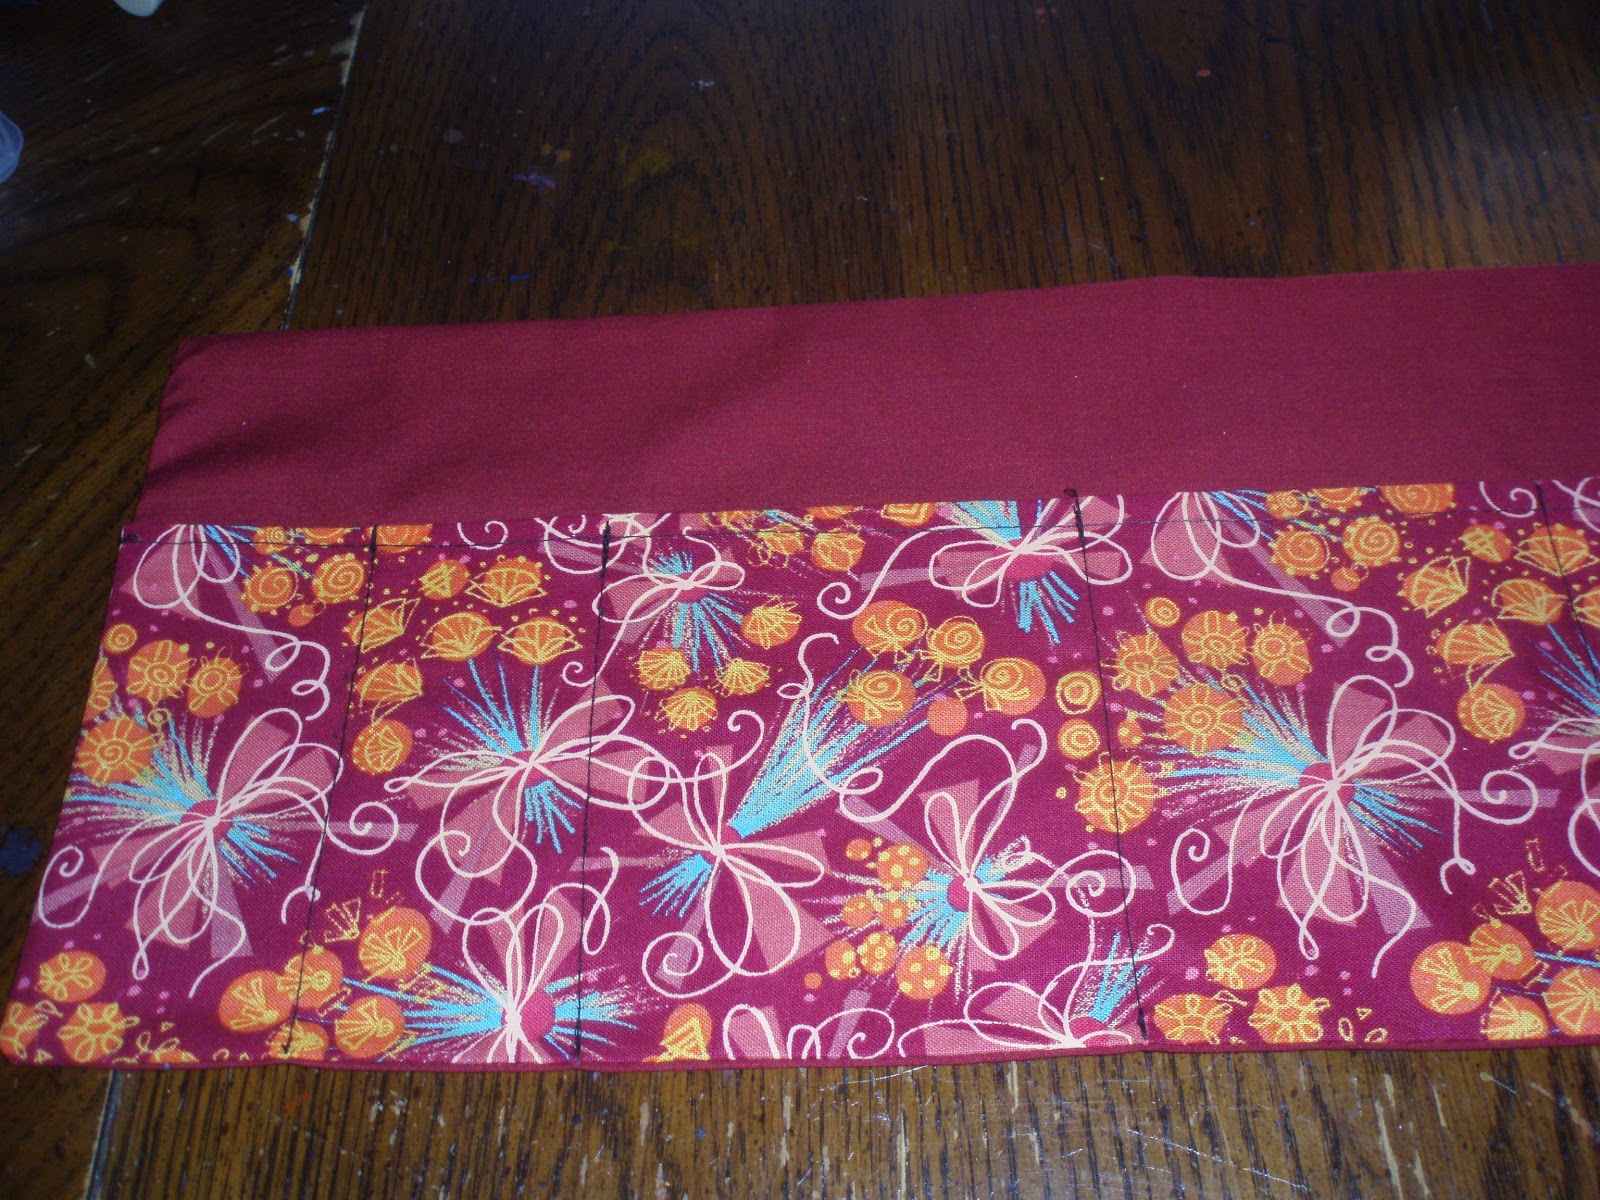
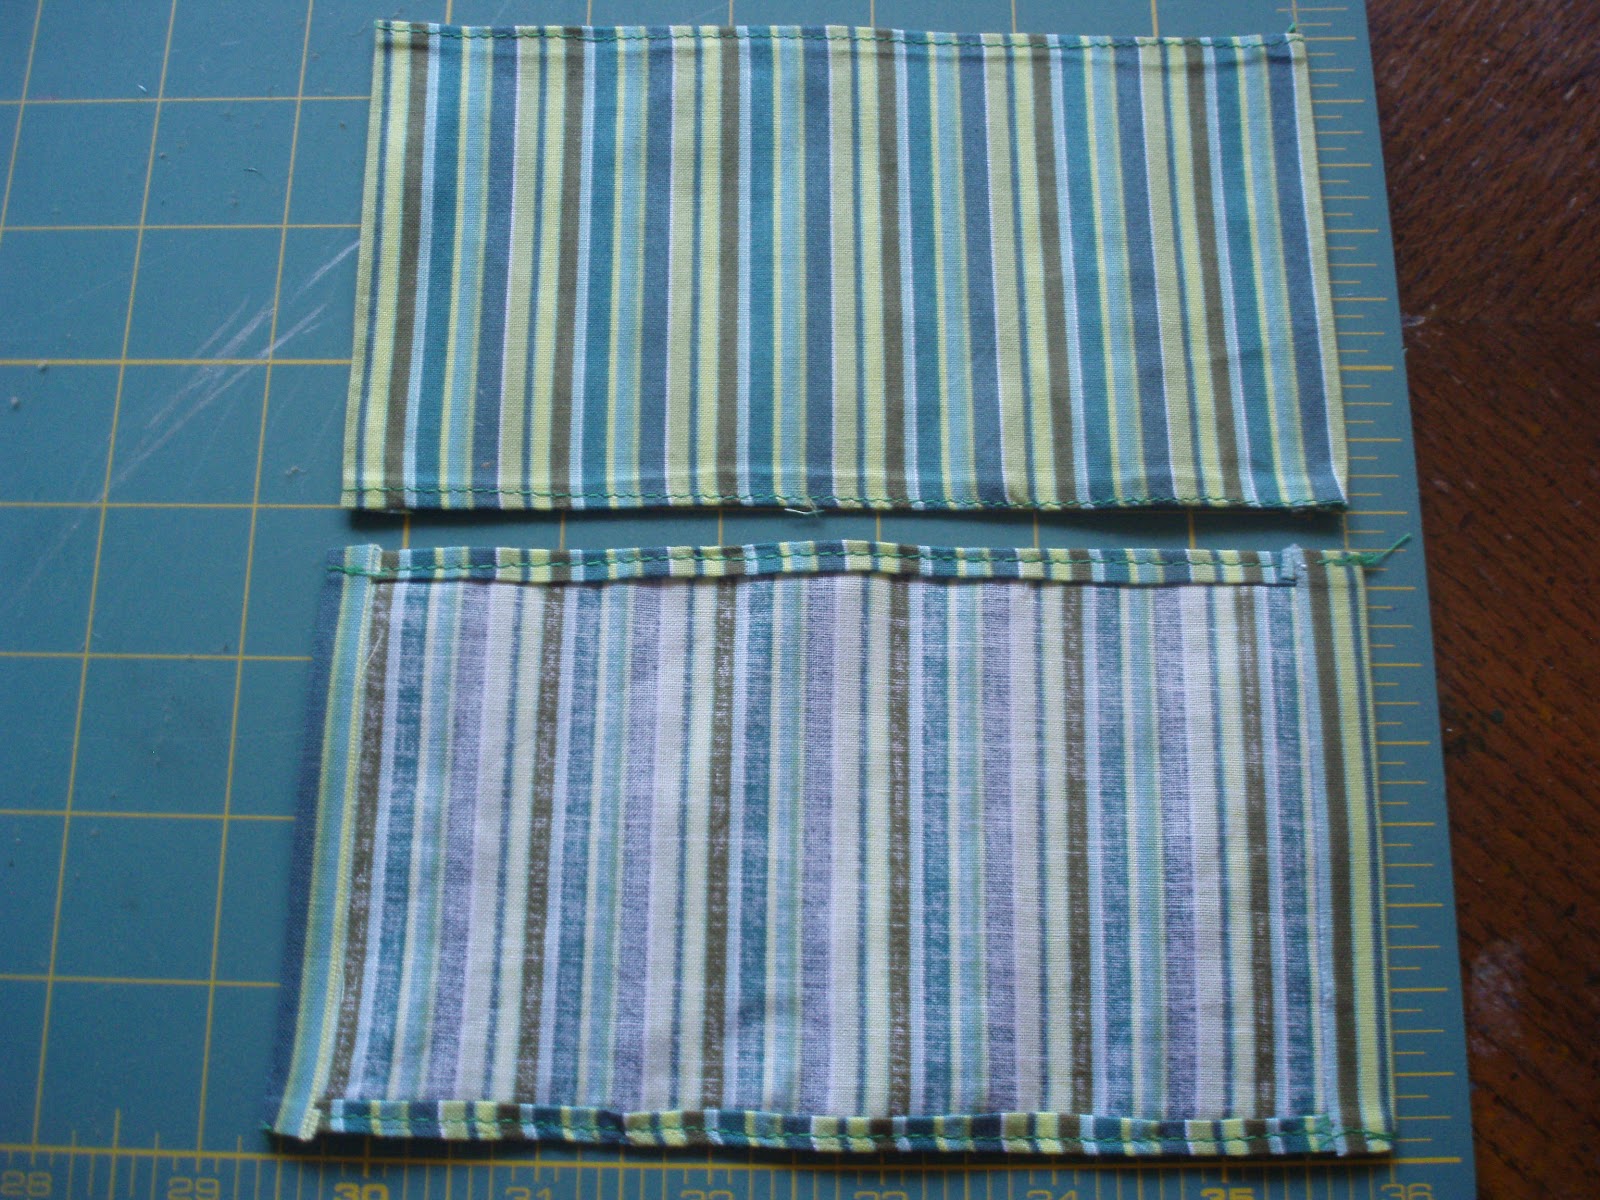
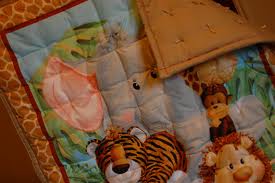
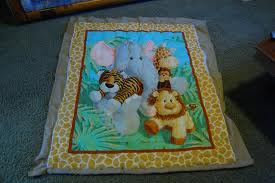
Ok, First, choose your fabric.  I chose a dark red and a red patterned fabric for the pockets.  Decide how tall you want your roll.  Mine is quite tall, about 6 1/2 inches on the finished project,  so I can put a package of hand wipes in it.  I cut a piece of my dark red background fabric 14″ tall and 18″ wide.  Fold it in half, wrong side out, and iron the seam in.

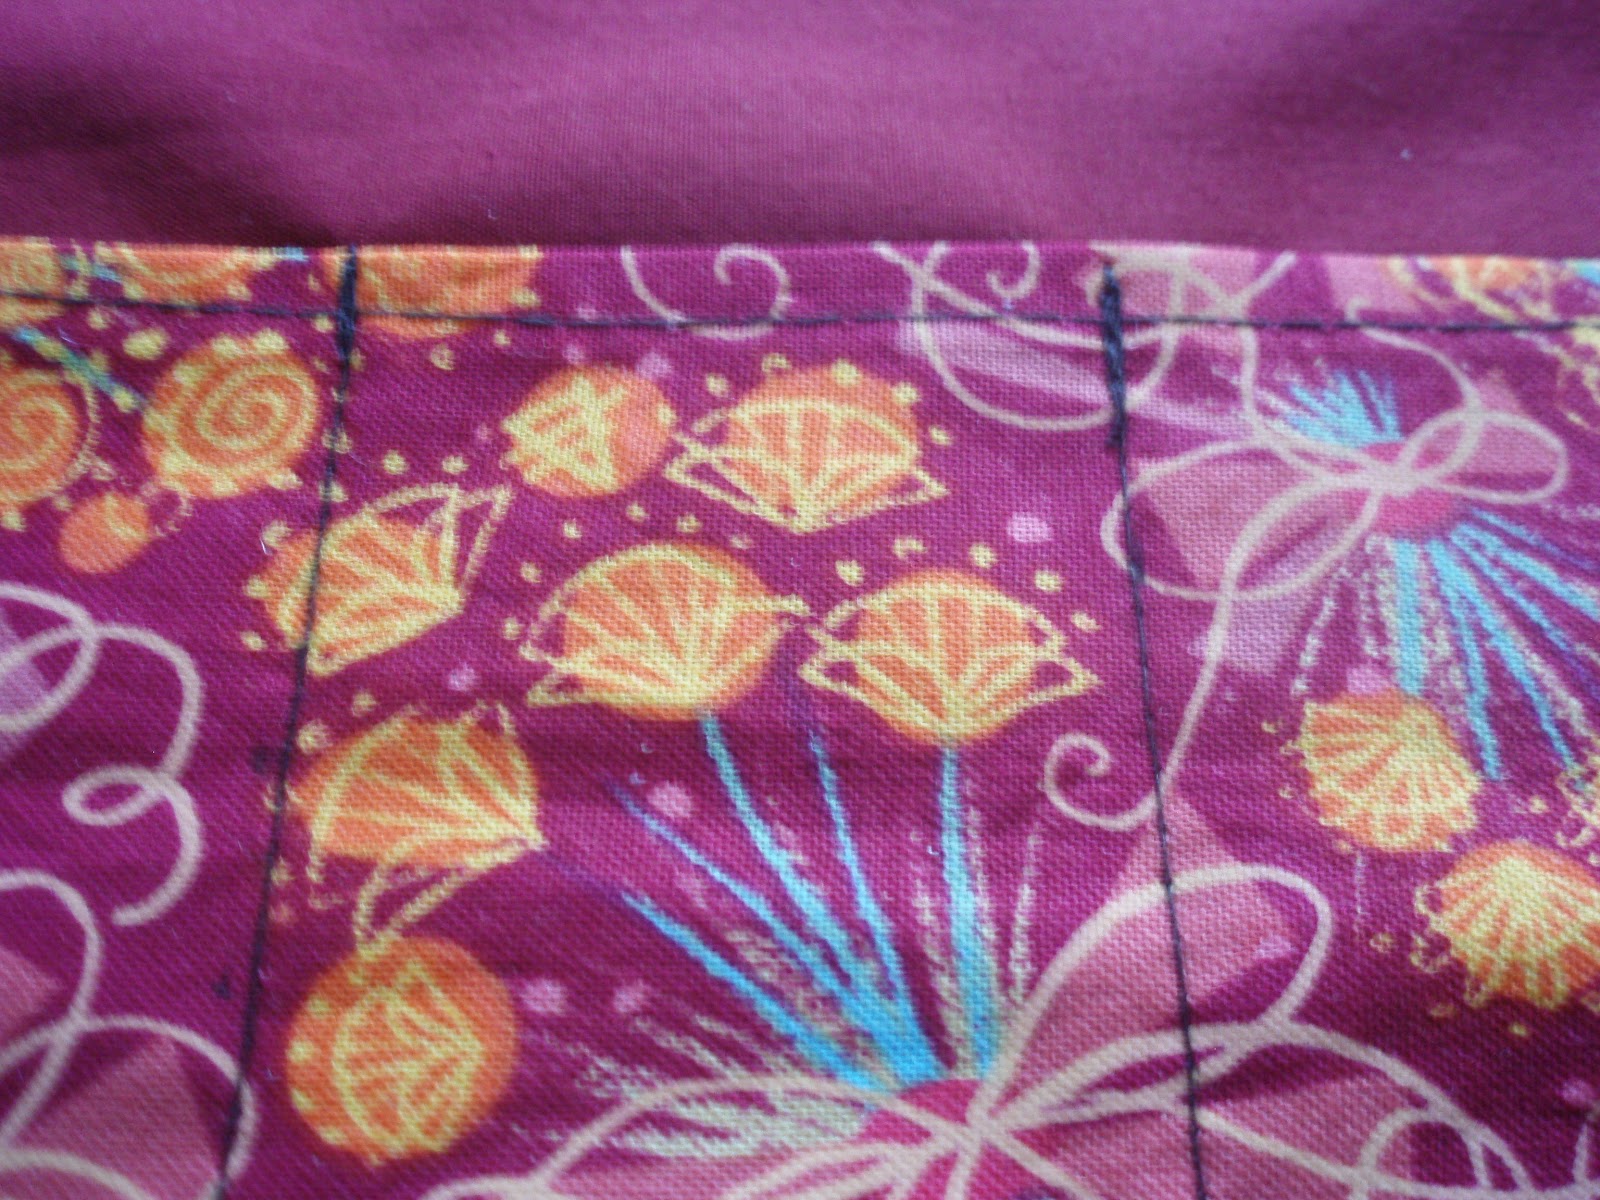
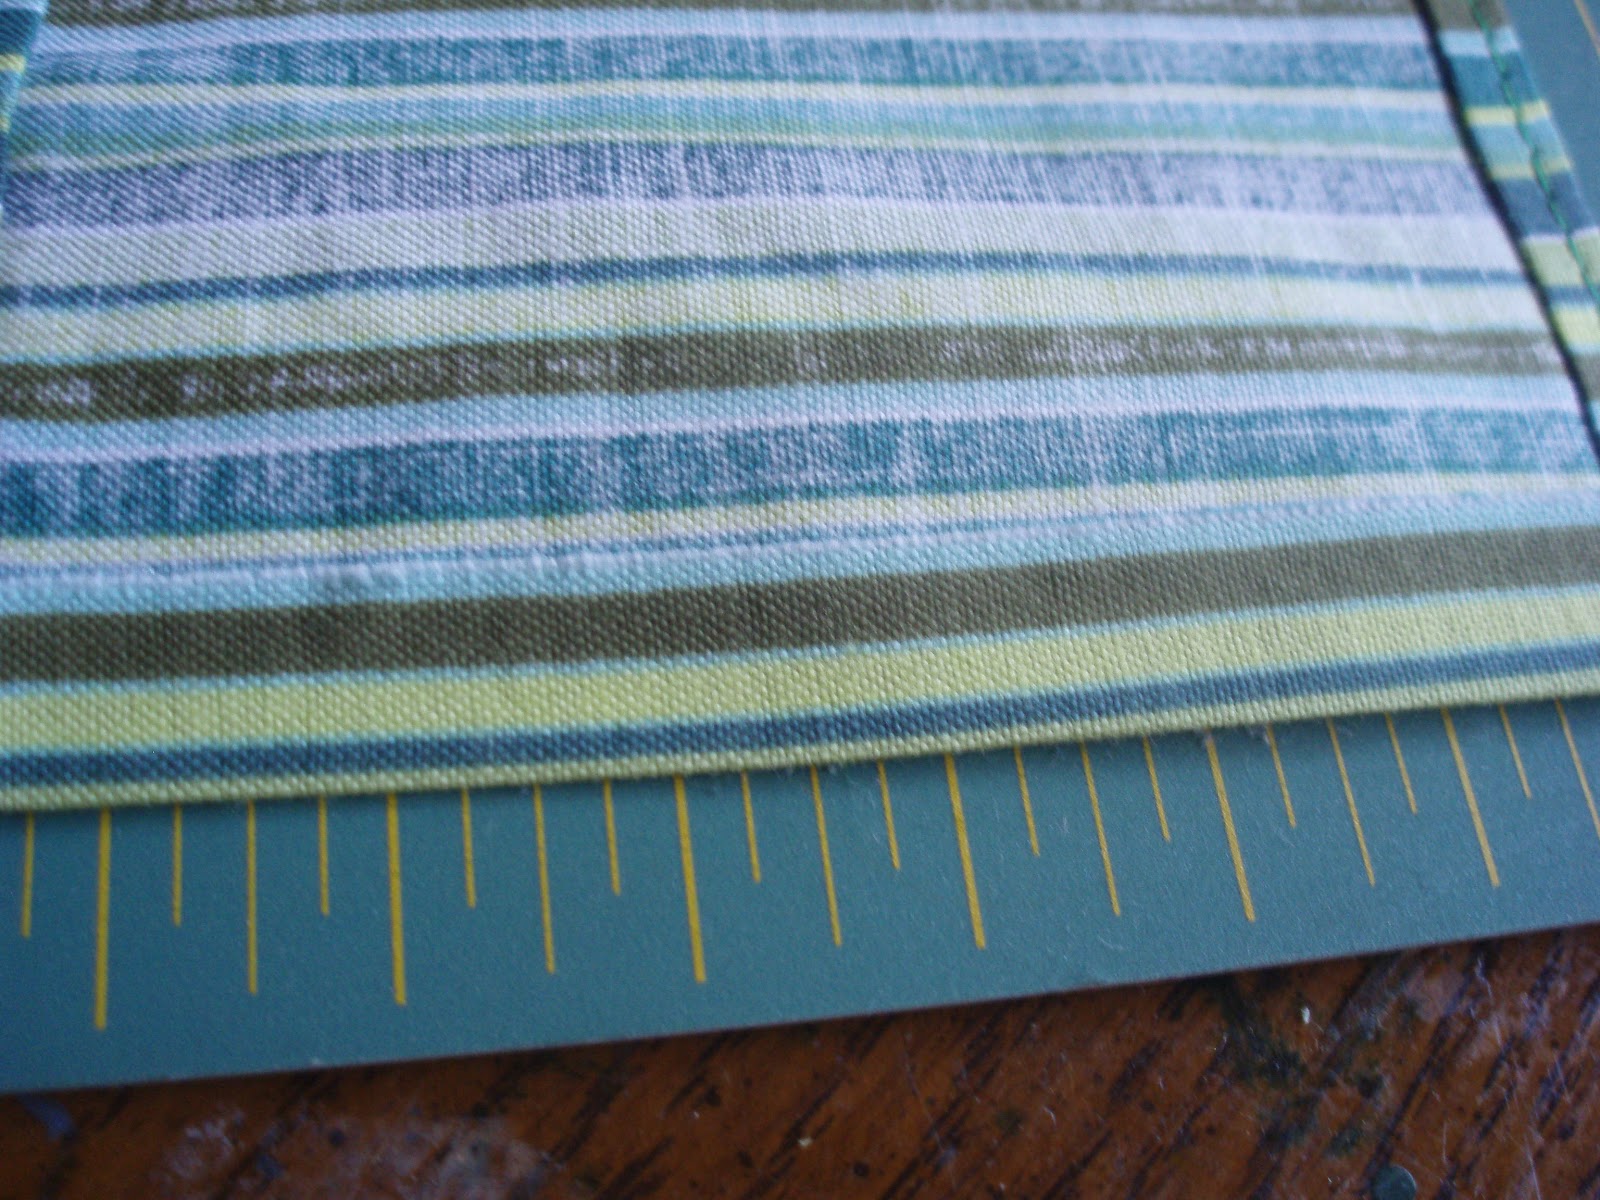
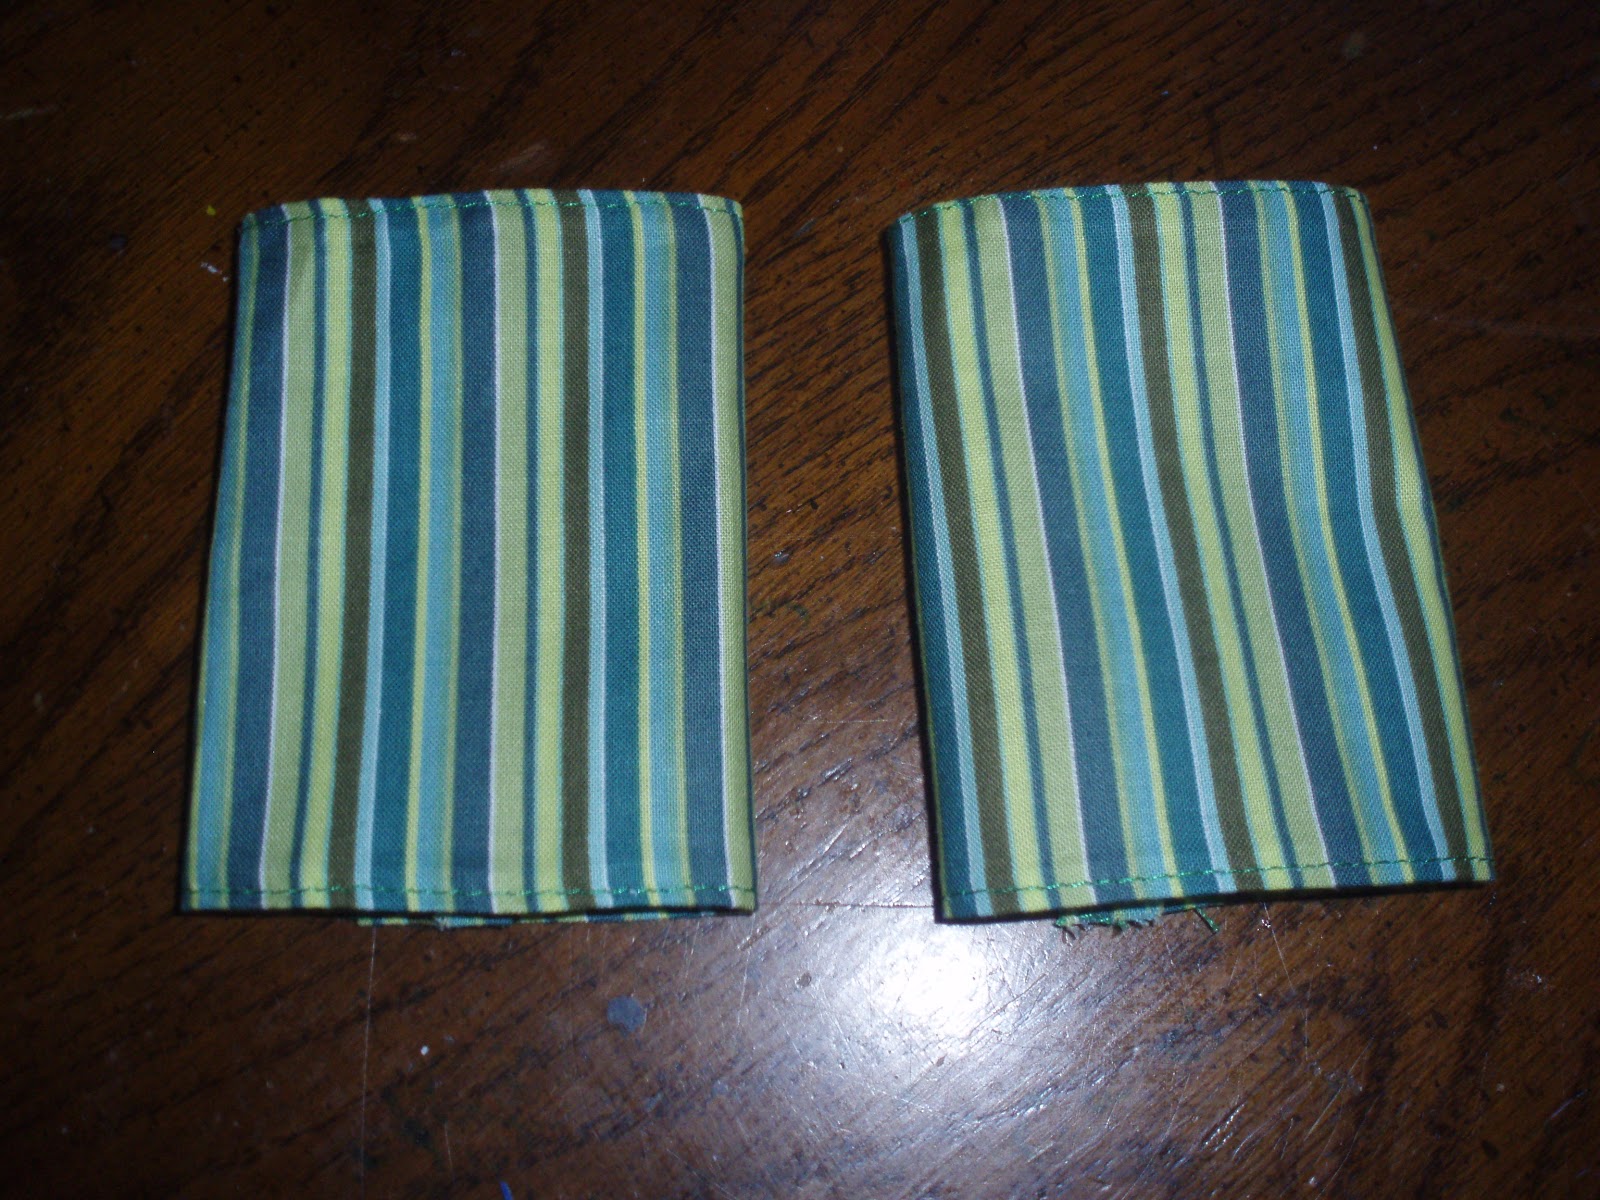
Next, pin up your pocket fabric allowing an 1/4″ seam on the top.  My pocket is 4 1/2″ when finished.  Hem the top of the pocket fabric.  Next, place the pocket fabric in between the layers of the background fabric (remember we folded it in half, put it in the middle of the sandwich).  Line up the bottom of your pocket with the bottom of the background fabric.  Stitch the three sides together, leaving enough of a gap to turn it right side out.  Turn through the gap.  Decide how wide you want your pockets.  I laid out all the stuff I wanted to put in the pockets and marked the widths.  Sew a straight stitch from the top of the pocket to the bottom.

 Testing out the pockets…  and they are good to go.

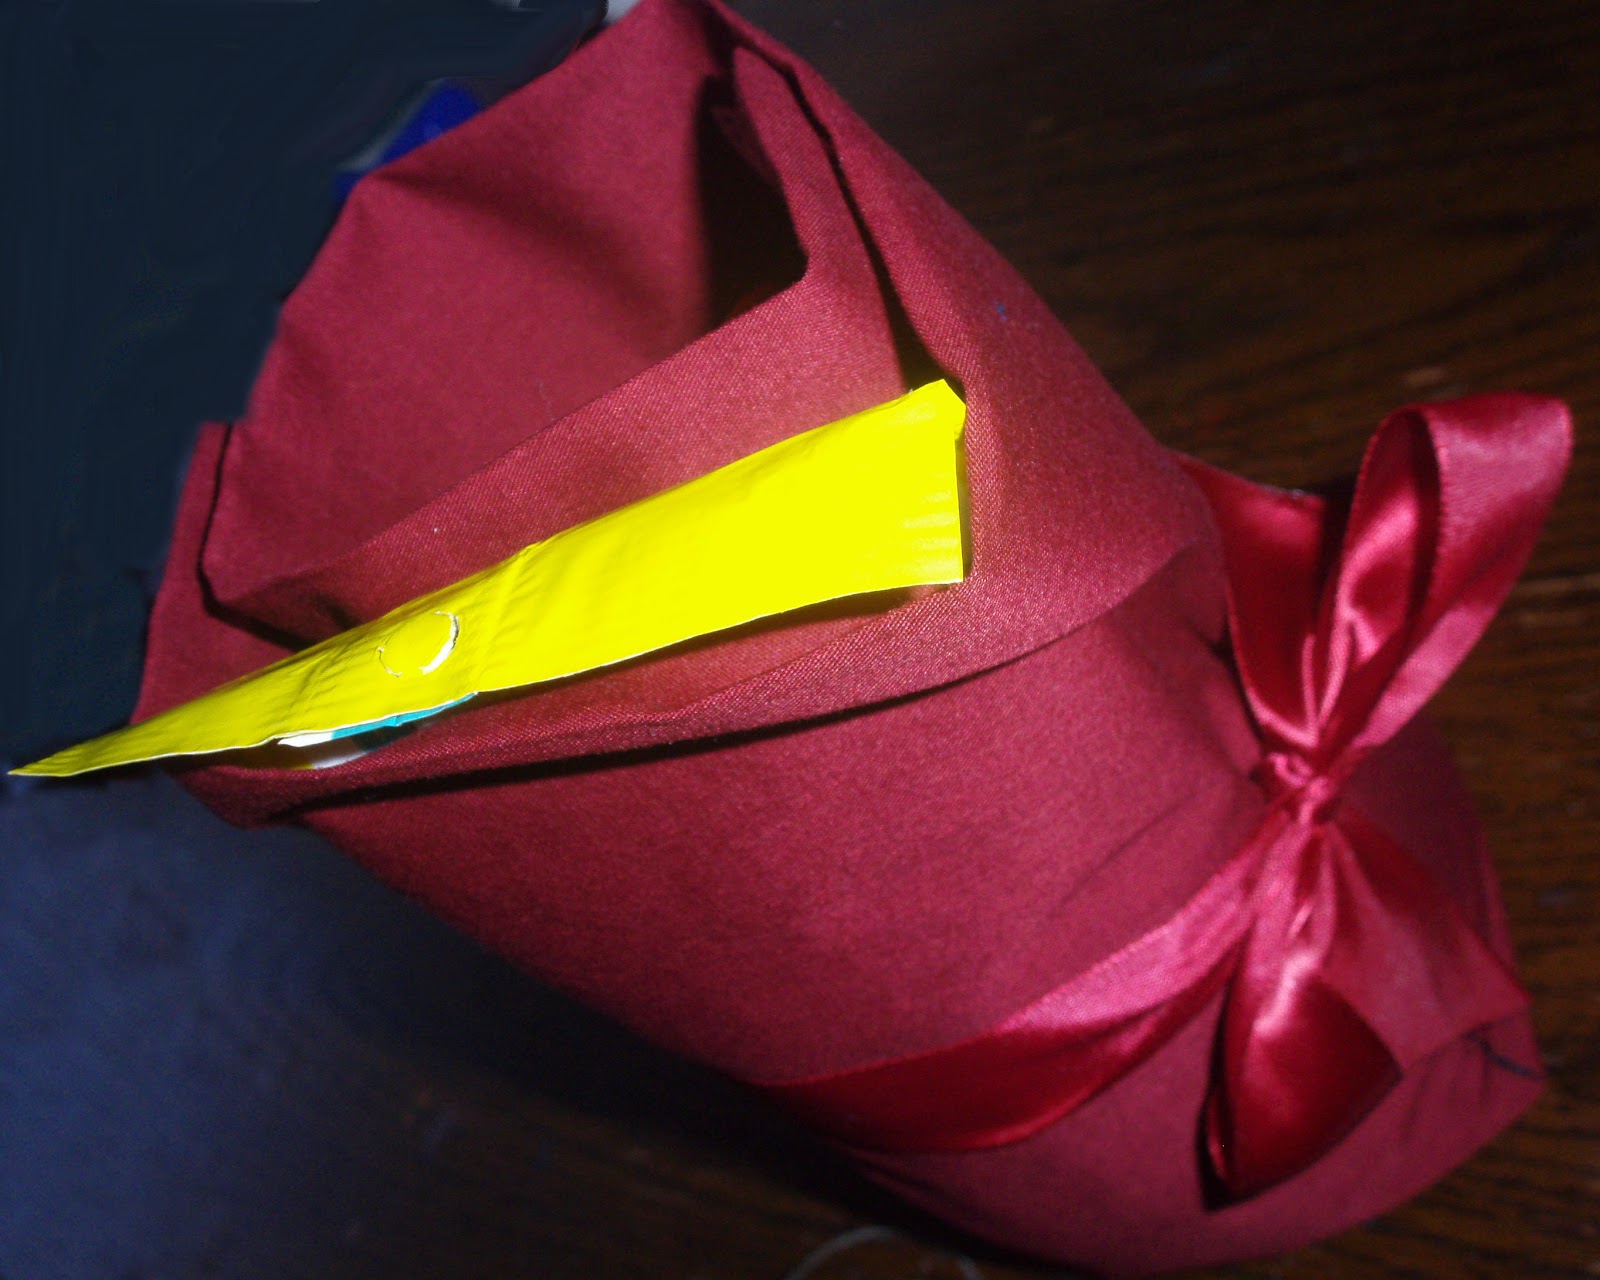
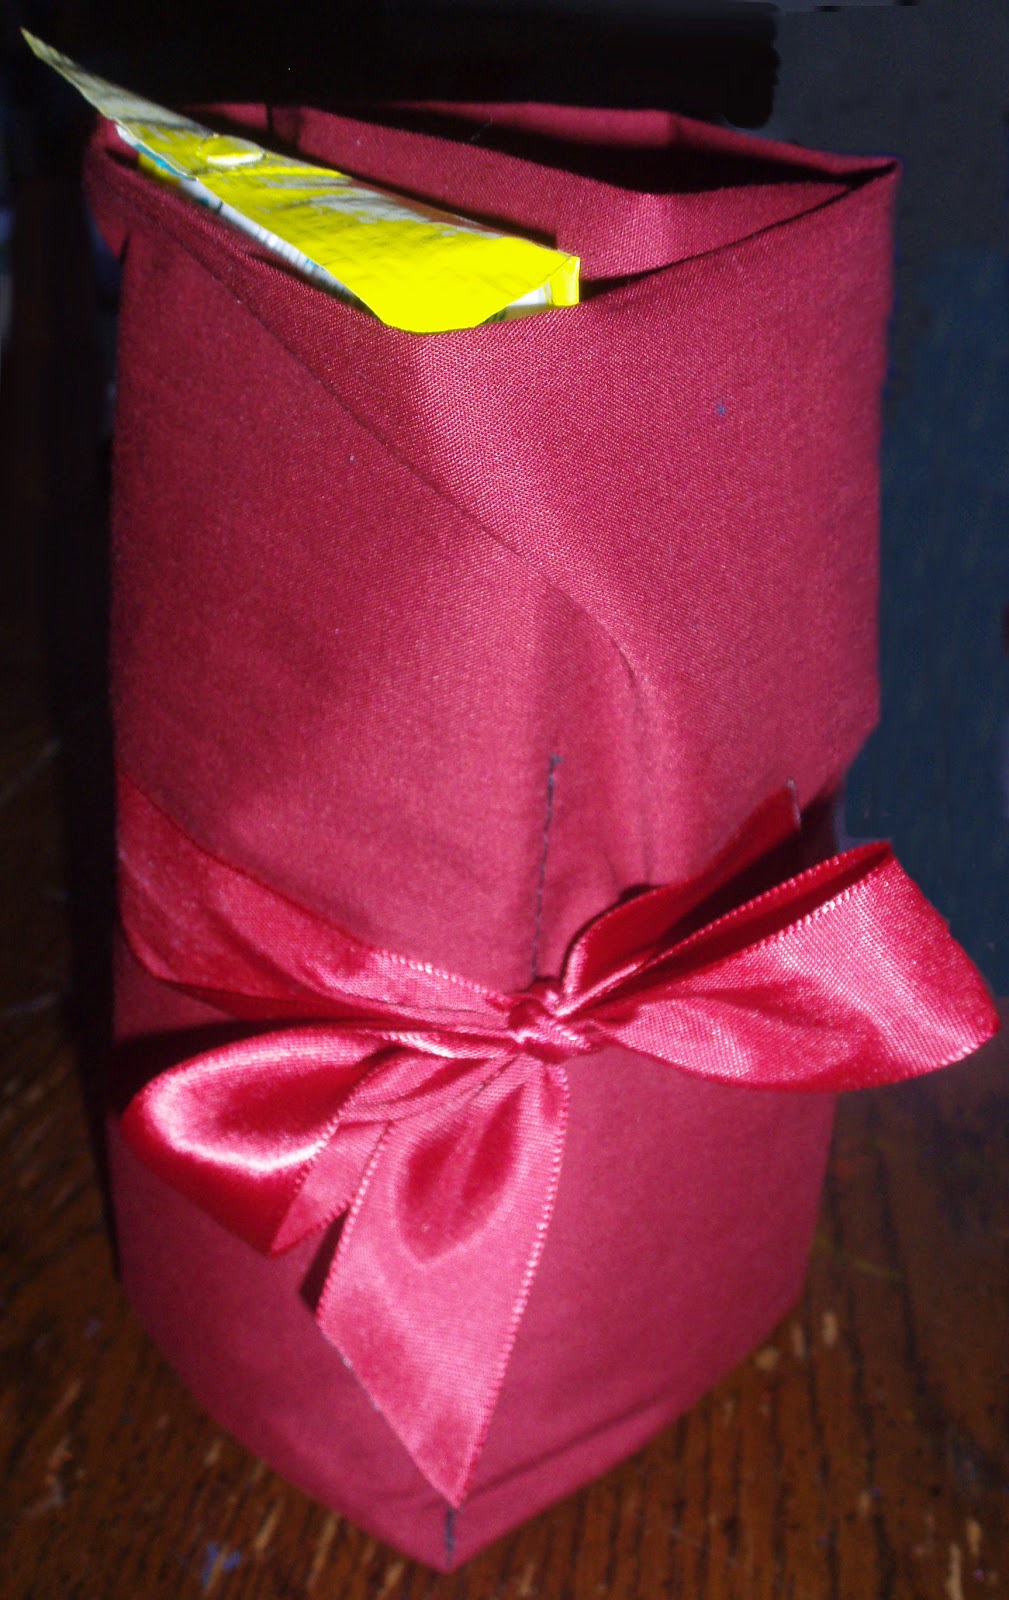
Now, to attach your ribbon.  I had already previously sewed up the gap I turned my fabric through, but I didn’t tell you to do that yet for a reason.  If you like the look of the tabbed ribbon, then by all means, sew that gap up.  If not, make sure you sew it up with the ribbon tab in between the front and back of the roll inside the gap.  Fold your ribbon in half and stitch it to one edge of your roll.

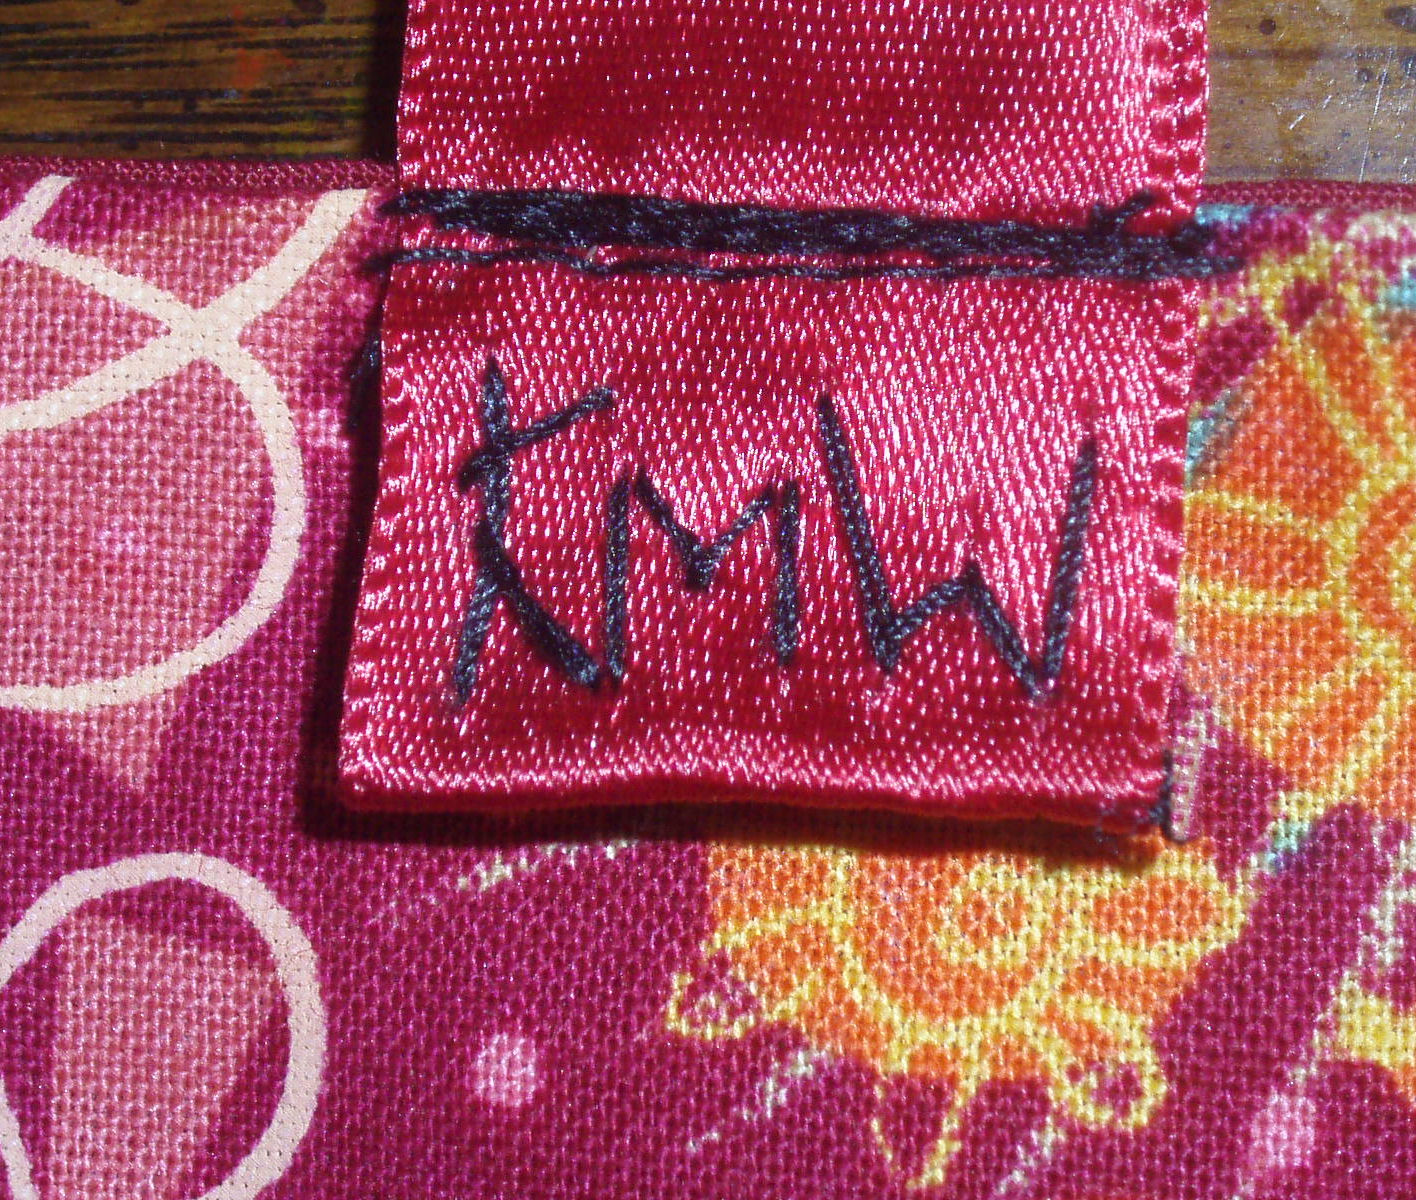
The gap I left to turn my fabric would have been in the wrong spot to attach my ribbon inside the roll.  Take that into consideration when you stitch up the roll while it’s inside out.  I did a little personalization on my ribbon tab.  I just hand stitched, but it was a little special touch and made the tab look a little less awkward.

TA-DA!!!  You’re DONE!

I’m thinking I’ll put velcro tabs over the top of the pockets on my next one to hold everything inside… hmmm.

September 2, 2010 by Krista

Thoughtful Thursday: Everyday I FALL For You

During the month of September, I will be doing several Autumn inspired posts.  The first of them is a fun little way to tell your significant other how much you love them!  I have learned in my marriage that the little things are important.  We are at a stressful spot in life and it is especially important for my husband and I to reconnect and remember that we do love each other and to recommit to getting through all the tough times together.  He has been traveling a lot with his job lately.  One time before he left, he wrote a love letter on the white board we have.  You better believe it stayed up the entire time he was gone.  See, and it took him all of five minutes to do it.

Here are some quick and easy, Fall inspired, note cards with the love notes already written out.  Find one that relates to you and your relationship.  Print it off and slip it in his jeans pocket when you fold and put the laundry away, or in his lunchbox, or tape it on the mirror in the bathroom.  Not a huge thing, but a good reminder in any relationship.  Happy Autumn Lovin’!

These love notes are for personal use only!

I used Digital Scrapbooking Kits from Computer Scrapbook to compile the love notes.  Papers and elements from the Cinnamon Digital Set by Jen Reed, as well as elements and papers from the Autumn Digital Set by Jeanine Baechtold  make up these cards.  If you are into digital scrapbooking or would like to be, I highly suggest checking this website out.  They have tons of FREE stuff and their prices are very reasonable. 


August 31, 2010 by Krista

Tasty Tuesday: Pasta Salad

We served this at my son’s birthday bbq and it got rave reviews.  We are now asked to bring this whenever we do potlucks with our friends.  It’s actually my little sister’s recipe that I took and ran with.  She’s thinking about going into culinary arts when she starts college next year.  I’d say she’s off to a fantastic start!  Used with her permission.  And then embellished!

PASTA SALAD


2 12oz packages of garden rotini (the colored curly noodles) although you really could use any noodles
1 bottle of Kraft Light Zesty Italian Dressing (I don’t know the exact size, but the big bottle)
4-5 Roma tomatoes, diced
1 Bell Pepper (Your choice of color)
1 8oz package of finely shredded mozzarella cheese
2 cans of olives sliced (3 cans of pre-sliced olives)
You can, of course, add any other ingredients you wish (broccoli, cauliflower, cheese chunks, ect)
Cook the pasta according to the directions on the package.  When tender, drain and run under cold water.  Combine the pasta, tomatoes, pepper and olives.  Mix well.  Stir in the cheese and Italian dressing.  Hold back just enough cheese to sprinkle on top for a garnish.  Serve immediately or let set in the refrigerator overnight.  Enjoy!

August 27, 2010 by Krista

Fanciful Friday: Car Seat Strap Covers

So, my little man has recently moved from a rear-facing to a forward-facing car seat.  He LOVES it.  But, seriously, who wouldn’t?!?  Staring at the seat back every time you go anywhere in the car… BORING!!!  Well, with his new car seat the straps look like they dig into his poor little chubby neck.  So, car seat straps to the rescue.  Now, we had one pair that we used on his infant carrier, but we invested in 2 car seats (one for our car and one for my mom’s car).  The strap covers we had before came from Wal-Mart and were a whopping $4.  Unfortunately, that was at a Wal-Mart in Idaho and I couldn’t find any here.  So, I decided to just make them.  And it meant I got to cross it off My To-Do List.  Yay!

First, I cut two identical sized pieces of fabric.  If I were to do this again, I would make them about and inch or two longer.  That’s what I get for being too lazy to measure I guess.  Then I pinned them to hem, allowing an 1/8″ seam.  Hmm, maybe my subconscious knew they were too short from the very beginning…?  If you make them longer, you can allow for a bigger seam.  Then, I hemmed all the long sides.  Iron the seams and short edges of the fabric flat.  It makes it a lot easier to put on the Velcro if the fabric will lay smoothly.

Next, fold the short edges of the fabric in 1/4″ to 1/2″.  Use a strip of Stitch Witchery to “glue” the fabric in place.  I hadn’t used Stitch Witchery in so long I forgot how awesome it is, definitely something I won’t be without in my sewing supplies ever again… but I digress.  If you’ve never used it before just follow the package instructions.  It’s pretty simple.  However, I will reiterate to place a paper towel between you fabric and your iron.  You don’t want to get glue on your iron!

Next, take a strip of Velcro, cut to size, and pin it on top of one of the raw edges that you just glued down.  I prefer Velcro with an adhesive back, it seems to help it stay in place while I’m sewing better than just pinning it.  I stitched around the edges of the Velcro, although you could just use some heat and bond if you want a no-sew solution.  And, since your raw edge is underneath the Velcro, it wont fray.  For the other side where the Velcro won’t cover the raw edge, I just did a quick seam to help hold it together before I sewed the Velcro down.  

And, Ta-Da!  You’ve made a pair of cute, simple car seat strap covers!  Easy peasy, right?  Just a side note… These are not padded.  My little boy still has a lot of his baby fat in his face and the padded set we have sometimes seemed to squash his face when it was getting close to needing to readjust his straps.  If you want a set of padded covers Serena at Nap Time Crafts has an awesome tutorial on how to do that.  She’s got a lot of other cool stuff too, so if you don’t know her blog yet I highly suggest you check it out!  Have fun!

August 20, 2010 by Krista

Fanciful Friday: Baby Quilt

It’s been a while since I actually made this.  Just over a year, actually.  But I am so proud of it, I had to share.  Mostly I’m so proud due to the fact that I did everything for this project in two days, without quilt frames, while I was 7 1/2 months pregnant!  It also has given me the incentive to declare that I want to make a quilt for each of my babies.  Notice, I said declare.  Whether I will still have the time and ability to do so has yet to be seen.

I fell in love with this quilt panel and was rather adamant that I get to make a blanket for the baby with it.  My husband, being the smart man he is, knew not to argue too much with his crazy and hormonal pregnant wife.  This was not a fight he chose to take on.  Smart man.  I’d have done it while he was gone on his three week Army training.

I did triple layer the batting.  I believe it was Mountain Mist Brand… but that’s about all I remember, sorry.  I got it at Jo-Ann.  I wanted to have a super fluffy quilt.  And I am so glad I did that many layers, it’s the padding in his crib.  Crib mattresses are the most uncomfortable things ever!  Yes, I have slept on one within the past year.  Definitely prefer my memory foam!  Sorry, I digress.  The flannel backing was long enough that I just folded the edges over the top, tucked the unfinished edge down so it would get caught in the seam and made that my binding.  It’s worked out quite well, no problems to speak of.

I measured out my ties.  I did them 4″ apart.  There is one set that it really close to the edge… If I had measured it out prior I probably would have tried to adjust my ties a little, due to my OCD.  But, by the time I was that far along with my project, I didn’t care enough to bother.

See how puffy?  That’s what three layers of batting will do…

Click to enlarge.  You’ll get a visual of what I’m talking about with the binding.

Keep the ties on the back fairly short… safety first and all.

Linked to these:
Lucky Star Lane
Today’s Creative Blog
Sugar Bee’s Take a Look Tuesday
Letting the Creative Juices Flow
Anything Related

Sew Cute Tuesday
Toot Your Horn Tuesday

Garden Party Tuesday
Topsy Turvy Tuesdays
Make It Yours 
Show and Tell
Whatever Goes Wednesday
Show Us What You’re Working With
Creative Therapy Session
Penny Pinching Party

  • « Previous Page
  • 1
  • …
  • 227
  • 228
  • 229
  • 230
  • 231
  • Next Page »

I'm Krista. Ringleader here on While He Was Napping, wife to my handsome Mr. Right & momma to my THREE energetic boys, Big J (9), Little J (6) & Little N (4). We FINALLY added a beautiful little girl to our family last December.

I’m knee-deep in Tonka trucks & Thomas trains. I survive our crazy days with Vanilla Coke, Sonic slushies, sweet snuggles and little giggles. When I tuck them in tight & kiss them good night, I get a little time to create & just be me.


It all happened
while (s)he was napping
Want More of My Story?

Privacy Policy

While He Was Napping respects your privacy and is committed to keeping any personal information collected on this website confidential. To find out what information we collect and how it is used or what options you have regarding your information, see our full privacy policy here. Creative Commons License The website found at whilehewasnapping.com and all subdomainsauthored and published by Krista is licensed under a Creative Commons Attribution-NonCommercial-NoDerivs 3.0 Unported License.

Pretty Chic Theme By: Pretty Darn Cute Design