While He Was Napping

momma gets stuff done

  • Home
  • About
  • Archive
  • Do It Yourself
    • Crafts
      • No Sew
      • Painting
      • Paper Crafts
      • Repurpose Projects
      • Vinyl
      • Washi Tape
      • Kid’s Crafts
      • Fonts
    • Sewing
    • Decorate
      • Home Decor
      • Holiday Decor
    • Celebrate
      • DIY Gifts
      • DIY Your Party
  • Recipes
    • Beverages
    • Appetizer
      • Bread
      • Other Appetizers
    • Snacks
    • Main Dish
      • Meat
        • Chicken
        • Beef
        • Pork
        • Seafood
      • Vegetarian
      • Slow Cooker
      • 30 Minute Meals
    • Dips & Sauces
    • Salads
    • Pasta
    • Soup
    • Dessert
      • Cookies
      • Brownies
      • Cupcakes and Cake
      • Box Mix Recipes
      • Other Sweet Treats
    • Breakfast Food
      • Pancakes
      • Waffles
      • Muffins
      • Other Breakfast Food
  • Family
    • Babies
      • Pregnancy
      • Newborns
      • The 1st Year
    • Toddlers
    • Preschoolers
    • Kindergartners
    • 6-8 Year Olds
    • The Grown Ups
      • Date Night
      • Romantic Gifts
    • Self Care
  • For the Home
    • Cleaning
    • Organizing
    • Emergency Preparedness
  • Travel
    • Travel Tricks & Tips
    • Traveling with Kids
  • Tech & Gadgets
    • Must-Have Apps
    • Techy Home Appliances
    • Gadgets & Electronics
    • Blogging Tips
  • Printables
    • Posters
      • Quote Printables
      • Subway Art Printables
    • Printable Organizers
    • Printable Journals
    • Learning Printables & Worksheets
    • LDS Printables
  • Holidays
    • New Year’s
    • Valentine’s Day
    • St. Patrick’s Day
    • Easter
    • Cinco de Mayo
    • Mother’s Day
    • Father’s Day
    • 4th of July
    • Back to School
    • Halloween
    • Thanksgiving
    • Christmas
    • Holiday & Seasonal Printables

Archives for October 2013

October 14, 2013 by Krista

No-Sew Witch’s Hat #spookyspaces

This post is sponsored by Jo-Ann Craft and Fabric Stores.  I was provided select materials and a gift card to purchase additional materials.  This post may contain links to the sponsor’s website.  All content is original and all opinions are 100% truthful and my own.

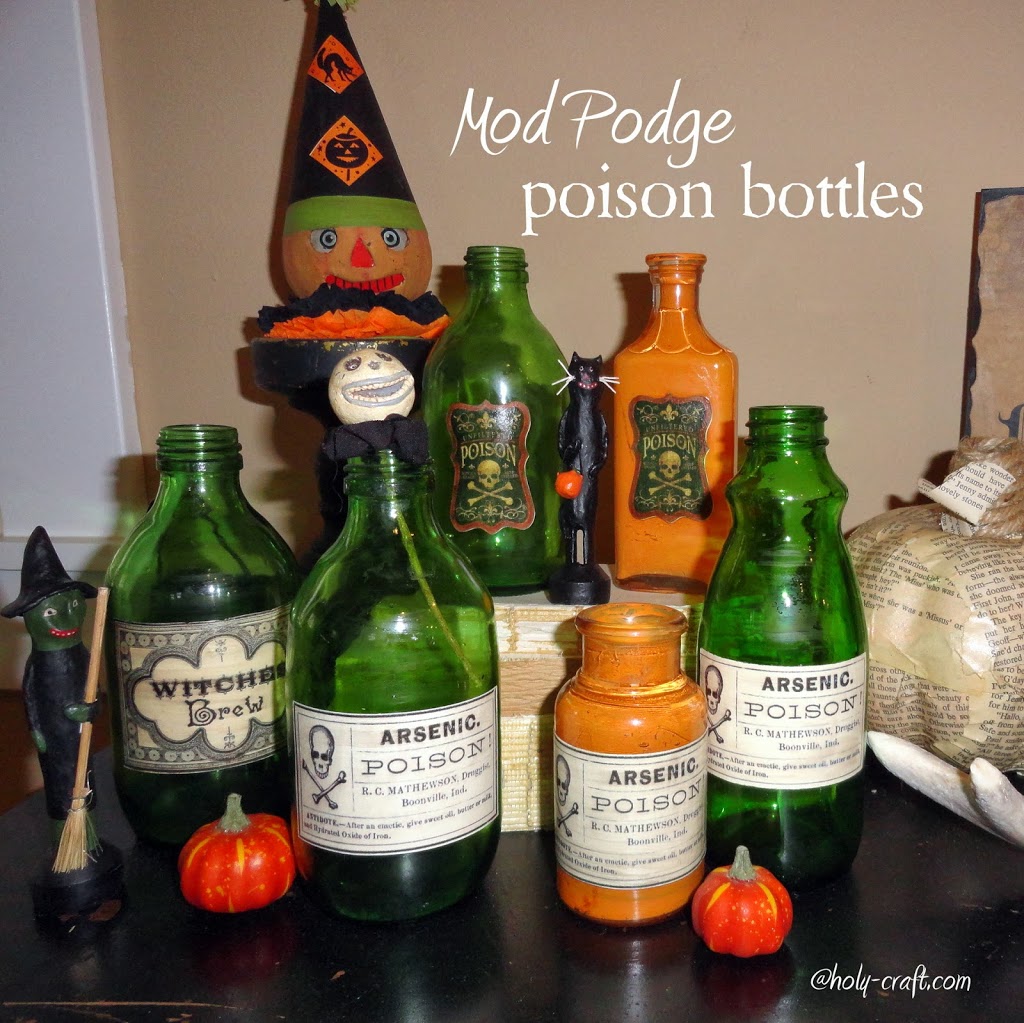
I was totally stoked to get to participate in Jo-Ann’s Celebrate the Holiday campaign.  Especially with the theme #spookyspaces.  I was planning to do a big project and ordered supplies online one night.  Not a good idea when you’re working with a deadline.  Basically, I received about 1/6 of my order, as everything else was out of stock.  Then I had to wait for the charges to be refunded.  Bah.  It caused a bit of a headache, but serves me right for being lazy and not just going and getting the stuff I needed.  So, I scaled back a bit.  This ended up being the perfect project and added just the right finishing touches to some projects I already had in the works, my potion bottles for one.

NO- SEW WITCH’S HAT
No-Sew DIY Witch Hat

Materials:

– Black Felt (I bought a yard and had plenty)
– Scissors
– Chalk and string
– Flexible Measuring Tape
– Tulle
– Ribbon
– Sequins, Rhinestones or other accents
– Glue gun and glue sticks
– Stiffy Fabric Stiffener (not pictured)
– Aleene’s Stiffen Quik (not pictured)

No-Sew-Witch-Hat-Supplies
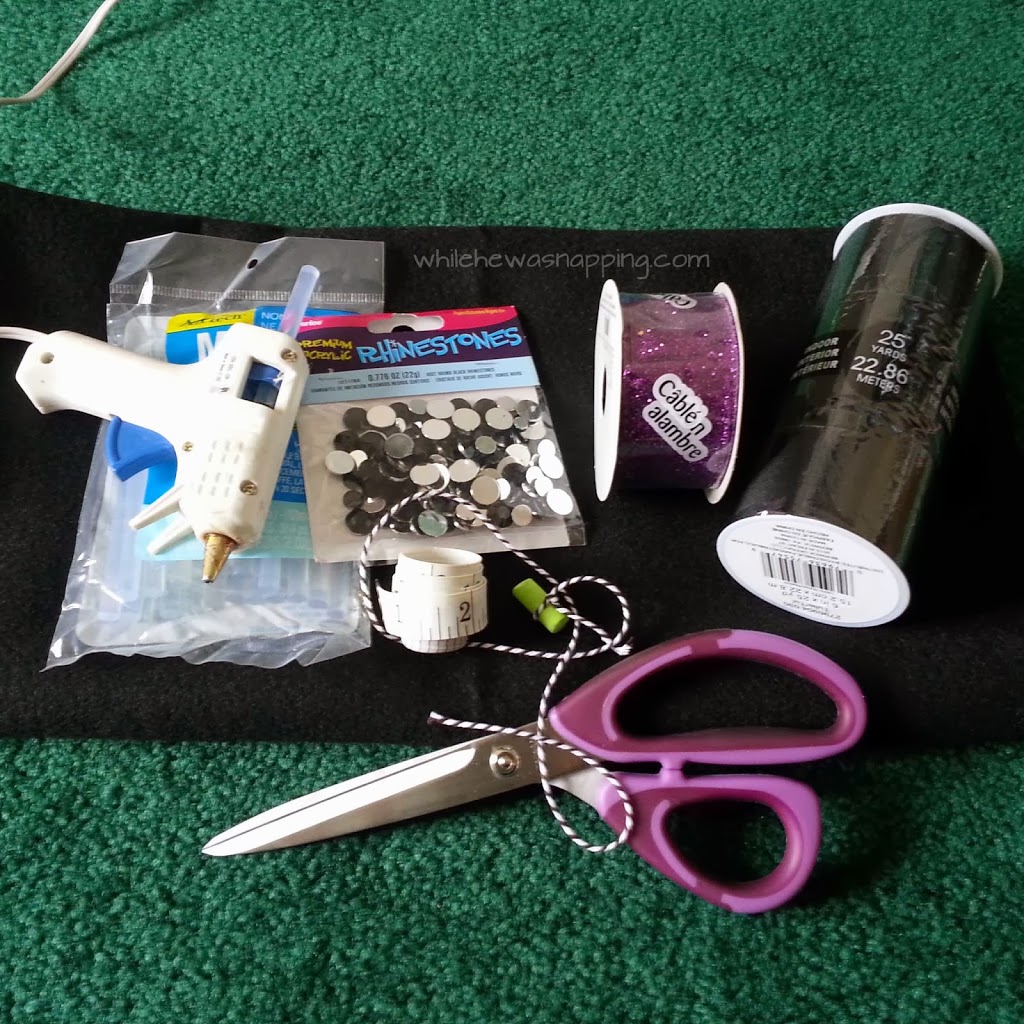
I got the felt, black rhinestones, hot glue sticks, fabric stiffener and Aleene’s Stiffen Quik at Jo-Ann.  All other materials I had on hand.

Directions:
This No-Sew Witch’s Hat project is pretty easy, but it did remind me why I hate math (and I may have cursed my high school geometry teacher for saying I’d ever need this stuff… ’cause, well, here I was trying to figure out these measurements and I had to google the formulas.  I also swore I’d never admit that).  But, don’t worry.  I’ve got it all figured out for you and it shouldn’t be too hard.
– First, using the flexible measuring tape, take the measurement of your head (or the head you are making the hat for).  Mine was 21 inches.  Don’t pull the tape too tight, but make it tight enough to hold a hat up.
–  Grab a calculator, unless you’re really good at dividing by pi.  Divide the circumference of your head (21 inches, in my case) by pi, this will give you the diameter of your head.  Then, divide the diameter by 2 to get the radius.  It sounds complicated, but it’s not too bad.  I rounded mine down since felt is stretchy and I didn’t want it too loose.  I shouldn’t have.  The stiffener I used ended up making the hat too small for my head and I have to pin it in place.  I’d actually suggest adding an inch.
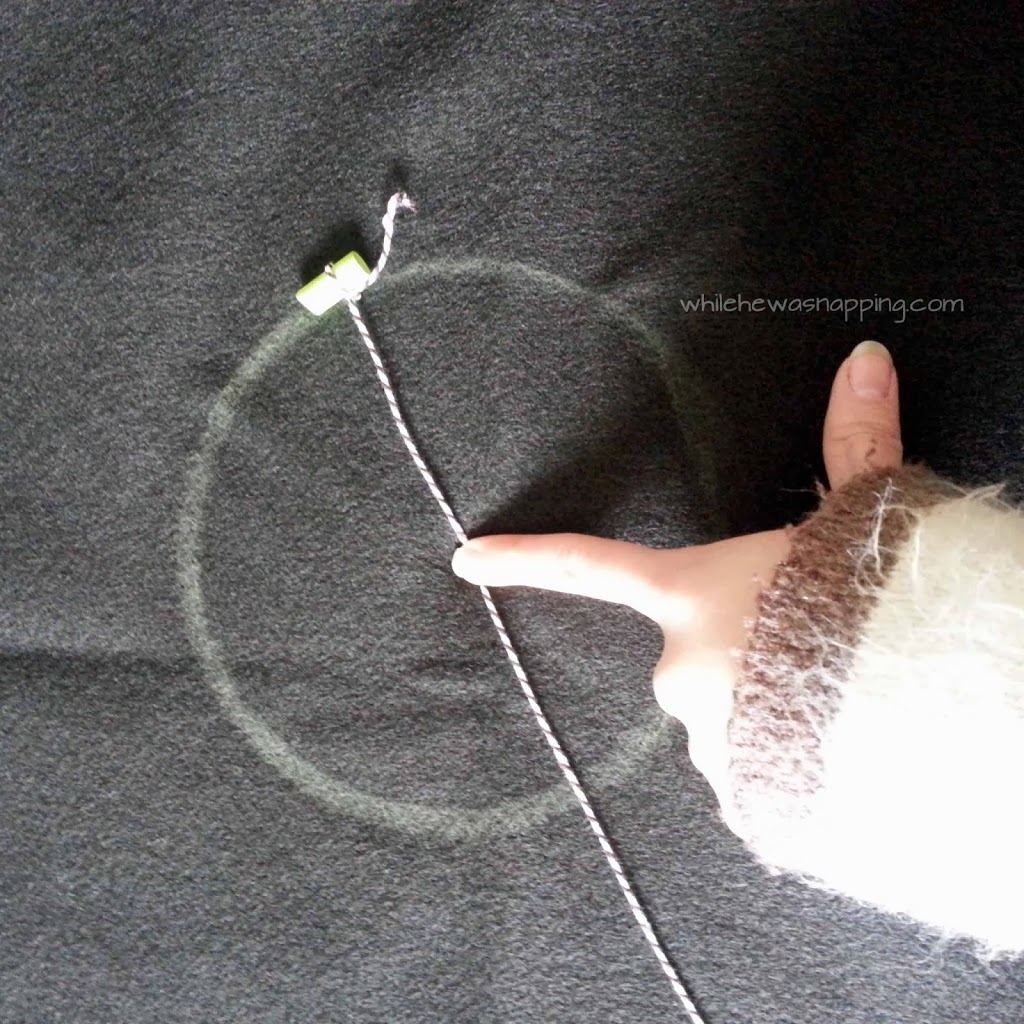
– Tie your string to your piece of chalk and cut the string to the length of your radius measurement plus four inches.  I actually keep a piece of chalk tied to a string, so my string is even longer.
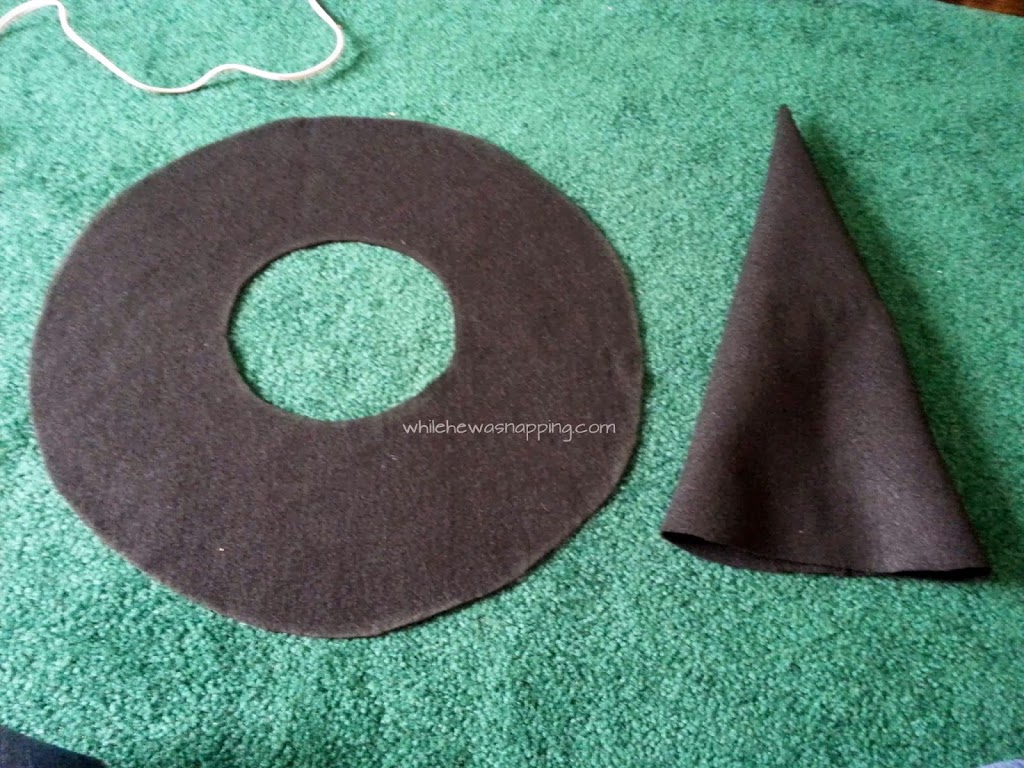
– Measure the radius length on the string and mark it or hold it.  Holding one end of the string in place against the felt, use the chalk to draw a circle on the felt.  Mark the center of the circle (should be where your finger was holding the string against the felt).  Make sure you leave enough room between the circle and the edge of the felt for the brim of the hat.  This is your small circle.  You will cut this out and your head will go inside this.  You will glue this part to the base of the cone (which you’ll create in a minute).

No-Sew Witch Hat DIY
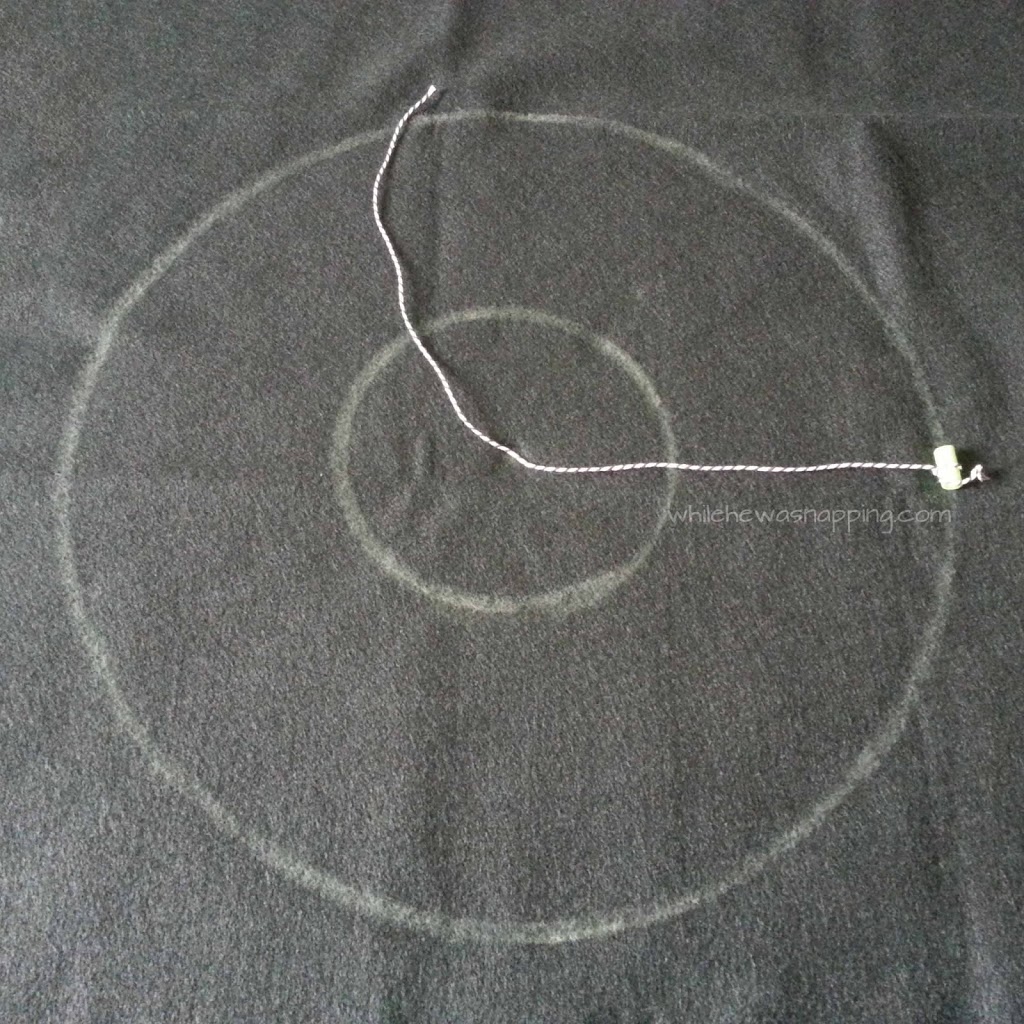
– Now, hold the end of the string against the felt on the center mark you made and draw another circle.  You should have what Big J called “a tire”.

No-Sew Witch Hat DIY

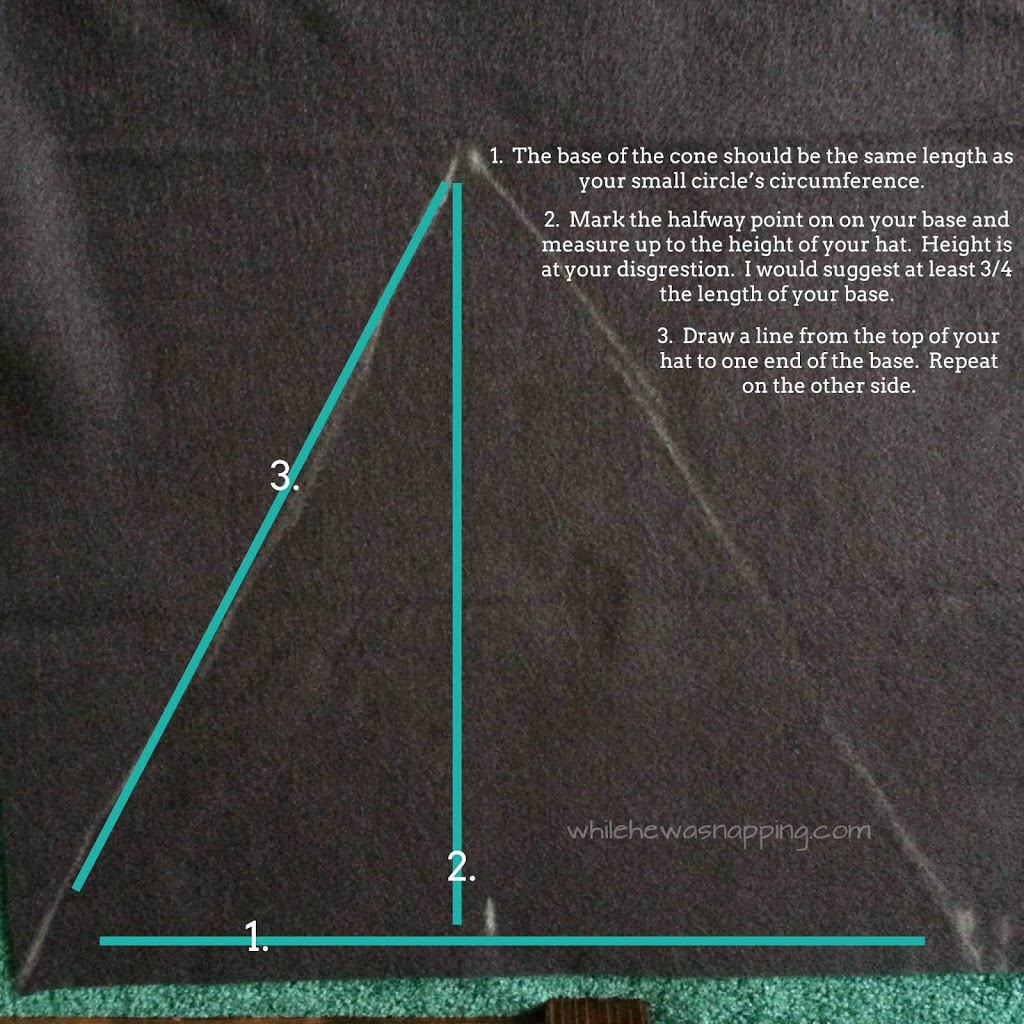
– Now, you’ll make the cone part.  Make your base the same as the circumference of your head (mine was 21 inches.  Decide how tall you want your hat.  I suggest at least 3/4 the length of your circumference measurement (I did 17 inches tall).  Measure and mark halfway on the base of your cone (10.5 inches for me) and then measure up to the height of your hat (17 inches for me).  Roughly sketch in the lines to connect the top of the hat and the base.

No-Sew Witch Hat DIY
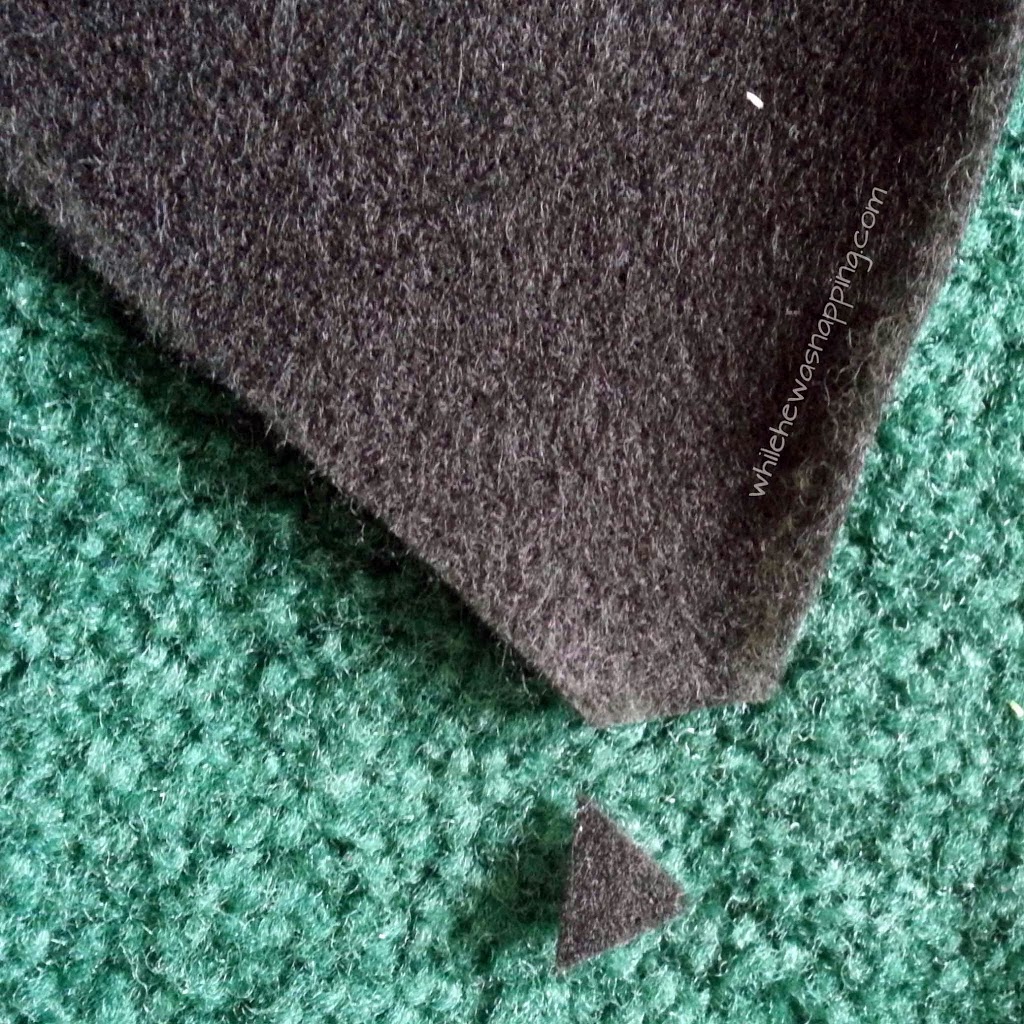
– Cut out the base and the cone.  Make sure to cut out the small circle on the base too.  Snip off about 1/4 inch of the point of the cone.

No-Sew Witch Hat DIY
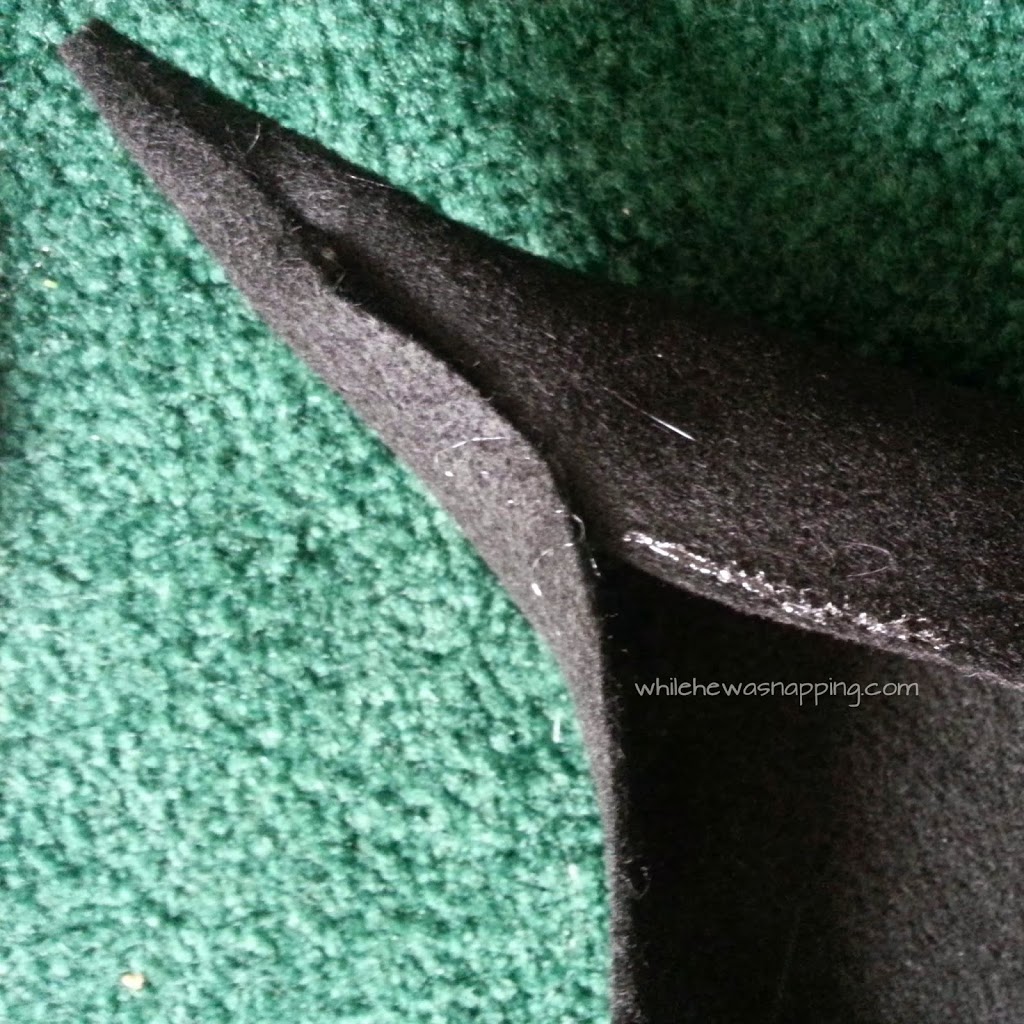
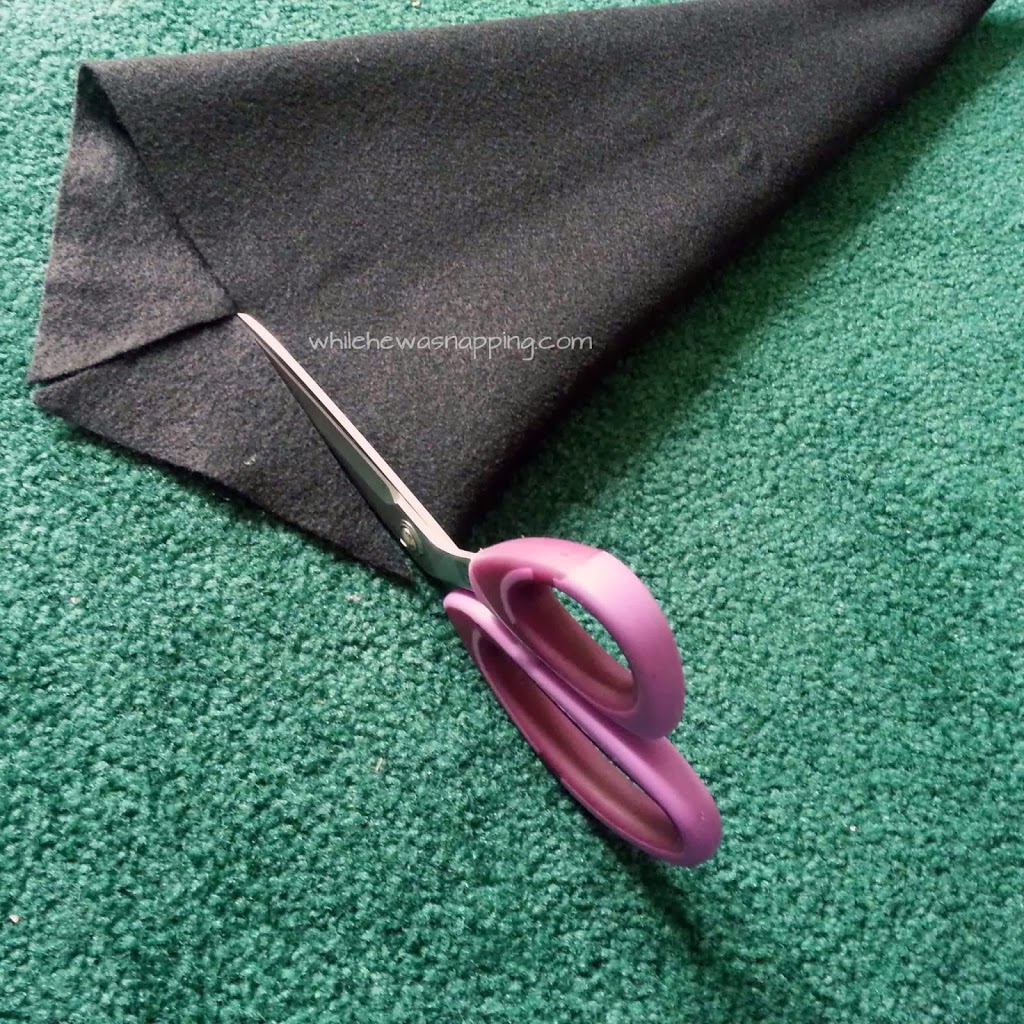
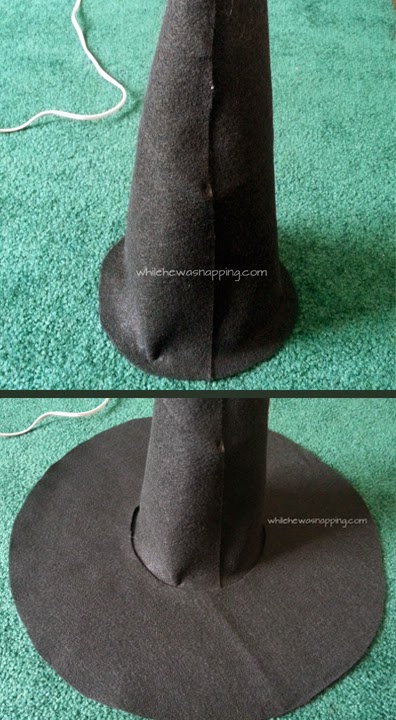
– Using your hot glue gun, glue the sides of the cone together.  At the bottom, you’ll have to snip off the extra points to make a flat base on the cone.

No-Sew Witch Hat DIY

No-Sew Witch Hat DIY

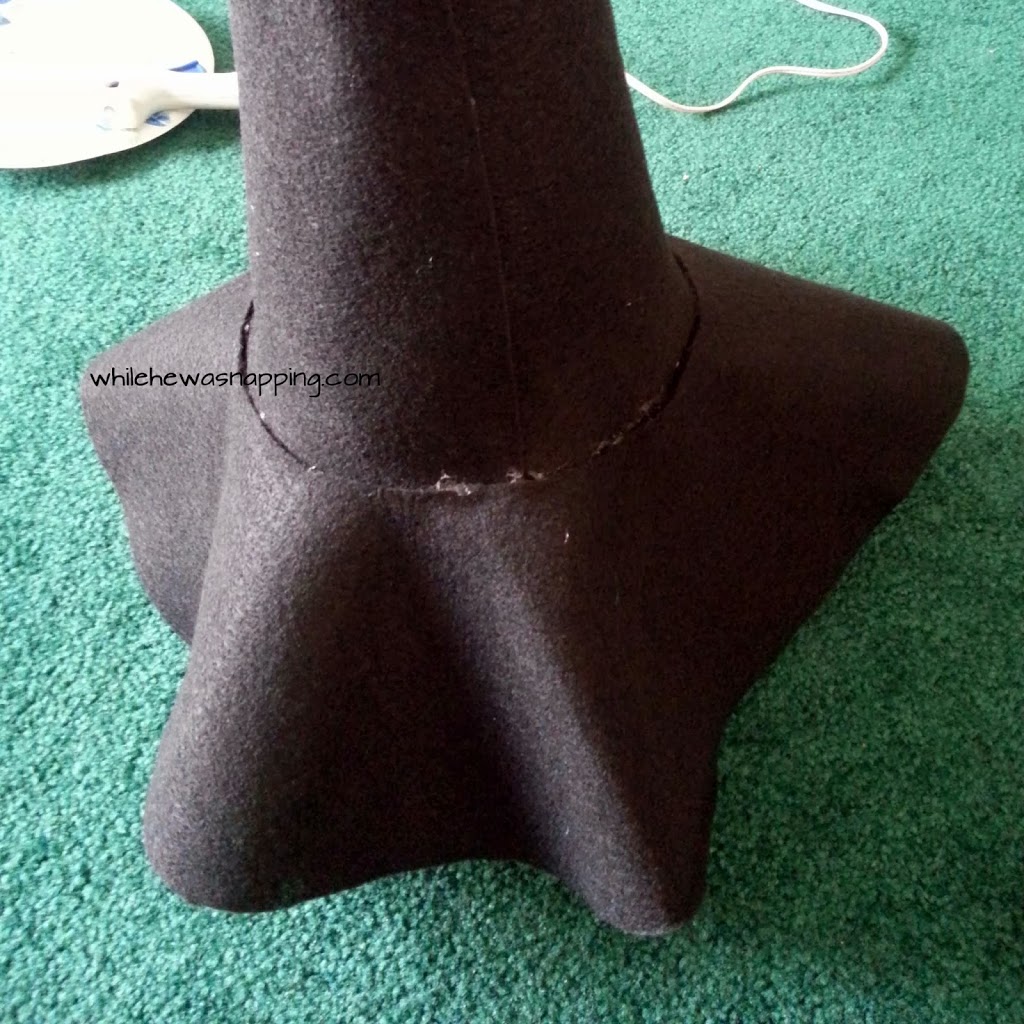
– Set the cone up on the floor (or table top) and bend the base out a little.  Stretch the felt if you need to, just don’t pull too hard.  Lay the base over the top of the cone.  Glue the cone and base together.  Be cautious not to hot glue your hat to the table (or carpet…).  I may or may not have done this.

 No-Sew Witch Hat DIY
No-Sew Witch Hat DIY

–  You should now have the basic hat, but it will be pretty floppy.  Lay out some wax paper or freezer paper and lay your hat on top of it.  Shape it til you’re happy with it.  Using the Stiffy Fabric Stiffener on the base will give the shape you need.  I just poured the stiffener on the brim and used my finger to rub it into the brim until there was a nice coat all the way around.  Don’t worry, it’ll dry clear.

No-Sew Witch Hat DIY

No-Sew Witch Hat DIY

–  Use Aleene’s Stiffen Quik to help shape and hold the cone.  This won’t be as stiff as the brim.
–  Let your No-Sew Witch’s Hat is dry completely.  Mine took about 24 hours.  When it’s dry, pull the paper off the bottom of the hat.  Mine had a bit of discoloration from the wax paper.  I just sprayed a light coat of black spray paint over the discolored parts and you’d never know.
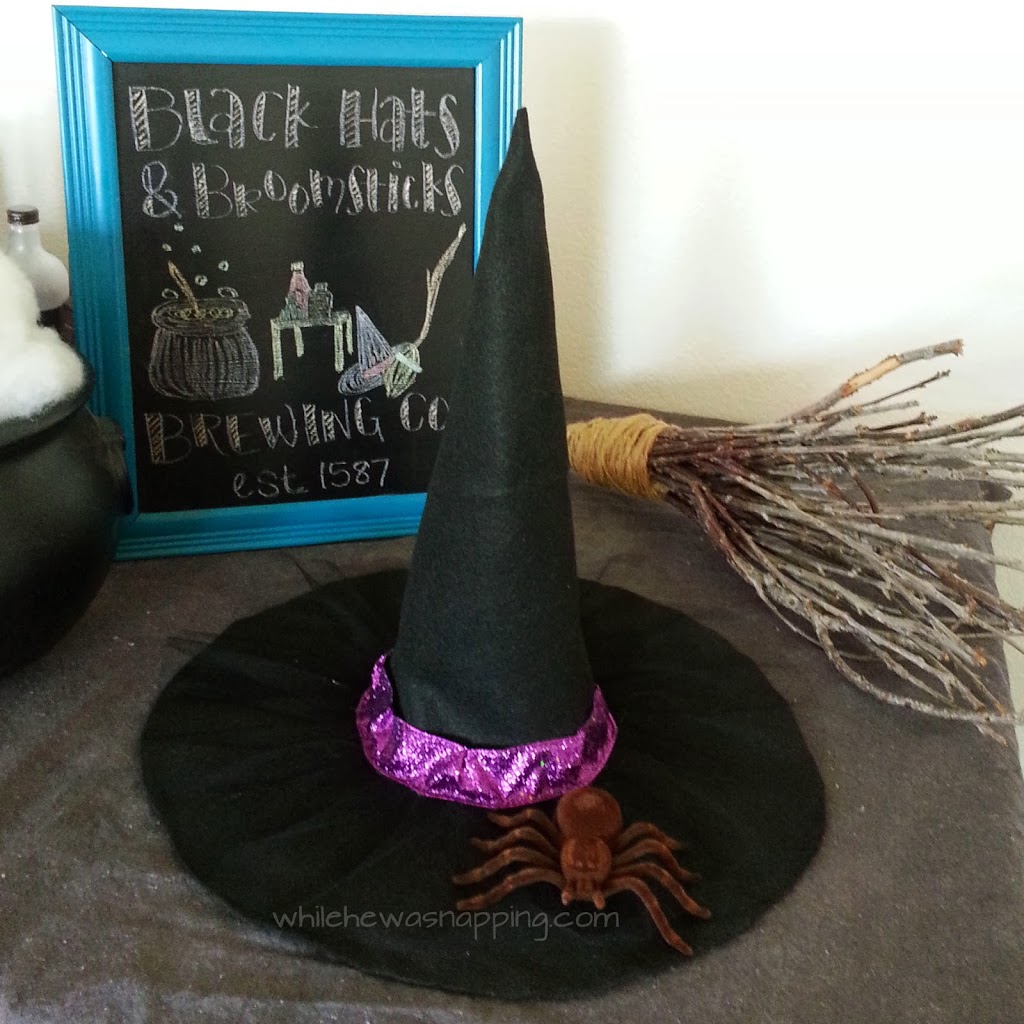
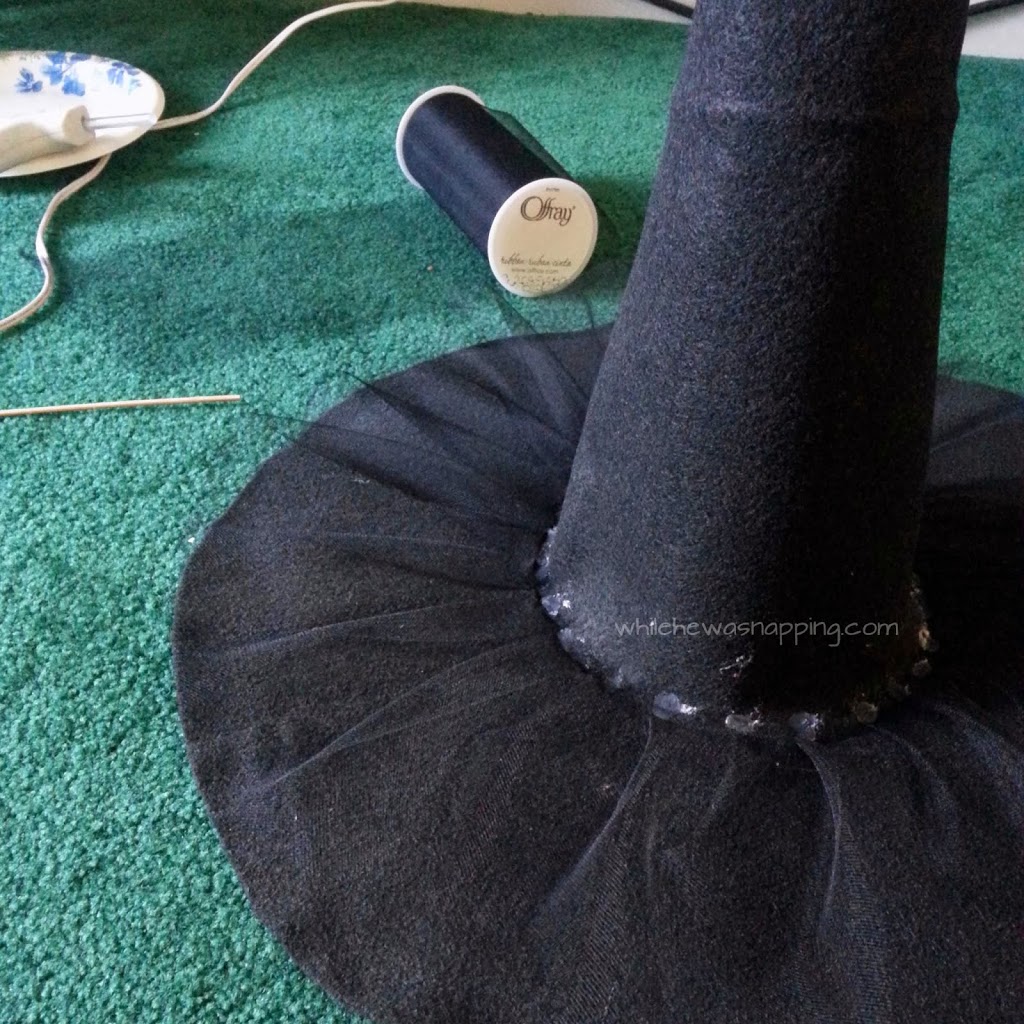
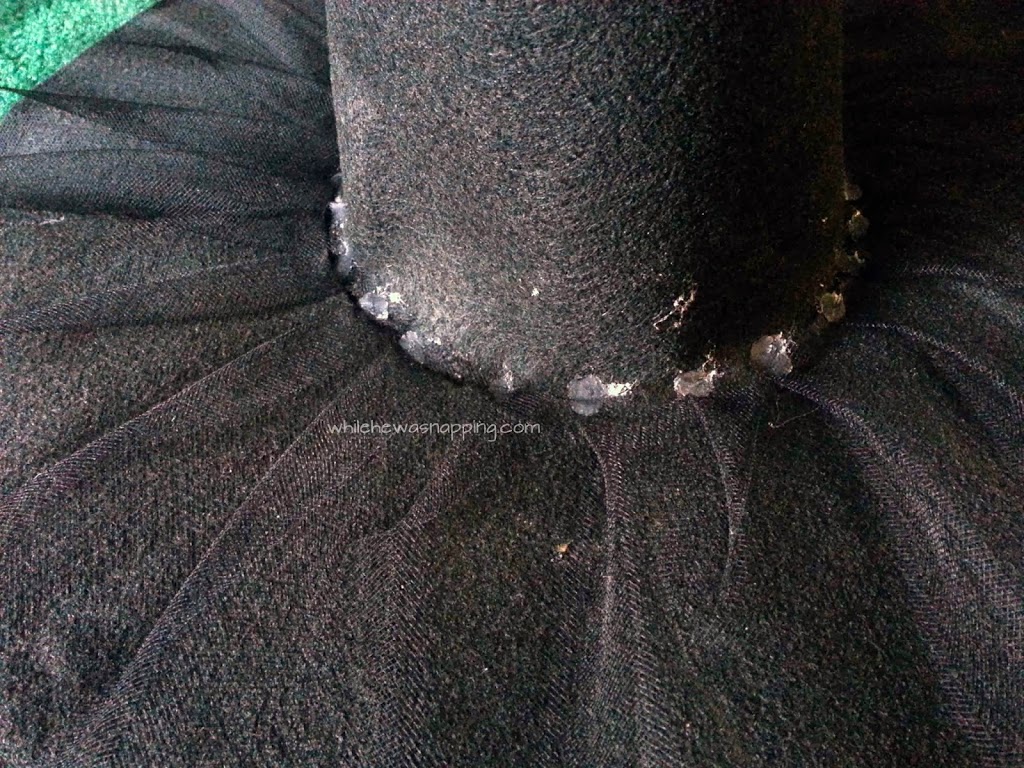
– Next, I put on my tulle.  I wanted a bit of a ruffle since the felt and tulle are the same color.  It needed a little girly touch, but is still pretty subtle.  I started at the back of my hat (where the seam for the cone is located) and glued down a bit of tulle, folded some over and glued that down over the tulle I’d just attached to create the ruffle.  I just did that all the way around the hat.  Keep the tulle attached to the roll the entire way around the hat.  This would look pretty neat with a colored tulle too – lime green, orange or yellow maybe.

No-Sew Witch Hat DIY

No-Sew Witch Hat DIY
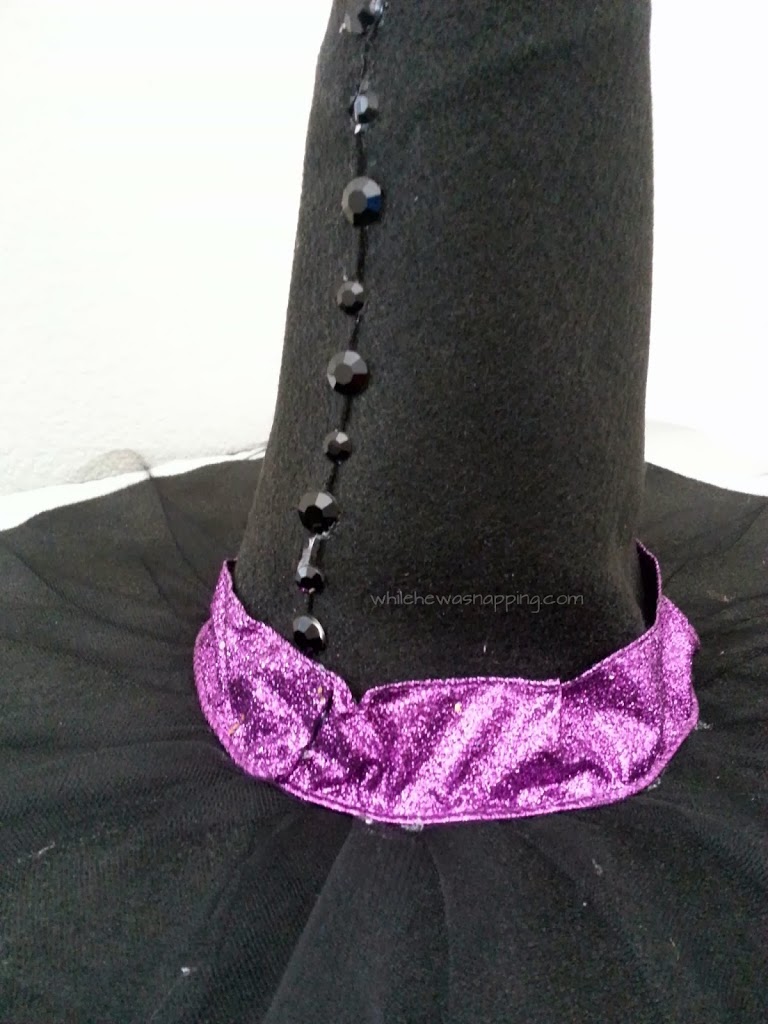
–  Then it was time for the ribbon.  I went a little more bold with this – glittery purple – since it’s a small detail on the No-Sew Witch’s Hat.  My ribbon had wire in it, which actually worked out quite well.  I glued the bottom of the ribbon to the brim of the hat and then just folded the ribbon and shaped it with the wire on the top to fit the taper of the cone.  There is no glue on the top part of the ribbon.

No-Sew DIY Witch Hat
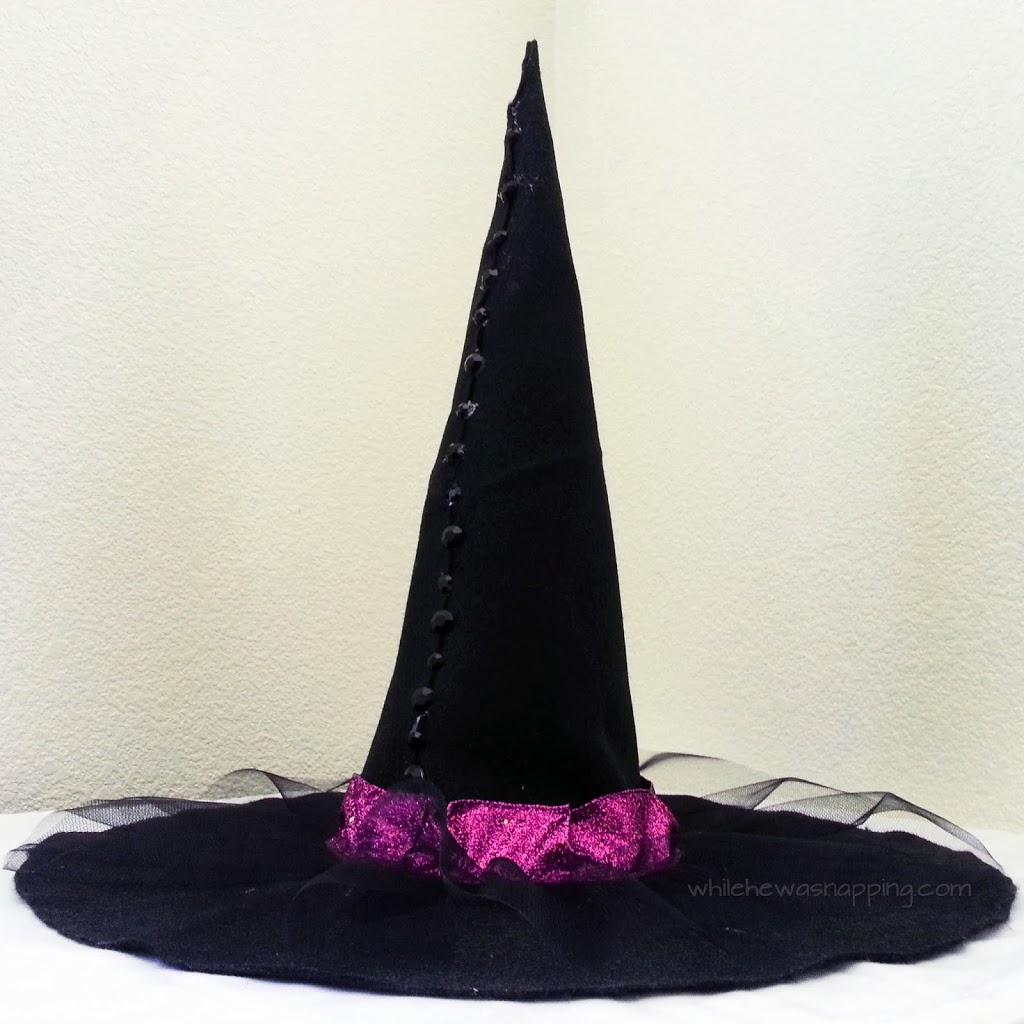
– The seam on the back of the cone was a little distracting and I kept trying to convince myself it was no big deal, but in the end I decided to camouflage it a bit.  I put faux black rhinestones on the seam.  If I were to do it again, I would put the rhinestones right next to each other and hide the seam all together, rather than just disguise it a bit.

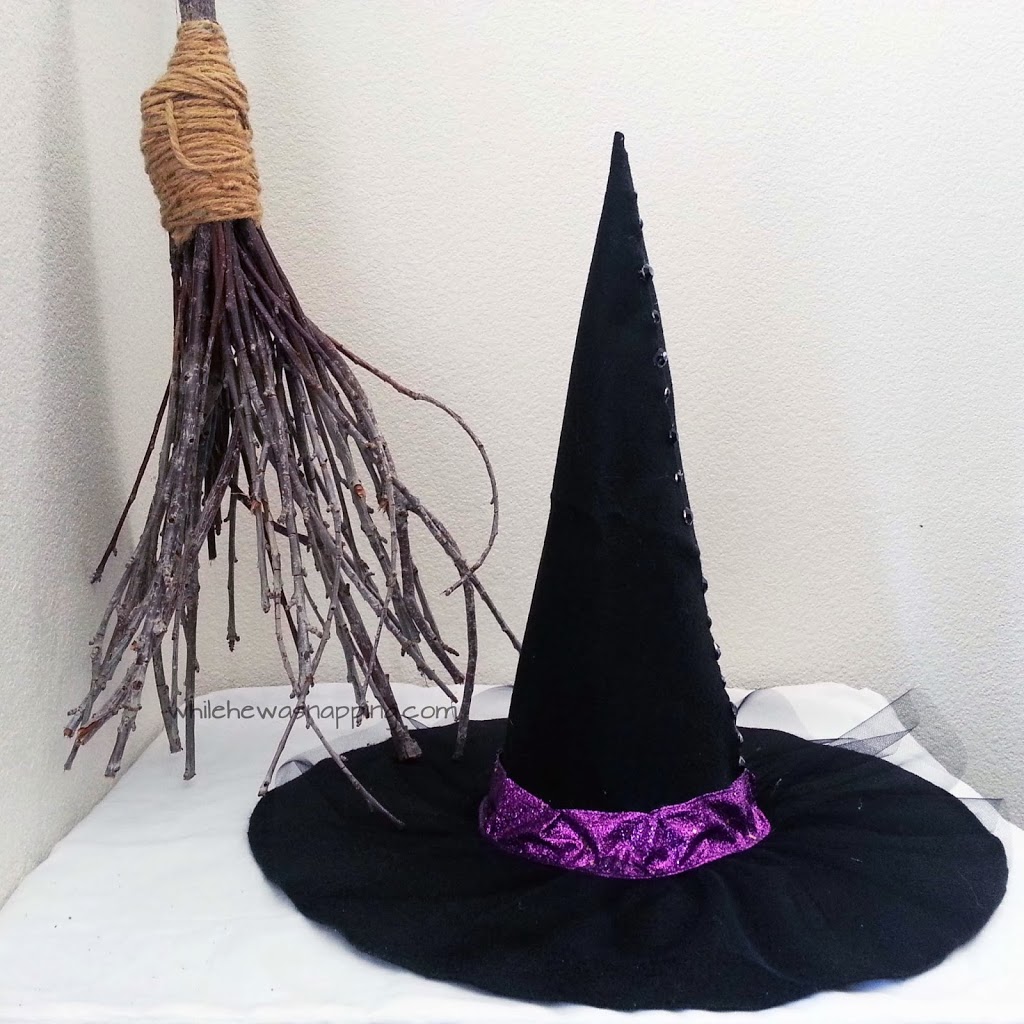
That’s it, you’ve got yourself a No-Sew Witch’s Hat.  It sounds complicated and like a long process, but really the longest parts are waiting for the stiffener to dry (and trying to do all that math, in my case.  I always over-think that stuff and make it more complicated than it should be).  Oh, and waiting for nap time to to roll around so you can finish up the next step…  apparently boys like rolls of tulle and baggies of rhinestones too.  They like to see how far they can roll the tulle down the hallway and how many rhinestones will fit in their mouth…
No-Sew Witch Hat DIY

No-Sew Witch Hat DIY

If you have any crafty-pants projects you’re planning, grab the coupon below for 50% off at Jo-Ann and save yourself some moolah this Halloween!  Also, check out more awesome Halloween crafting ideas at Jo-Ann’s Celebrate the Season site.  There are some really cool projects… hint, hint.  Go see for yourself!


This post was written by Krista and originally appeared on While He Was Napping.
 

October 11, 2013 by Krista

Weekend Wander #144

Welcome to another party!  Let’s get right to the fun stuff here, no long-winded chit chat from me.  From last week:

On While He Was Napping:
Printable Halloween Bucket List
Boo Pennant Banner
Mommy’s Little Monster Shirts
Last Weekend Wander:
Delicious-looking Chicken Burrito Soup @ Jodie Fitz
Super cute Poison Bottles @ Holy Craft
Yum!  Mini Chicken BBQ Pizzas!
A must-read and awesome reminders @ The Jenny Evolution
Thanks everyone!  
Let’s link ’em up!


This post was written by Krista and originally appeared on While He Was Napping.


October 10, 2013 by Krista

{October Spooktacular} Mommy’s Little Monster

I meant for this to post yesterday, but when I went to edit the photos they were all awful.  That’ll teach me to photograph products in a different spot than I usually do.  So, I thought, I’ll just take new ones… except they were in to be laundered since they had marker all over them.  Ugh.  So, I had to wash them before I photographed them, but, finally, here they are!

My kids love shirts that mommy makes them.  The Superhero Shirts will be making another reappearance this Christmas, since Big J didn’t get any last year and Little J has outgrown his.  You can only imagine the cries of unfairness that Big J didn’t get to be a superhero too.  So, when I got a request for a new shirt, I new it would actually be two new shirts.  A big one and a little one.

My dilemna was this: I hate seasonal/holiday specific clothing.  Because we will be wearing long sleeves until March or April.  I can’t afford to have clothing with the lifespan of a month!  So, I needed something that wasn’t necessarily “Halloween” but still fit into October well.  I’m pretty happy with the end results.  And it only took half a day for both boys to color on their new shirts with dry erase markers.  Guess I was asking for that one…  This is more of an idea than a full tutorial.  If you want step-by-step directions, visit the Superhero Shirts post. I present Mommy’s Little Monsters.

MOMMY’S LITTLE MONSTER
DIY HEAT TRANSFER VINYL SHIRTS

Materials:
– Heat Transfer Vinyl in your choice of colors.  I get all my HT Vinyl from Expressions Vinyl.  That’s not an affiliate link, I just personally recommend them.
– Cutting Machine or scissors.  Obviously a cutting machine will be more precise and detailed, but this is totally doable with scissors too.
– Iron and a firm surface to press on.  My ironing board isn’t steady enough to get a good press, so all my shirts get pressed on the counter top with a towel folded underneath to protect it.
Directions:
– Design your monster either in your cutter’s software or by hand.  Make sure the design will fit on your shirt.
– Cut out the design.  Make sure you put the shiny side of the vinyl DOWN and REVERSE THE IMAGE if you’re using a cutting machine.  Otherwise your image will be backwards.  Don’t even ask how much vinyl I’ve wasted in forgetting that crucial step.
– Heat your iron to the hottest setting your fabric can handle.  Make sure you use a DRY HEAT.  Zero steam.  It’ll warp your vinyl and not stick right.  And make a mess of your iron.
– Peel all the extra vinyl off.  All the background space, the inside of the monster’s mouth, the polka dots, insides of letters should come off.
– I usually press with a piece of parchment paper over the top of the plastic, just in case.  You could use anything though.  An old rag, a paper towel, etc.  Just make sure it’s not too thick or the vinyl won’t get hot enough to seal to your shirt.
– Use the hot iron and press each part of the vinyl for at least 20 seconds with firm pressure.  I often have my husband press for me because that much pressure for that long flares up an old wrist injury.
– You can peel the plastic off while it’s still hot, but it sticks better if you let it cool.  Go slowly and make sure all the vinyl is adhered.  If you find a loose spot, just press again.
That’s it.  Enjoy your super cool, personalized new shirts.  And prepare for the havoc that seems inevitable from children wearing a shirt that labels them a monster…  
“Ta-DA!”

This post was written by Krista and originally appeared on While He Was Napping.


October 8, 2013 by Krista

{Mabey She Made It} Boo Pennant Banner

Today, I want to introduce you to another one of my new contributors!  Meet Lisa.  She’s a doll and has some amazingly creative ideas that she always manages to pull off flawlessly.  She’s awesome and super sweet.  So, let’s get to the good stuff.  Here’s Lisa!

____________________________________________________________________

Hi there! I’m Lisa Mabey and I blog at Mabey She Made It about DIY projects, crafting, and sewing. I’m excited to show you a little Halloween project today that would be really cute by your candy bowl or on a little shelf that you’re decorating for Halloween. Not only is it simple to do, but it’s made from things you probably already have around: straws, string, patterned paper, empty soup cans…
Halloween Pennant Banner | Mabey She Made It
I don’t know about you, but I don’t personally care for the creepy, spooky, or macabre elements of Halloween.  My Halloween style is typically lighter and more fun since I tend to ignore the darker side of the holiday. This Boo Pennant Banner showcases that preference, and I hope you like it as well!
Halloween Pennant Banner | Mabey She Made It
I’ve been really excited about watercoloring lately, and gray watercolored letters seemed perfect for Halloween. I started with three pieces of watercolor paper (2-1/4″ x 3-1/2″) and sketched a letter onto each one. For my letters, I found a fancy font I liked (I used FoglihtenNo04) and freehanded the shape of the letters with a pencil. If you didn’t want to freehand, you could easily print your word and copy it onto your paper though.
Halloween Pennant Banner | Mabey She Made It
Once you’ve got your sketch, it’s time to start painting! I use water-based dye ink to watercolor with, but watercolor paint would (obviously) also work. If you do use a water-based dye ink, you may want to use gray instead of black. Gray ink stays gray when you dilute it with water, but black ink may come out purple if you watercolor with it.

Start on one side of each letter, and work your way to the other side so that the color is darker on the same side of each letter. Blend until you like the results, and let dry. Now erase all your pencil marks.
Halloween Pennant Banner | Mabey She Made It
You can either leave it like that, or outline the letter with a fine-tipped marker. I liked the definition the outlining gave since the gray was pretty light on the far side of each letter.
Halloween Pennant Banner | Mabey She Made It
Then cut each piece into a pennant shape, punch a small hole in the top corners, and thread some baker’s twine through the holes to create your pennant banner. To keep the ends of the baker’s twine together so it’s easy to thread, put a little glue on your fingers and twist the twine “tighter” and let it dry. It’s fabulously easy to thread once the end is dry.
Halloween Pennant Banner | Mabey She Made It
Then punch holes in the tops of gray striped paper straws and tie the baker’s twine to the straws. You now have the pennant banner part complete!
Halloween Pennant Banner | Mabey She Made It
Paint two cans black, and let them dry. I used a black metallic paint, so it’s a bit sparkly.
Halloween Pennant Banner | Mabey She Made It
Then adhere patterned paper around the cans and finish with some wide ribbon.
Now fill them with candy and stick the pennant banner into the cans to display wherever you need a little Halloween cheer! This would be really cute as part of a vignette or with a small candy dish in front of it.
Halloween Pennant Banner | Mabey She Made It

I hope you’ve enjoyed making a Halloween Pennant Banner with me, and that you’ll come visit me at Mabey She Made It for more craft ideas, DIY projects, and sewing!
____________________________________________________________________

Isn’t that just too cute and totally my kind of Halloween decor.  I don’t do the icky, gross part of Halloween.  Zombies, guts and gory blood are not my thing.  I like creepy and cute.  This is perfect.  Insanely adorable and I love that it would fit into sooo many different themes and kinds of Halloween decor!  And, you don’t have to go buy anything.  Use what you have.  Go check out Mabey She Made It.  Lisa has awesome things happening over there!  Go, go, GO!

Find out more about Lisa on the Contributor’s Page.  You can also find her here:

This post was written by Krista and originally appeared on While He Was Napping.


October 8, 2013 by Krista

{Printable} Halloween Bucket List & Activities

How did we get an entire week into October already? Are you a Halloween fan? Do you have a Halloween Bucket List that you want to complete this month?

I love Halloween. Not the creepy, gross, scary parts though because gore just isn’t fun for me. I like cute Halloween. And you better believe my kids and I celebrate all month long!

There are some things we’d like to do before October passes us by, so I made a Halloween Bucket List for us. There are games, treats and snacks, and fun things to do! Halloween is such a fun holiday. My mom didn’t love Halloween and we didn’t celebrate much growing up. I think I’m making up for it now. And I don’t see anything wrong with that!

You are more than welcome to print off your own copy so you can celebrate too!  Right click and save to your computer.  I’ve also attached links under the print to some of the activities, so you can find out how to do them too (and in case I forget, ha).  Happy Halloweening and, most of all, enjoy and stay safe!


Halloween Bucket List

Spooky Bowling – http://www.jeanetics.net/2010/10/fall-party.html (at the bottom of the post)
Glowing Pumpkin Jars – http://www.growingajeweledrose.com/2012/09/glowing-pumpkin-jars.html or http://www.skiptomylou.org/2008/10/10/halloween-votives/
Jack-O-Lantern Orange – http://www.tasteofhome.com/Recipes/Jack-o–Lantern-Oranges
Hot Dog Mummies – http://recipes.smartyhadaparty.com/crescent-mummy-dogs/
Pumpkin Spice Play Dough – http://whilehewasnapping.com/2013/09/pumpkin-spice-play-dough.html
Q-Tip Skeletons – http://funfamilycrafts.com/q-tip-skeleton/
Candy Corn Counting Game – http://www.thetaylor-house.com/2013/09/19/halloween-kids-activity-candy-corn-counting-free-printable.html
Glow in the Dark Slime – http://domesticcharm.blogspot.com/2011/10/glow-in-dark-slime.html
Apple Cider & Orange Cocoa – http://homeiswheretheboatis.net/2011/10/27/ghostly-peeps-fun/ (recipe toward the bottom of the post)
Spiderweb Nachos – http://whilehewasnapping.com/2010/10/october-spooktacular-spiderweb-nachos.html

Any other questions… let me know!

This post was written by Krista and originally appeared on While He Was Napping.

  • « Previous Page
  • 1
  • 2
  • 3
  • 4
  • Next Page »

I'm Krista. Ringleader here on While He Was Napping, wife to my handsome Mr. Right & momma to my THREE energetic boys, Big J (9), Little J (6) & Little N (4). We FINALLY added a beautiful little girl to our family last December.

I’m knee-deep in Tonka trucks & Thomas trains. I survive our crazy days with Vanilla Coke, Sonic slushies, sweet snuggles and little giggles. When I tuck them in tight & kiss them good night, I get a little time to create & just be me.


It all happened
while (s)he was napping
Want More of My Story?

Privacy Policy

While He Was Napping respects your privacy and is committed to keeping any personal information collected on this website confidential. To find out what information we collect and how it is used or what options you have regarding your information, see our full privacy policy here. Creative Commons License The website found at whilehewasnapping.com and all subdomainsauthored and published by Krista is licensed under a Creative Commons Attribution-NonCommercial-NoDerivs 3.0 Unported License.

Pretty Chic Theme By: Pretty Darn Cute Design